

POTIONS
Unit III · Lesson 23PREPARING INGREDIENTS FOR EXTRACTION
Professor Crimblebrew Muddlenook
Master Apothecary • Potions
Head of House Meridies • School of Evershade
Professor's Introduction

Benches ready, scholars,
We stand at a threshold. Everything you have learned in this unit, grinding and crushing, softening and filtering, classifying and conditioning, has been leading to one room: the extraction — drawing compounds out of a material with a liquid — laboratory of Unit IV. But no one crosses that threshold unprepared. An extraction begun with unprepared ingredients is an extraction already half failed, and I do not permit half-failed work in my laboratory.
Today you learn the discipline of readiness. You will cut, crush, soften, and hydrate. You will prepare your solvent — a liquid able to dissolve or draw out other materials — before your botanical touches it. You will check your vessel, your label, and your measurements, in that order, every time. Order is not fussiness. Order is how an apothecary gets the same result twice.
Measure twice. Pour once. Label everything.
— Professor Crimblebrew Muddlenook, Potions Laboratory • Master Apothecary • Head of House Meridies
Potions map — the class base map, unmarked for this lesson.
Lesson Objectives
By the end of this lesson, you will be able to:
- Explain why preparation, not the extraction itself, often decides whether a preparation succeeds.
- Name and demonstrate the four preparations: cutting, crushing and powdering, softening, and hydration.
- Describe how particle size changes surface area, and why that changes extraction.
- Prepare a menstruum: measure a solvent, warm it safely if needed, and have it ready before the botanical goes in.
- Run Muddlenook's extraction-readiness checklist on any preparation before it begins.
- Prepare one botanical three ways and predict how each preparation will behave.
Reading this lesson: ★ marks the passages to remember. They return on the unit quiz and the class test. Check in questions ask the material back as you go; answer them in your workbook when you meet them.
Working this lesson: Your assignment packet is the first download on this page. Work in it as the lesson moves along, answering each exercise as its subject is taught — or read the lesson through for your notes and take the exercises as homework afterward. Both are proper ways to sit this class. Signposts in the reading tell you where each exercise belongs. Written answers are short answers in your own words; a few honest lines are worth more than a filled page.
Your Assignment Packet
This lesson's exercises live in its packet: the Lexicon Handout (every term, course terms marked ◆), Materials, Guided Practice — Muddlenook's Extraction-Readiness Checklist, printed in full, with the Three Ways observation — the Assignment Manual with its answer key for self-checking, the Reflection Questions, and the Workbook Checklist. Download the packet before you begin and keep it beside you as you read.
Safety Briefing
- Blades: Use a sharp knife on a stable cutting board, and always cut away from your fingers. A sharp blade is safer than a dull one, but only in careful hands. Younger students: ask an adult to do the cutting or to supervise closely.
- Dust: Grinding and powdering make fine dust. Do not breathe it directly. Work in a ventilated area, keep your face back, and dampen very dusty material slightly or wear a simple dust mask if you are sensitive to dust.
- Heat: If you warm a solvent in a water bath, use a heat-safe bowl over simmering water, never a sealed container, and never leave it unattended. Handle all warm vessels with care.
- Labels: Label every jar before filling it: contents, preparation, and date. Unlabeled vessels are not permitted in an orderly laboratory.
- Hands and cleanup: Wash your hands after handling botanicals. Wipe down your work surface and return tools clean and dry to their places.
- No tasting: Do not taste unidentified or unfamiliar materials. This lesson involves no ingestion of any kind.
Check in: You are about to powder a very dusty botanical and then warm a solvent. Which two briefing bullets govern those two acts — and what does each one require, in its own words?
❦ In your workbook: record the safety briefing in your own way — blades, dust, heat, labels, hands and cleanup, and no tasting — copy, sketch, or note what matters.
Why Preparation Decides Everything
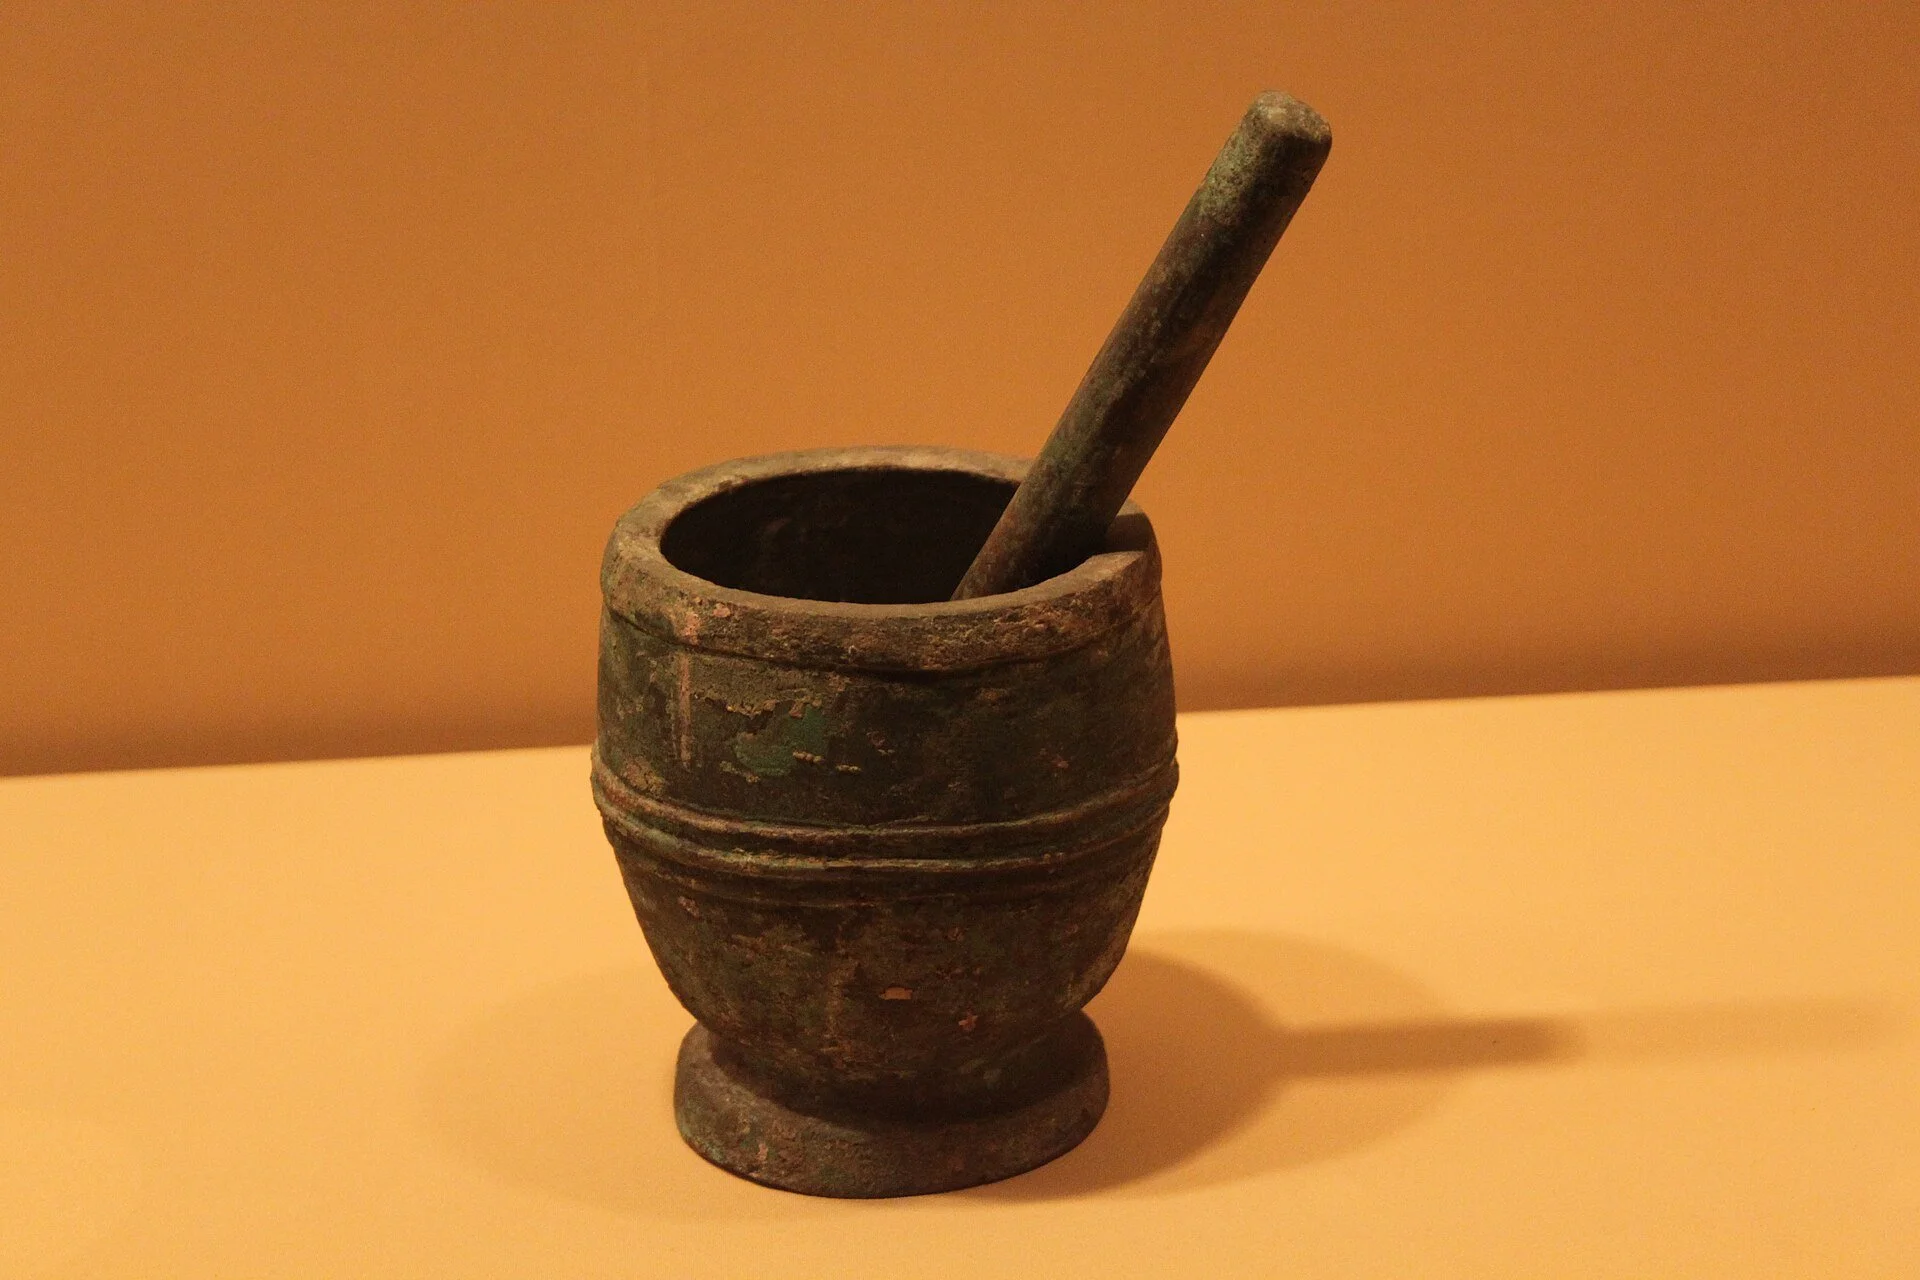
A bronze mortar and pestle of the Western Han period, on museum display — the lesson's antiquity claim made visible: the tool has barely changed because the work it does has barely changed. Study object, photographed as held.
Photograph by Gary Todd, via Wikimedia Commons (object: Western Han dynasty bronze mortar and pestle). CC0.
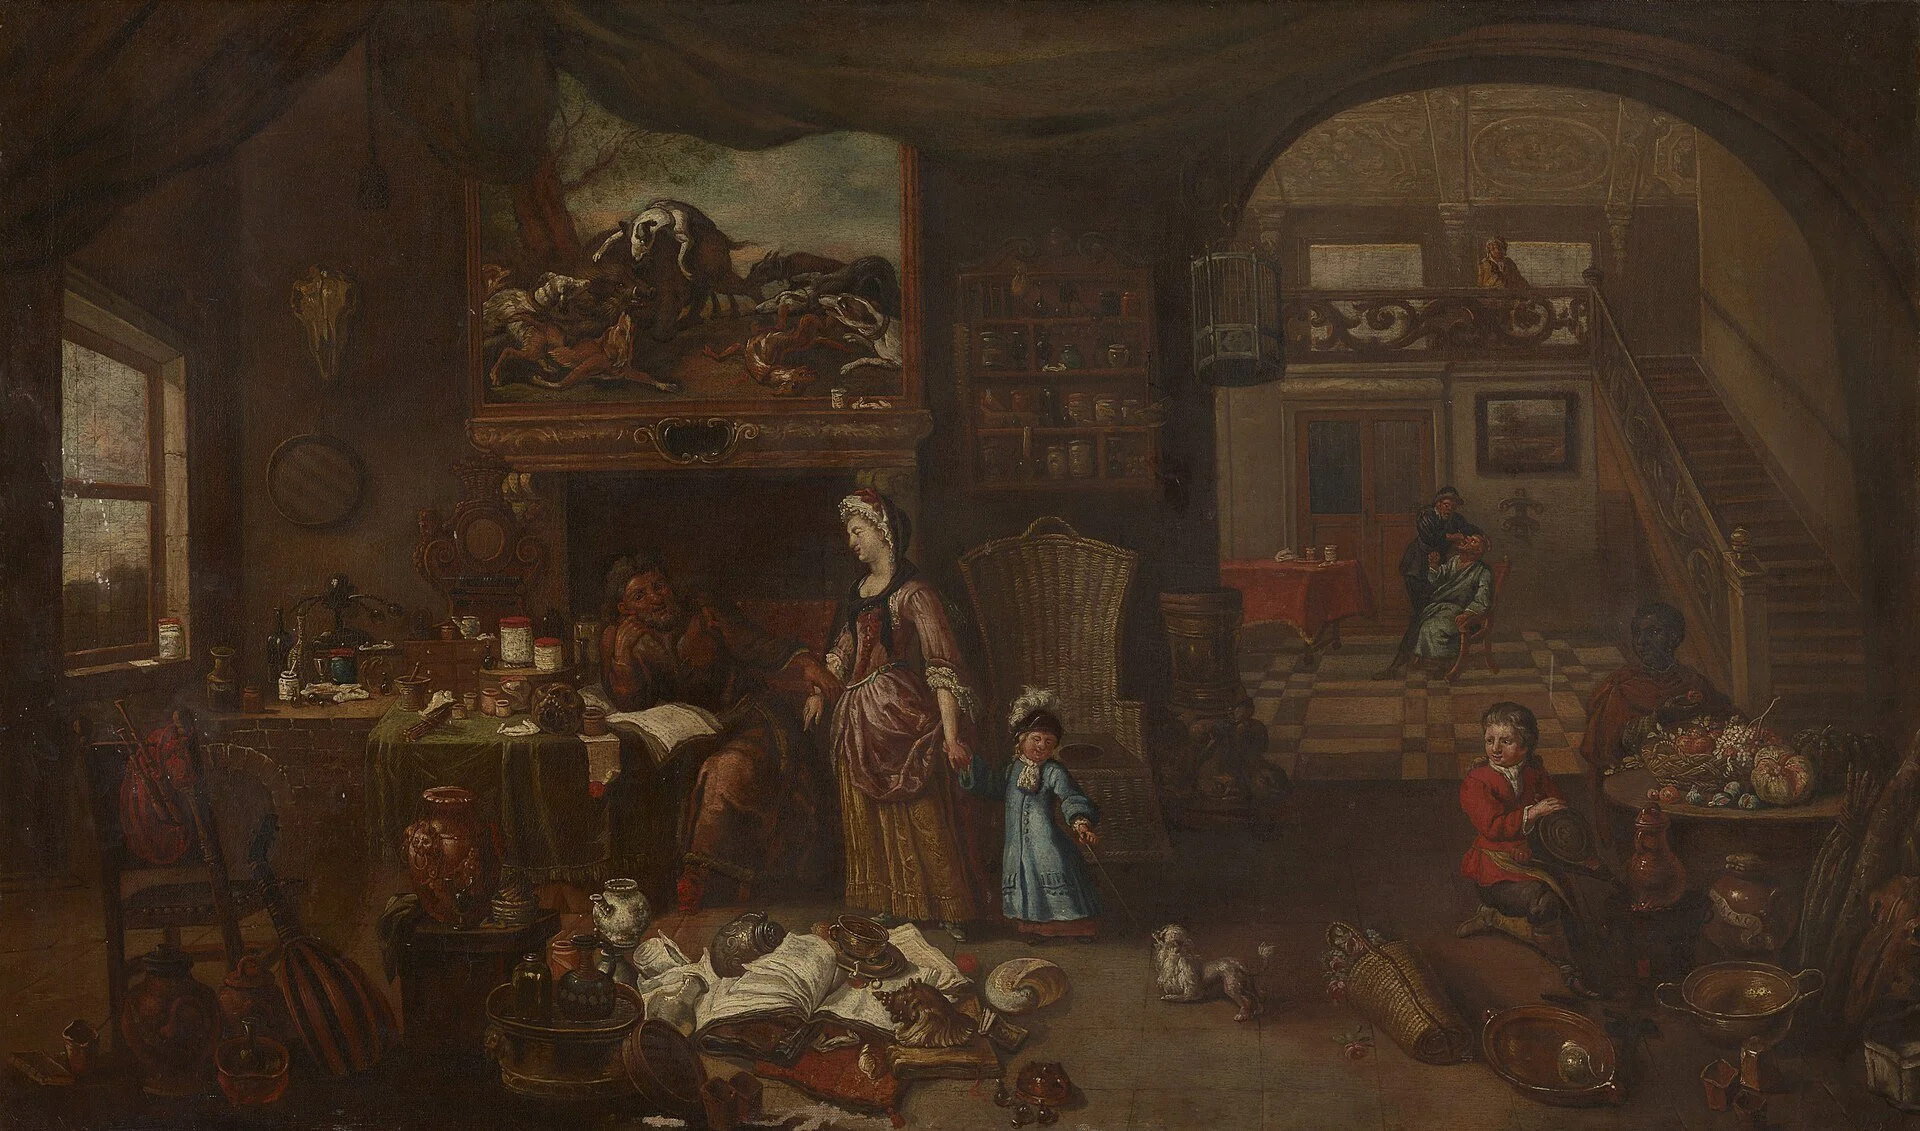
An apothecary's shop of the old tradition, painted in period: shelves of jars, the worktable, the books — a working room where everything the next preparation needs must be findable, labeled, and ready. The readiness checklist is this room's discipline, written as five questions.
An Apothecary Shop (period oil painting), via Wikimedia Commons / Digital Public Library of America. Public domain.
★ An extraction is simple to describe: a botanical sits in a solvent, and compounds move from the plant material into the liquid. What the description hides is that the solvent can only reach what it can touch. A whole dried root dropped into liquid offers the solvent only its outer skin. The same root, cut small and evenly, offers the solvent dozens of fresh faces. The same root powdered offers thousands.
Historical apothecaries understood this long before anyone used the word extraction. Their herbals and workshop manuals are full of instructions to pound, bruise, cut small, and steep, because generations of observation taught them that the preparation of the material mattered as much as the liquid it went into. The technical word for reducing particle size is comminution, and it is one of the oldest laboratory operations in the world. The mortar and pestle has been found in archaeological sites thousands of years old, and it has barely changed, because the work it does has barely changed.
Preparation also protects your equipment and your results. Rock-hard dried roots fed whole into a grinder will strain the tool, heat the material, and produce an uneven mix of dust and chunks. The same roots, softened by pre-soaking and cut into small pieces first, grind cleanly and evenly. Preparation is respect: for the material, for the tools, and for the future scholar, yourself, who will read your notes and try to repeat what you did.
Check in: A whole dried root and the same root powdered go into the same liquid. What can the solvent reach in each case — and what single word names the reduction that made the difference?
❦ In your workbook: record why preparation decides everything in your own way — the solvent reaching only what it can touch, comminution's antiquity, and preparation as respect for material, tools, and your future self — copy, sketch, or note what matters.
The Four Preparations
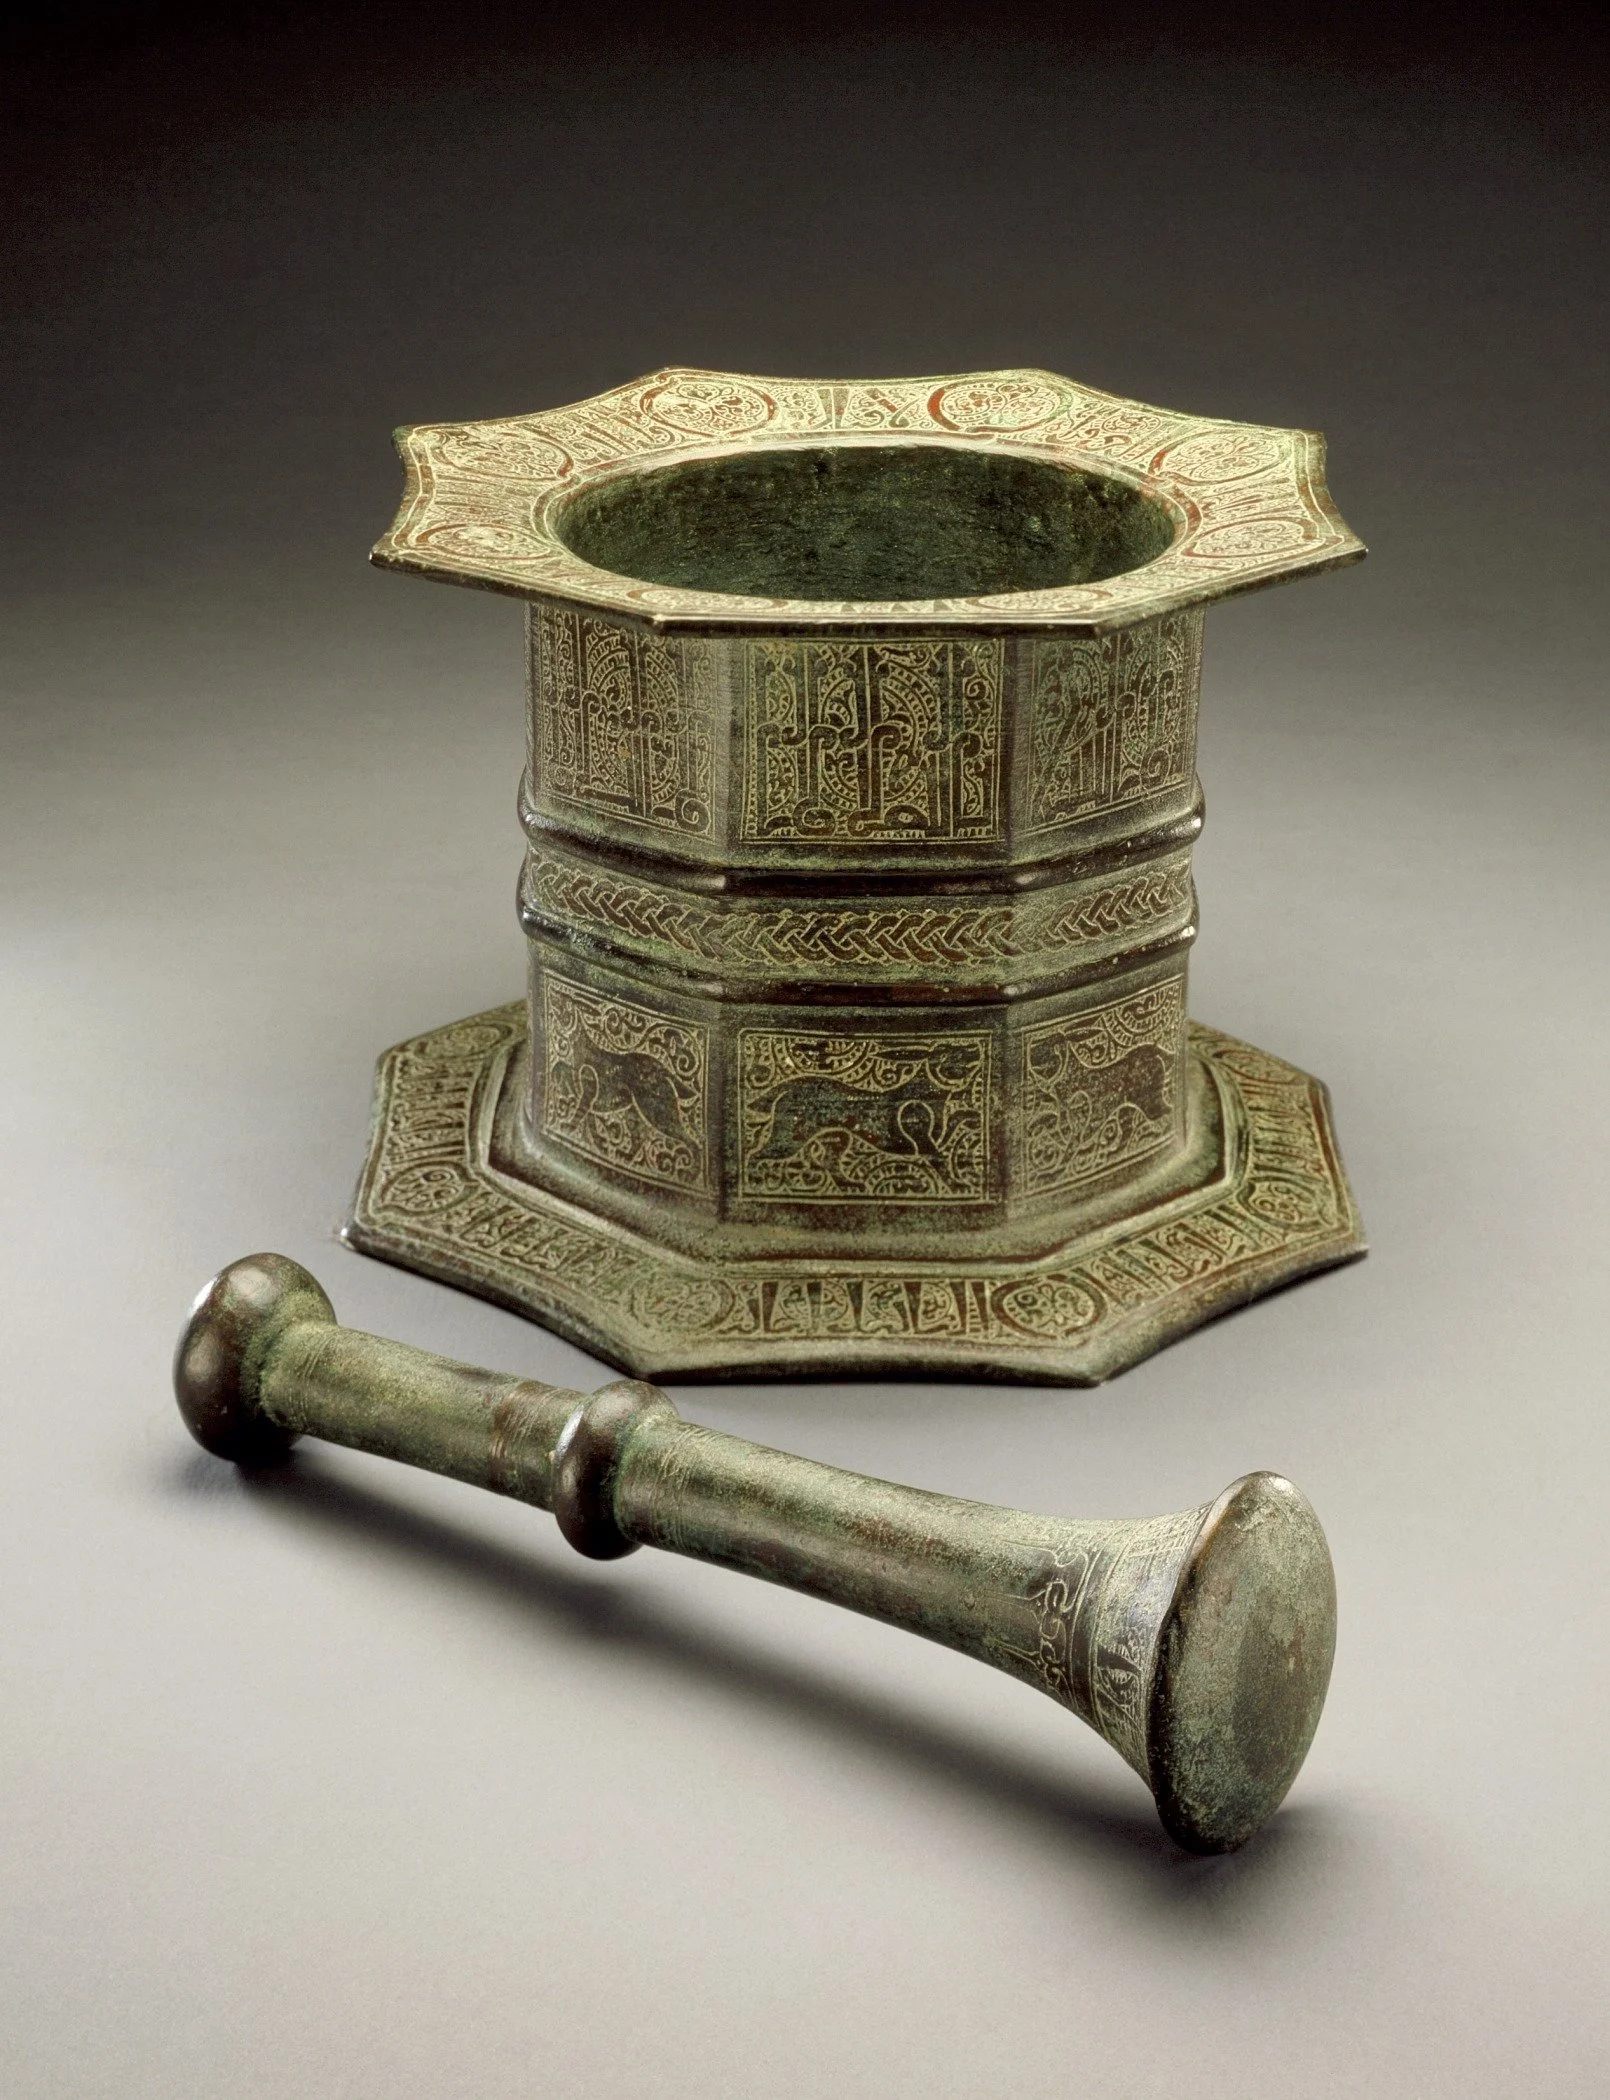
Mortar and pestle as the apothecary tradition treasured them: an octagonal inlaid mortar and its pestle, made to be used daily and kept for generations. The decorations are the maker's craft on a working tool — the preparation itself is the scholar's own bench work.
Los Angeles County Museum of Art (LACMA), accession M.73.5.264a-b, via Wikimedia Commons. Public domain.
Every ingredient that enters an extraction in Unit IV will have passed through one or more of four preparations. Learn them as a set.
Cutting. A sharp blade, a stable board, even pieces. Cutting is the preparation of control: uniform pieces extract at a uniform rate, which means your results are predictable. Cut dried roots, bark, and tough stems into small, even pieces before any further step. A sharp knife matters more than a strong arm. Dull blades crush and tear where you meant to cut, and torn material behaves unpredictably.
★ Crushing and powdering. The mortar and pestle, the rolling pin, the mill. Crushing ruptures cell walls, which releases volatile compounds quickly. This is why a crushed clove smells stronger than a whole one, and why garlic is crushed when its pungency is wanted fast. Powdering takes crushing to its limit: maximum surface area, fastest extraction. But powdering also means maximum dust, maximum loss of volatile compounds to the air, and material that is hardest to filter later. Choose powdering deliberately, not by default.
Softening. Tough, dense, dried materials, roots, bark, hardened resin, often need to be softened before they can be cut or ground well. Pre-soaking in water softens fibers so the blade or grinder can do clean work. Softening is patience made practical: a few hours of soaking saves broken tools and bruised knuckles.
Hydration. Some preparations call for the botanical to be fully hydrated before the real work begins, so that water, not your solvent, fills the material's pores first. Hydration evens out extraction and prevents dry material from drinking up your measured solvent and changing your ratios. When a procedure says to hydrate first, it is protecting your measurements.
Check in: Name the four preparations as a set — and say what powdering costs, in the lesson's own three charges against it, for all its speed.
❦ In your workbook: record the four preparations in your own way — cutting, crushing and powdering, softening, and hydration, and what each one is for — copy, sketch, or note what matters.
In your packet: Exercise I — The Three Ways ⚒ begins here. Work it now, or mark the place and take it as homework — your choice.
Particle Size and the Logic of Surface Area
★ Here is the principle that governs all four preparations: the solvent can only act on surface. Double the surface, and you roughly double the solvent's access to the material's compounds.
★ Picture a cube of dried root one inch on each side. It has six square inches of surface. Cut it into eight half-inch cubes and the total surface doubles to twelve square inches, though the amount of root has not changed at all. Grind it to powder and the surface becomes enormous, thousands of tiny faces where there was one. This is why powdered material extracts faster and more completely than whole material, and why two scholars can follow the same procedure and get different results if one of them ground finer than the other.
But faster is not always better. Fine powder extracts quickly, and it also releases everything at once, including compounds you might have preferred to leave behind. Fine powder is harder to filter, clouds liquids, and loses volatile fragrance to the air while you work. The skilled apothecary matches the particle size to the purpose: coarse pieces for slow, clean extractions; fine powder when speed and completeness matter most. Preparation is a decision, and every decision should be written down.
Check in: The cube is cut into eight half-inch cubes and the amount of root has not changed at all. What has doubled — and why can two scholars follow the same procedure and still get different results?
❦ In your workbook: record particle size and surface area in your own way — the governing principle, the cube's arithmetic, and why faster is not always better — copy, sketch, or note what matters.
Preparing the Menstruum

Mary the Jewess — Maria Prophetissima — as a much later age pictured her: the engraved portrait Michael Maier published in 1617, nearly two thousand years after the early alchemist to whom the bain-marie is credited. An imagined portrait of a tradition's founder, not a likeness from life.
Michael Maier, Symbola aureae mensae (1617), via Wikimedia Commons. Public domain.
The old apothecary word for the solvent in an extraction is menstruum. Water, oil, alcohol, vinegar, glycerin: each is a menstruum, and each must be prepared before the botanical meets it.
★ Preparing a menstruum means three things. First, measure it. Ratios only work if both sides are measured, so the solvent is measured as carefully as the botanical.
Second, condition it: if the procedure calls for warm solvent, warm it gently in a water bath, never over direct high heat, and never leave warming solvents unattended. The water bath has an ancient pedigree. It is called a bain-marie, and the name reaches back to Mary the Jewess, an early alchemist of the first centuries of the common era credited with its invention. Gentle, even, indirect heat: the principle has not changed in nearly two thousand years.
Third, have the vessel ready: clean, dry, and labeled before anything goes in. The label comes first, not last. An unlabeled vessel in a working laboratory is a small disaster waiting for a dark shelf.
Check in: Name the three things preparing a menstruum means — and say which of them the lesson insists comes first, not last.
❦ In your workbook: record preparing the menstruum in your own way — measure it, condition it in the bain-marie, and have the vessel clean, dry, and labeled before anything goes in — copy, sketch, or note what matters.
In your packet: Exercise II — The Menstruum Drill ⚒ begins here. Work it now, or mark the place and take it as homework — your choice.
Muddlenook's Extraction-Readiness Checklist
Before any extraction begins in this laboratory, the following five questions are answered, in order, out loud or in writing. No exceptions, no shortcuts, no "I will remember."
One: Is the material identified? Name, form, and date of preparation on the label.
Two: Is it prepared to the right particle size for the procedure? Whole, cut, crushed, or powdered, deliberately chosen.
Three: Is the menstruum measured and conditioned? Right solvent (a liquid able to dissolve or draw out other materials), right amount, right temperature.
Four: Is the vessel clean, suitable, and labeled? Heat-safe if heat is involved. Labeled before filling.
Five: Are my notes open and my observations ready to record? An extraction — drawing compounds out of a material with a liquid — nobody records is an experiment nobody can repeat.
Run the checklist every time. When it becomes habit, you will be ready for Unit IV.
— Professor Crimblebrew Muddlenook, Potions Laboratory • Master Apothecary • Head of House Meridies
Check in: Recite the five questions in their order — and say what the checklist's own opening line forbids: which three things are never permitted?
❦ In your workbook: record the extraction-readiness checklist in your own way — the five questions, in order, as the readiness standard every Unit IV extraction will be run against — copy, sketch, or note what matters.
In your packet: Exercise III — The Readiness Audit ◐ begins here. Work it now, or mark the place and take it as homework — your choice.
Guided Observation: The Practical — Three Ways
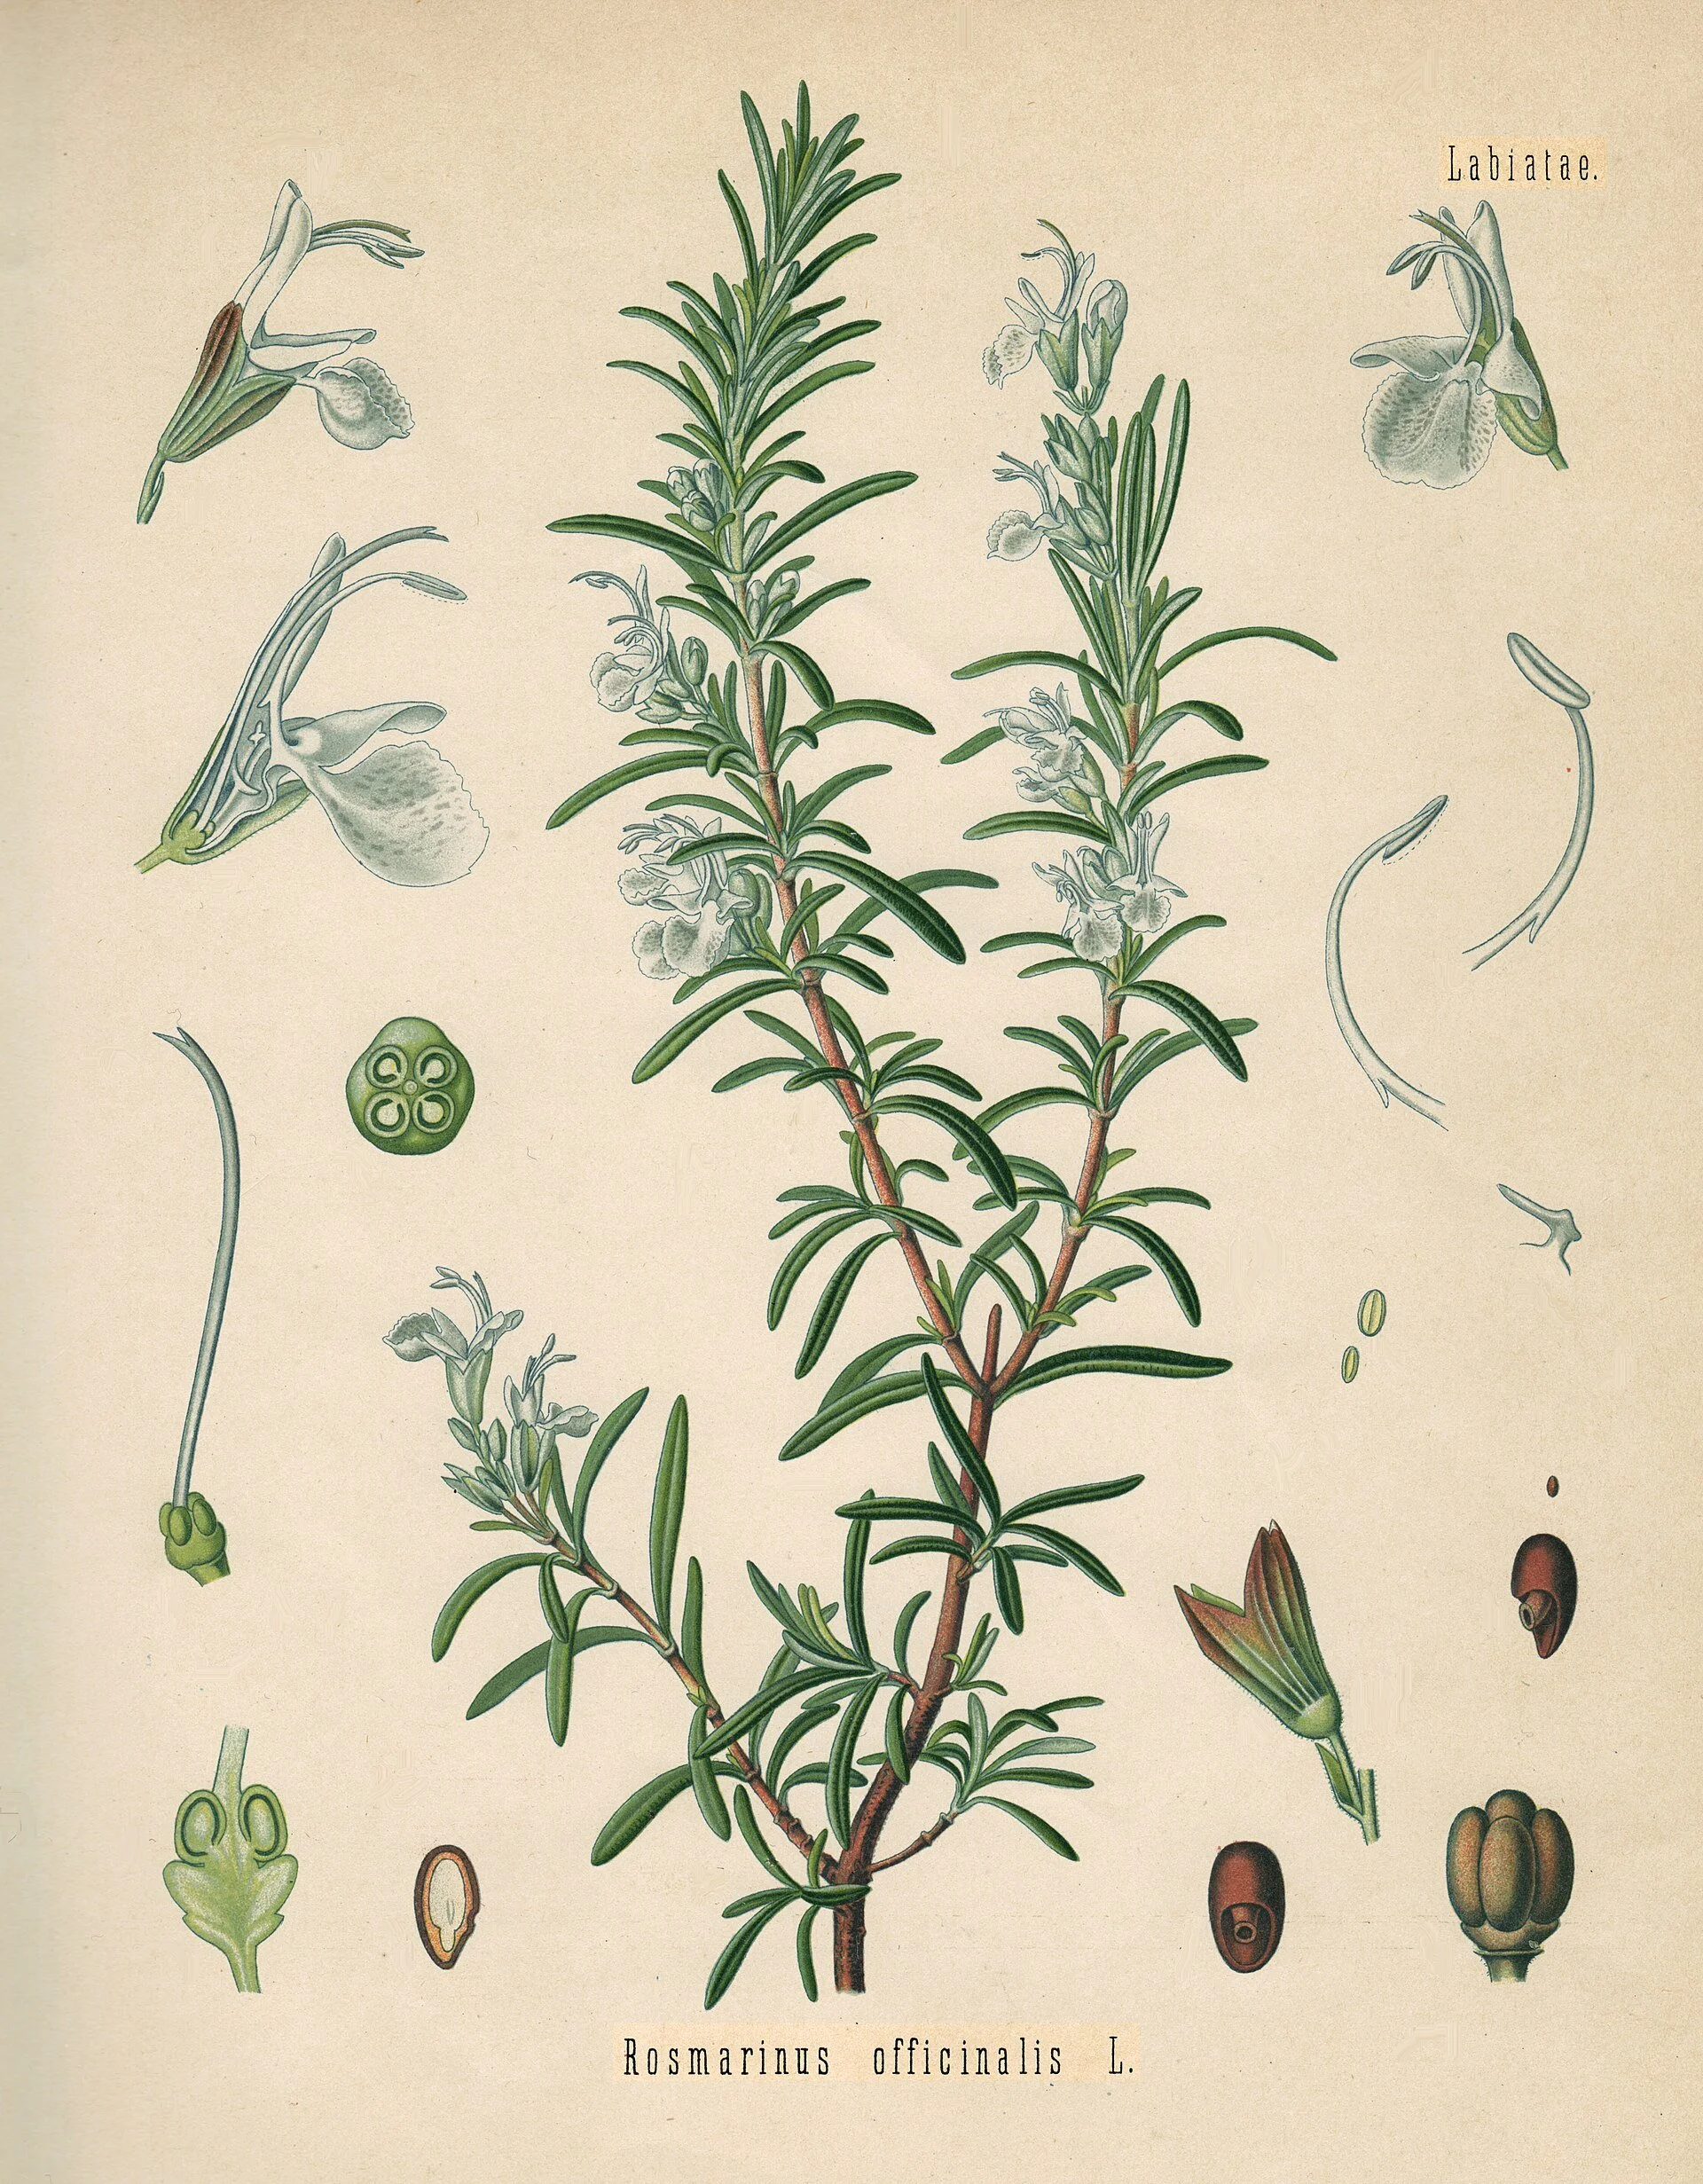
Rosemary (Rosmarinus officinalis), plate from Köhler's Medizinal-Pflanzen — the first of the Practical's three named botanicals, drawn dissection by dissection. A study portrait of the tradition; your jars are prepared from the material in your hand, never identified from a picture.
Franz Eugen Köhler, Köhler's Medizinal-Pflanzen (1887–1914), via Wikimedia Commons. Public domain.
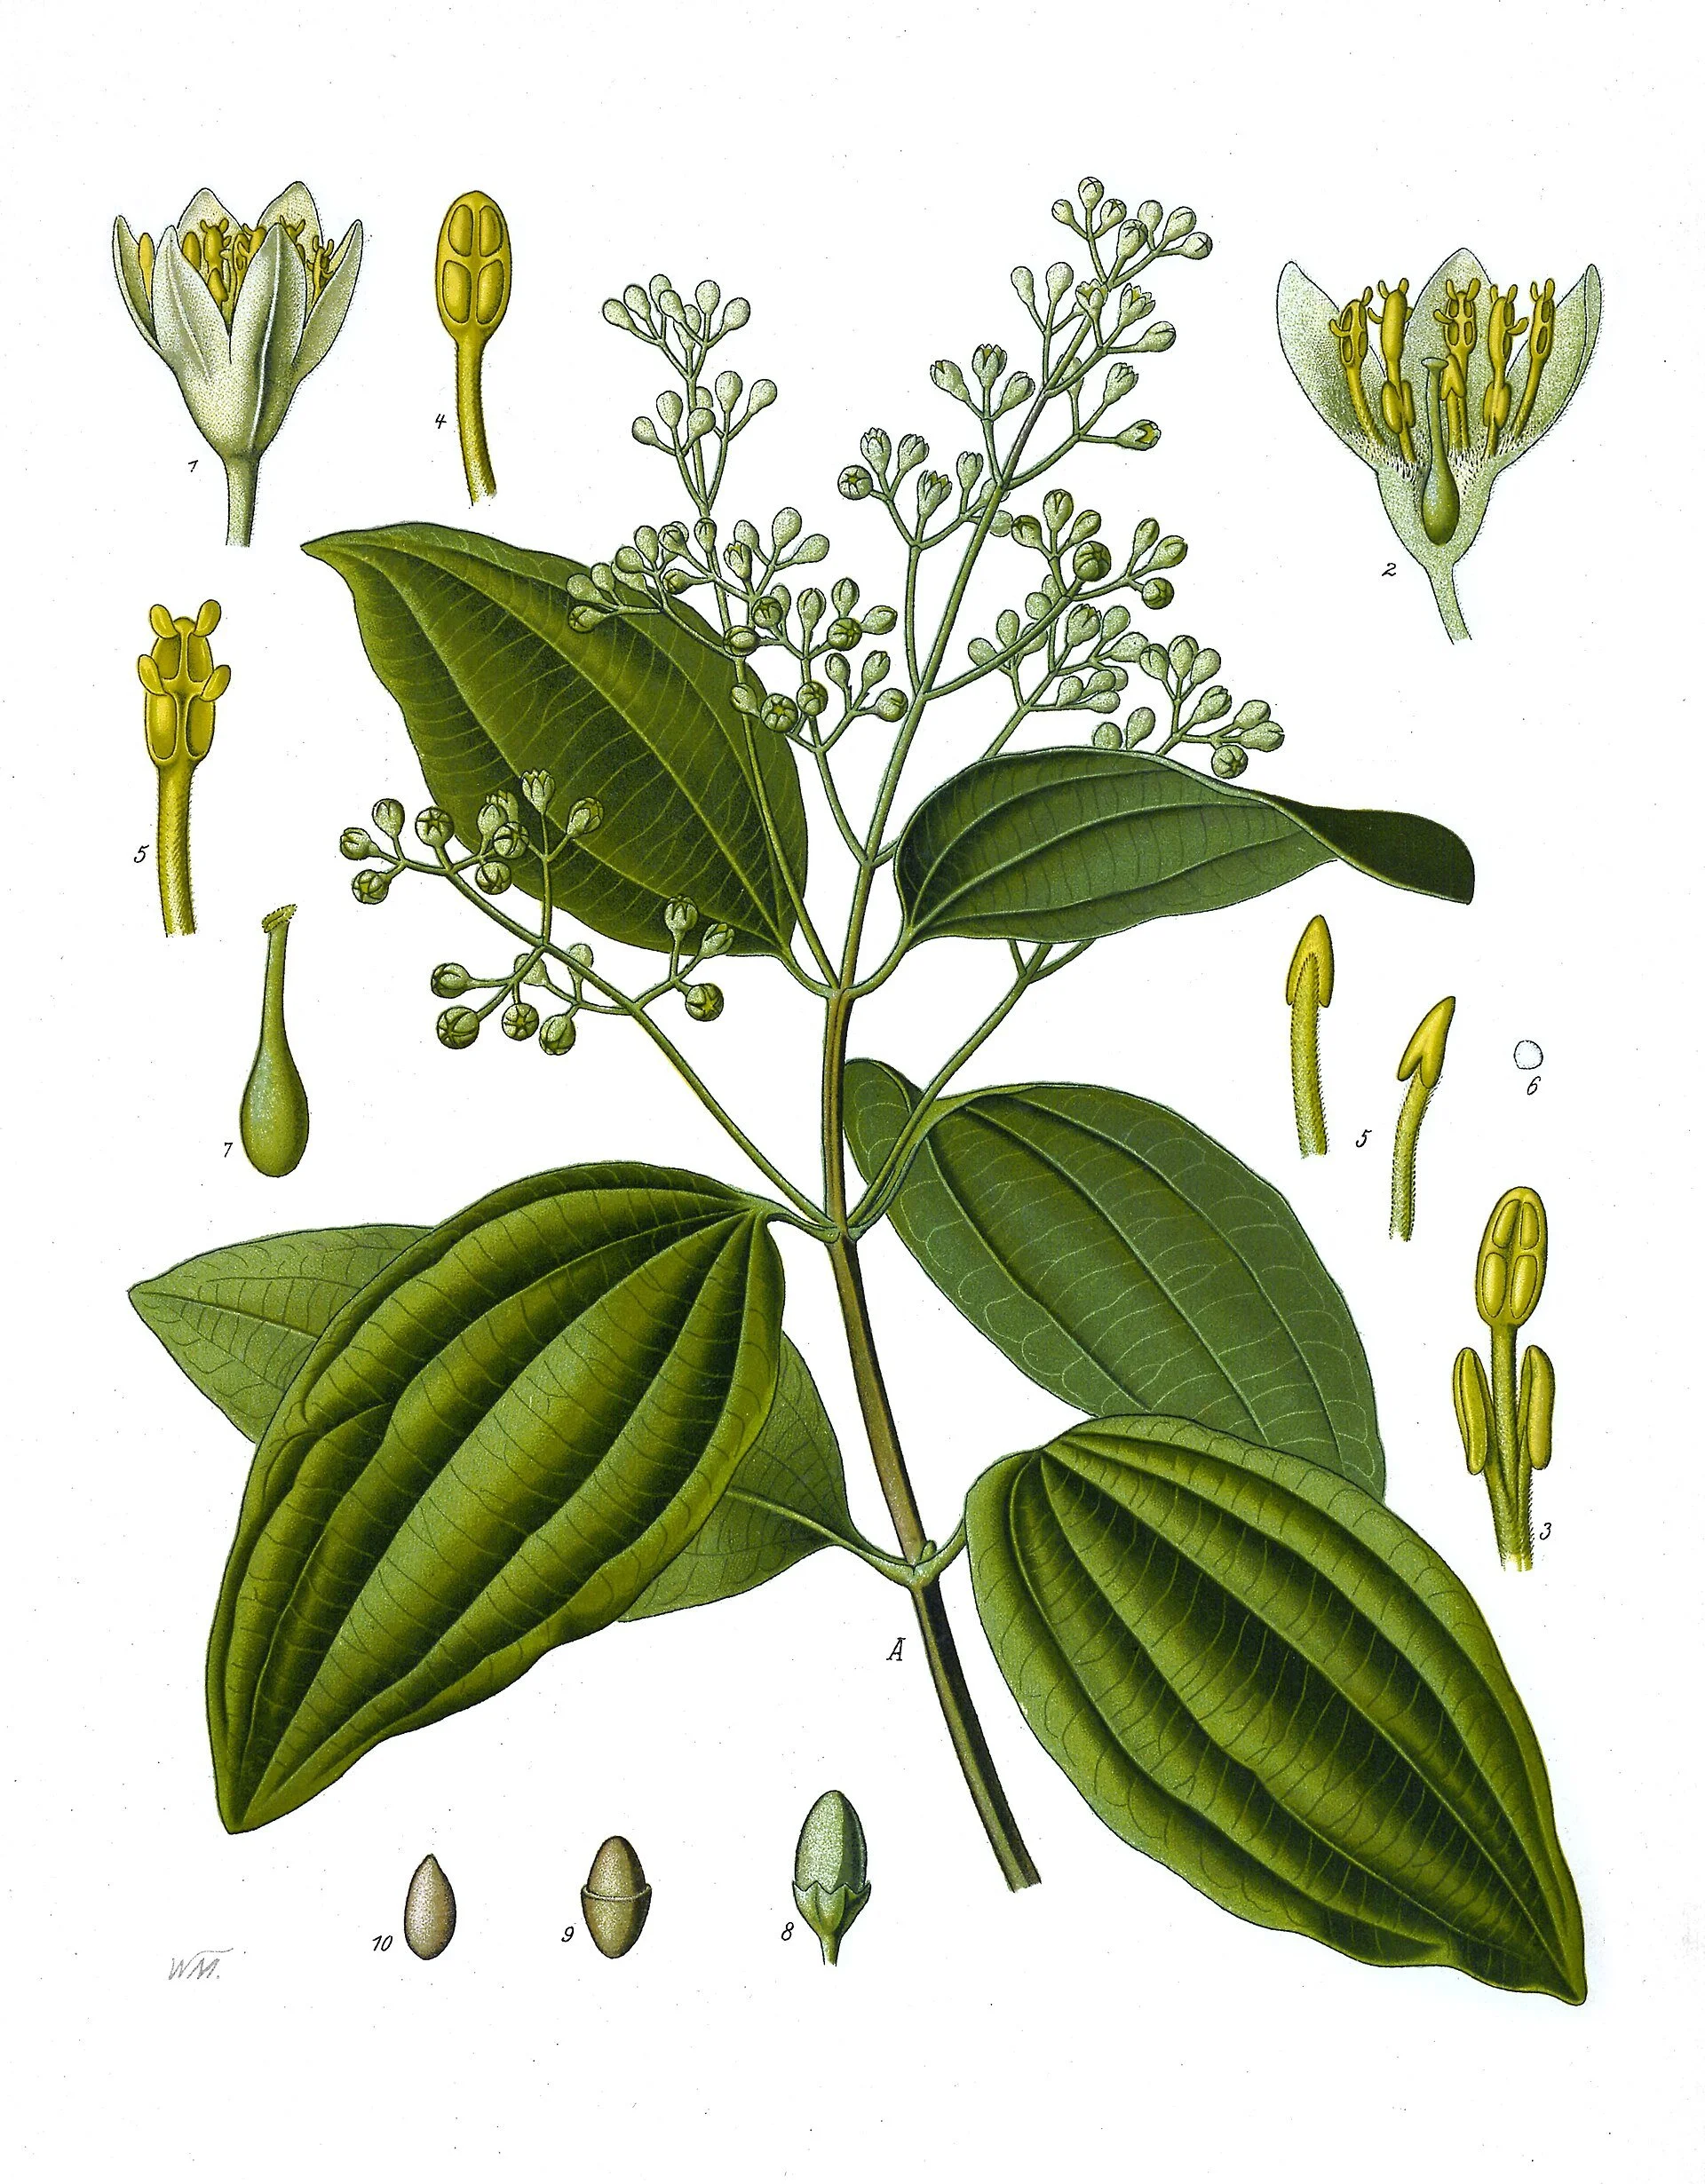
Cinnamon (Cinnamomum verum), plate 182 of Köhler's Medizinal-Pflanzen — the tree the cinnamon stick is cut from: the stick in your kitchen is this tree's bark, curled as it dried. A study portrait; the preparation in your jars begins with the bark itself, not the picture.
Franz Eugen Köhler, Köhler's Medizinal-Pflanzen (1887–1914), plate 182 (artist: Walther Otto Müller), via Wikimedia Commons. Public domain.
Take one dried botanical, something from the kitchen such as dried rosemary, chamomile flowers, or a cinnamon stick. You will prepare it three ways.
Jar one: whole. Place a measured spoonful of the botanical in the jar exactly as it came from the packet. Label it: name, "whole," today's date.
Jar two: crushed. Crush a second measured spoonful lightly, just enough to bruise and break it, releasing its fragrance. Notice the smell that rises when the cell walls break. Place it in the second jar. Label it: name, "crushed," today's date.
Jar three: powdered. Grind a third measured spoonful as fine as your tools allow. Work patiently and keep your face back from the dust. Place it in the third jar. Label it: name, "powdered," today's date.
Now, before any liquid touches any jar, write your predictions. Which preparation will release its color and fragrance fastest when a solvent is added? Which will be hardest to filter cleanly later? Which lost the most fragrance to the air during preparation? Write your answers in your laboratory journal, then seal the jars and store them with your archive. In Unit IV, these three jars become your first extraction experiment, and your predictions become the first entry in your extraction ledger.
You have now done the fundamental work of the preparation laboratory. You took one material, treated it three ways, and thought before you acted. That is the whole craft in miniature: prepare deliberately, predict honestly, record everything. Unit IV will ask this of you again and again, and you will be ready.
Check in: Before any liquid touches any jar, what three predictions does the Practical require — and when will you learn whether they were right?
❦ In your workbook: record the Three Ways in your own way — one botanical, whole, crushed, and powdered, with your three predictions written before any liquid touches any jar — copy, sketch, or note what matters.
Materials
Required (Level One — household items)
- Dried botanical: dried rosemary, chamomile flowers, or a cinnamon stick, from the kitchen.
- Cutting board and sharp kitchen knife: for clean cutting. Adult supervision for younger students.
- Mortar and pestle, or a sturdy bowl and the back of a spoon, or a resealable bag and rolling pin.
- Three small clean jars with lids.
- Labels and a pen: every jar labeled before filling.
- Measuring spoons.
- Laboratory journal and pencil.
Suggested (Level Two — historically closer)
- A proper stone or ceramic mortar and pestle.
- A small kitchen scale: weigh botanical and menstruum as the old apothecaries did.
- Glass jars with parchment labels.
- A water bath setup: a heat-safe bowl over a saucepan of simmering water, for warming solvents.
Reflection Questions
Answer the following questions in your workbook.
- Explain in your own words why powdered material extracts faster and more completely than whole material.
- When would you choose bruising or crushing over clean cutting, and why?
- Why does Professor Muddlenook insist the menstruum be measured and the vessel labeled BEFORE the botanical goes in?
- A student skips softening and feeds rock-hard dried roots straight into a grinder. What goes wrong, and what should they have done instead?
- How does preparing one botanical three ways train the observation skills that Unit IV will demand?
Workbook Checklist — Lesson 23
In my workbook I have:
- ☐ explained why preparation, not the extraction itself, often decides whether a preparation succeeds — the solvent can only reach what it can touch
- ☐ named the four preparations — cutting, crushing and powdering, softening, and hydration — and what each one is for
- ☐ worked the cube: six square inches whole, twelve cut into eight, and explained how particle size changes surface area and extraction
- ☐ prepared a menstruum on paper or at the bench: measured, conditioned in the bain-marie when warmth is called for, and poured into a vessel labeled before pouring
- ☐ run Muddlenook's five-question extraction-readiness checklist, in order, on a real preparation, and graded myself honestly in my Readiness Audit
- ☐ prepared one botanical three ways — whole, crushed, powdered — in three labeled jars, with my three predictions recorded before any liquid touched any jar
☐ Lesson completed Date: ___ Signature: ___
The Professor's Closing Note
Keep your jars. Keep your notes. Keep your labels legible. I will see you at the threshold of extraction (drawing compounds out of a material with a liquid).
— Professor Crimblebrew Muddlenook, Potions Laboratory • Master Apothecary • Head of House Meridies
Cross-Class Connections

Herbology · Unit IV, Lesson 27 — Timing the Harvest
Before Professor Muddlenook's botanical can be prepared, it must be taken — and taken at its peak. Come to the Greenhouse and learn why the hour changes an herb's fragrance, how each plant part is harvested at its best, and how to take only what the plant can spare. The jar he asks you to label begins, in truth, out here among the beds.
Herbology · Unit IV, Lesson 28 — Drying Herbs the Traditional Way
His dried roots, bark, and flowers arrive dried because someone dried them well. In the Greenhouse we hang the woody herbs in small bundles in dark, moving air, screen-dry the leaves and petals too delicate to hang, and judge the work by the crispness test — sound, dry material, ready for exactly the cutting, crushing, and softening his lesson teaches. Bring me your fresh harvest, and I will teach you the keeping that makes his preparing possible.
PROFESSOR BERYL FERNFOOT
Herbology Greenhouse • Master Herbalist • Head of House Oriens

Creative Arts · Unit I, Lesson 3 — Cutting, Scoring & Clamping
Scholars, Professor Muddlenook asks you to cut dried roots, bark, and tough stems into small, even pieces, and he is right that a sharp knife matters more than a strong arm. In my workshop you will learn the bench discipline behind that cut: scissors, blades, mats, and clamps, and the standing rule that the work is secured, never held against the cut. Do the practice work in scrap first, as always — then take the habit back to his laboratory, where even pieces extract evenly because they were cut evenly.
Further Reading & Sources
- Extraction (chemistry) — Wikipedia) — the general principles of moving compounds from one phase into another.
- Maceration — Wikipedia — soaking as an extraction method, across food, botanical, and laboratory traditions.
- Bain-marie — Wikipedia — the water bath and its attribution to Mary the Jewess.
- Mortar and pestle — Wikipedia — the ancient grinding tool and its uses.
- Decoction — Wikipedia — simmered extraction for dense materials, a preview of Unit IV methods.
- Infusion — Wikipedia — steeped extraction for delicate materials, a preview of Unit IV methods.
Browse the Potions shelf in the school Library for readable editions of these works.
Submit your work for this lesson using the form below.
CONTINUE IN THE POTIONS LABORATORY
← Previous · Lesson 22: Filtration & Separation Mechanics Next · Lesson 24: Building the Master Materia Botanica Portfolio →
Unit III — Dense Materials & Preparation Potions Laboratory — All 52 Lessons
The rest of Unit III: Lesson 18 · Roots & Bark · Lesson 19 · Oils & Waxes · Lesson 20 · Salts & Clays · Lesson 21 · Grinding & Processing · Lesson 22 · Filtration · Lesson 24 · Master Portfolio · Lesson 25 · Preparation Manifest