

POTIONS
Unit III · Lesson 24BUILDING THE MASTER MATERIA BOTANICA PORTFOLIO
Professor Crimblebrew Muddlenook
Master Apothecary • Potions
Head of House Meridies • School of Evershade
Professor's Introduction

Sealed with the wax of Professor Crimblebrew Muddlenook, Master Apothecary of the Potions Laboratory, Head of House Meridies.
My orderly scholars,
A laboratory without an archive is a kitchen without a pantry door. You may have done the work, ground the roots, filtered the infusions, and learned the behavior of every dense material in this unit, but if those observations live only in your memory, they will fade the way chalk fades from a slate. Memory is a poor shelf. Paper is a better one.
This lesson is different from the others. There is no new material to study and no new technique to practice. Instead, we consolidate. We take everything you have learned in Unit III, from roots and resins to salts and filtration, and we build it into a single portfolio: the Master Materia Botanica Portfolio. This is the document that will carry your Unit III knowledge forward into the extraction work of Unit IV.
Work through it section by section. Do not rush. An archive built in haste is an archive you cannot trust, and an apothecary who cannot trust their own records is working blind.
— Professor Crimblebrew Muddlenook, Potions Laboratory • Master Apothecary • Head of House Meridies
Potions map — the class base map, unmarked for this lesson.
Lesson Objectives
By the end of this lesson, you will be able to:
- Assemble a structured portfolio that consolidates every material studied in Unit III.
- Create complete portfolio entries for roots, bark, resins, oils, waxes, salts, clays, and mineral materials.
- Index your grinding, filtration, and extraction-preparation records into one findable system.
- Cross-reference portfolio entries with the shared Materia Botanica.
- Evaluate your own portfolio against the Master Portfolio Standard.
Reading this lesson: ★ marks the passages to remember. They set the portfolio standard this lesson is assessed by, and they return in the units ahead and at the capstone. This lesson contributes no items to the Unit III Quiz — its assessment is the portfolio work itself, set out in the Assignment Manual below. Check in questions ask the material back as you go; answer them in your workbook when you meet them.
Working this lesson: Your assignment packet is the first download on this page. Work in it as the lesson moves along, answering each assignment as its subject is taught — or read the lesson through for your notes and take the assignments as homework afterward. Both are proper ways to sit this class. Signposts in the reading tell you where each assignment belongs. Written answers are short answers in your own words; a few honest lines are worth more than a filled page.
Your Assignment Packet
This lesson's assignments live in its packet: the Lexicon Handout (every term, course terms marked ◆), Materials, Guided Practice — the model portfolio entry, the seven section checklists, the reconciliation sheet, and the Master Portfolio Standard, printed in full so you can work through them at your own shelves — the Assignment Manual with its self-check, the Reflection Questions, and the Workbook Checklist. Download the packet before you begin and keep it beside you as you read.
About this lesson's assessment, plainly: this lesson has no quiz, and no quiz items are taken from it for the Unit III Quiz. The portfolio work itself is the assessment: Assignments I–III in the manual below — the full portfolio build, the reconciliation of every recorded specimen against its physical jar, and your self-assessment against the Master Portfolio Standard — stand beside the Unit III Quiz as the unit's practical layer. The lesson's course-◆ terms do travel to the Unit III Quiz, where they belong to its vocabulary matching.
Safety Briefing
★ This lesson involves no new hazardous procedures, but consolidation has its own risks. You will be handling your stored materials to verify and complete entries. Review the Unit III safety rules before you begin: dust masks when handling fine powders, ventilation when working with resins, gloves for mineral materials that irritate skin, and careful labeling of everything you open and reseal. If any stored material shows mold, discard the entire container. Do not attempt to salvage it.
The whole of Unit III's safety teaching is consolidated again, in full, at the end of this lesson — the Unit III Safety Consolidation — because Unit IV introduces solvents, alcohol, prolonged heat, and active extraction, and the habits consolidated here are the foundation for everything that follows.
Check in: Consolidation day opens stored jars rather than teaching new procedures. Which four handling rules does this briefing name for the verification work — and what is the one instruction for anything that shows mold?
❦ In your workbook: record the safety briefing in your own way — dust masks for fine powders, ventilation for resins, gloves for irritating minerals, careful labeling of everything opened and resealed, and a moldy container discarded entire — copy, sketch, or note what matters.
In your packet: Guided Practice — the model entry and the section checklists begin here. Work them as you reach them in the reading, or mark the place and take them as homework — your choice.
Why Apothecaries Built Portfolios
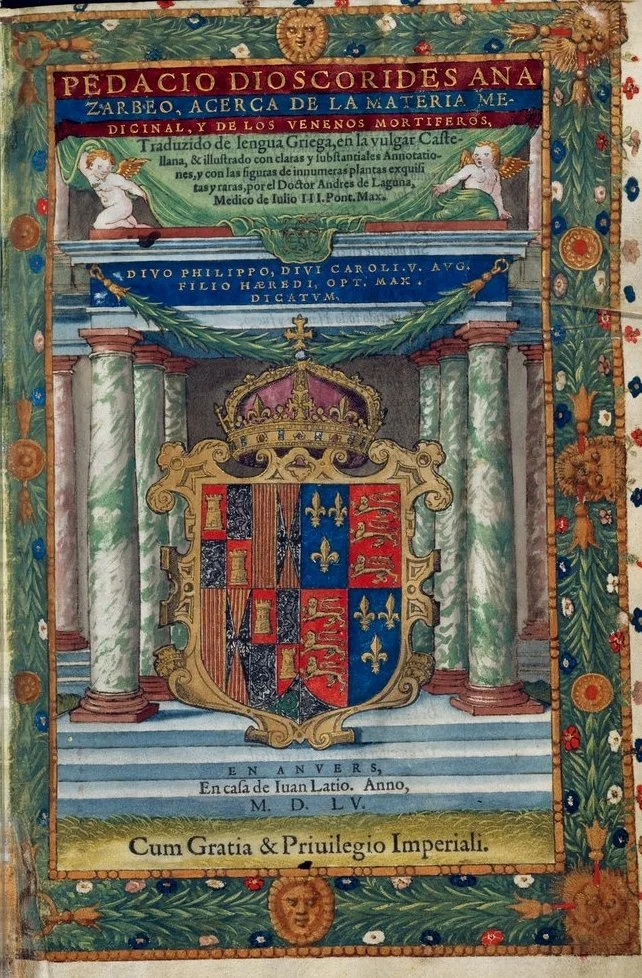
Title page of Andrés de Laguna's Spanish De Materia Medica (Antwerp, 1555) — Dioscorides in print, fifteen centuries after he wrote: one of the great books. The lesson's point stands beside it: between books like this, every working apothecary kept a personal ledger of what actually happened. A study portrait of the tradition, not an identification guide.
Pedanius Dioscorides, De materia medica, translated and annotated by Andrés de Laguna (Antwerp: Juan Latio, 1555), title page, via Wikimedia Commons. Public domain.
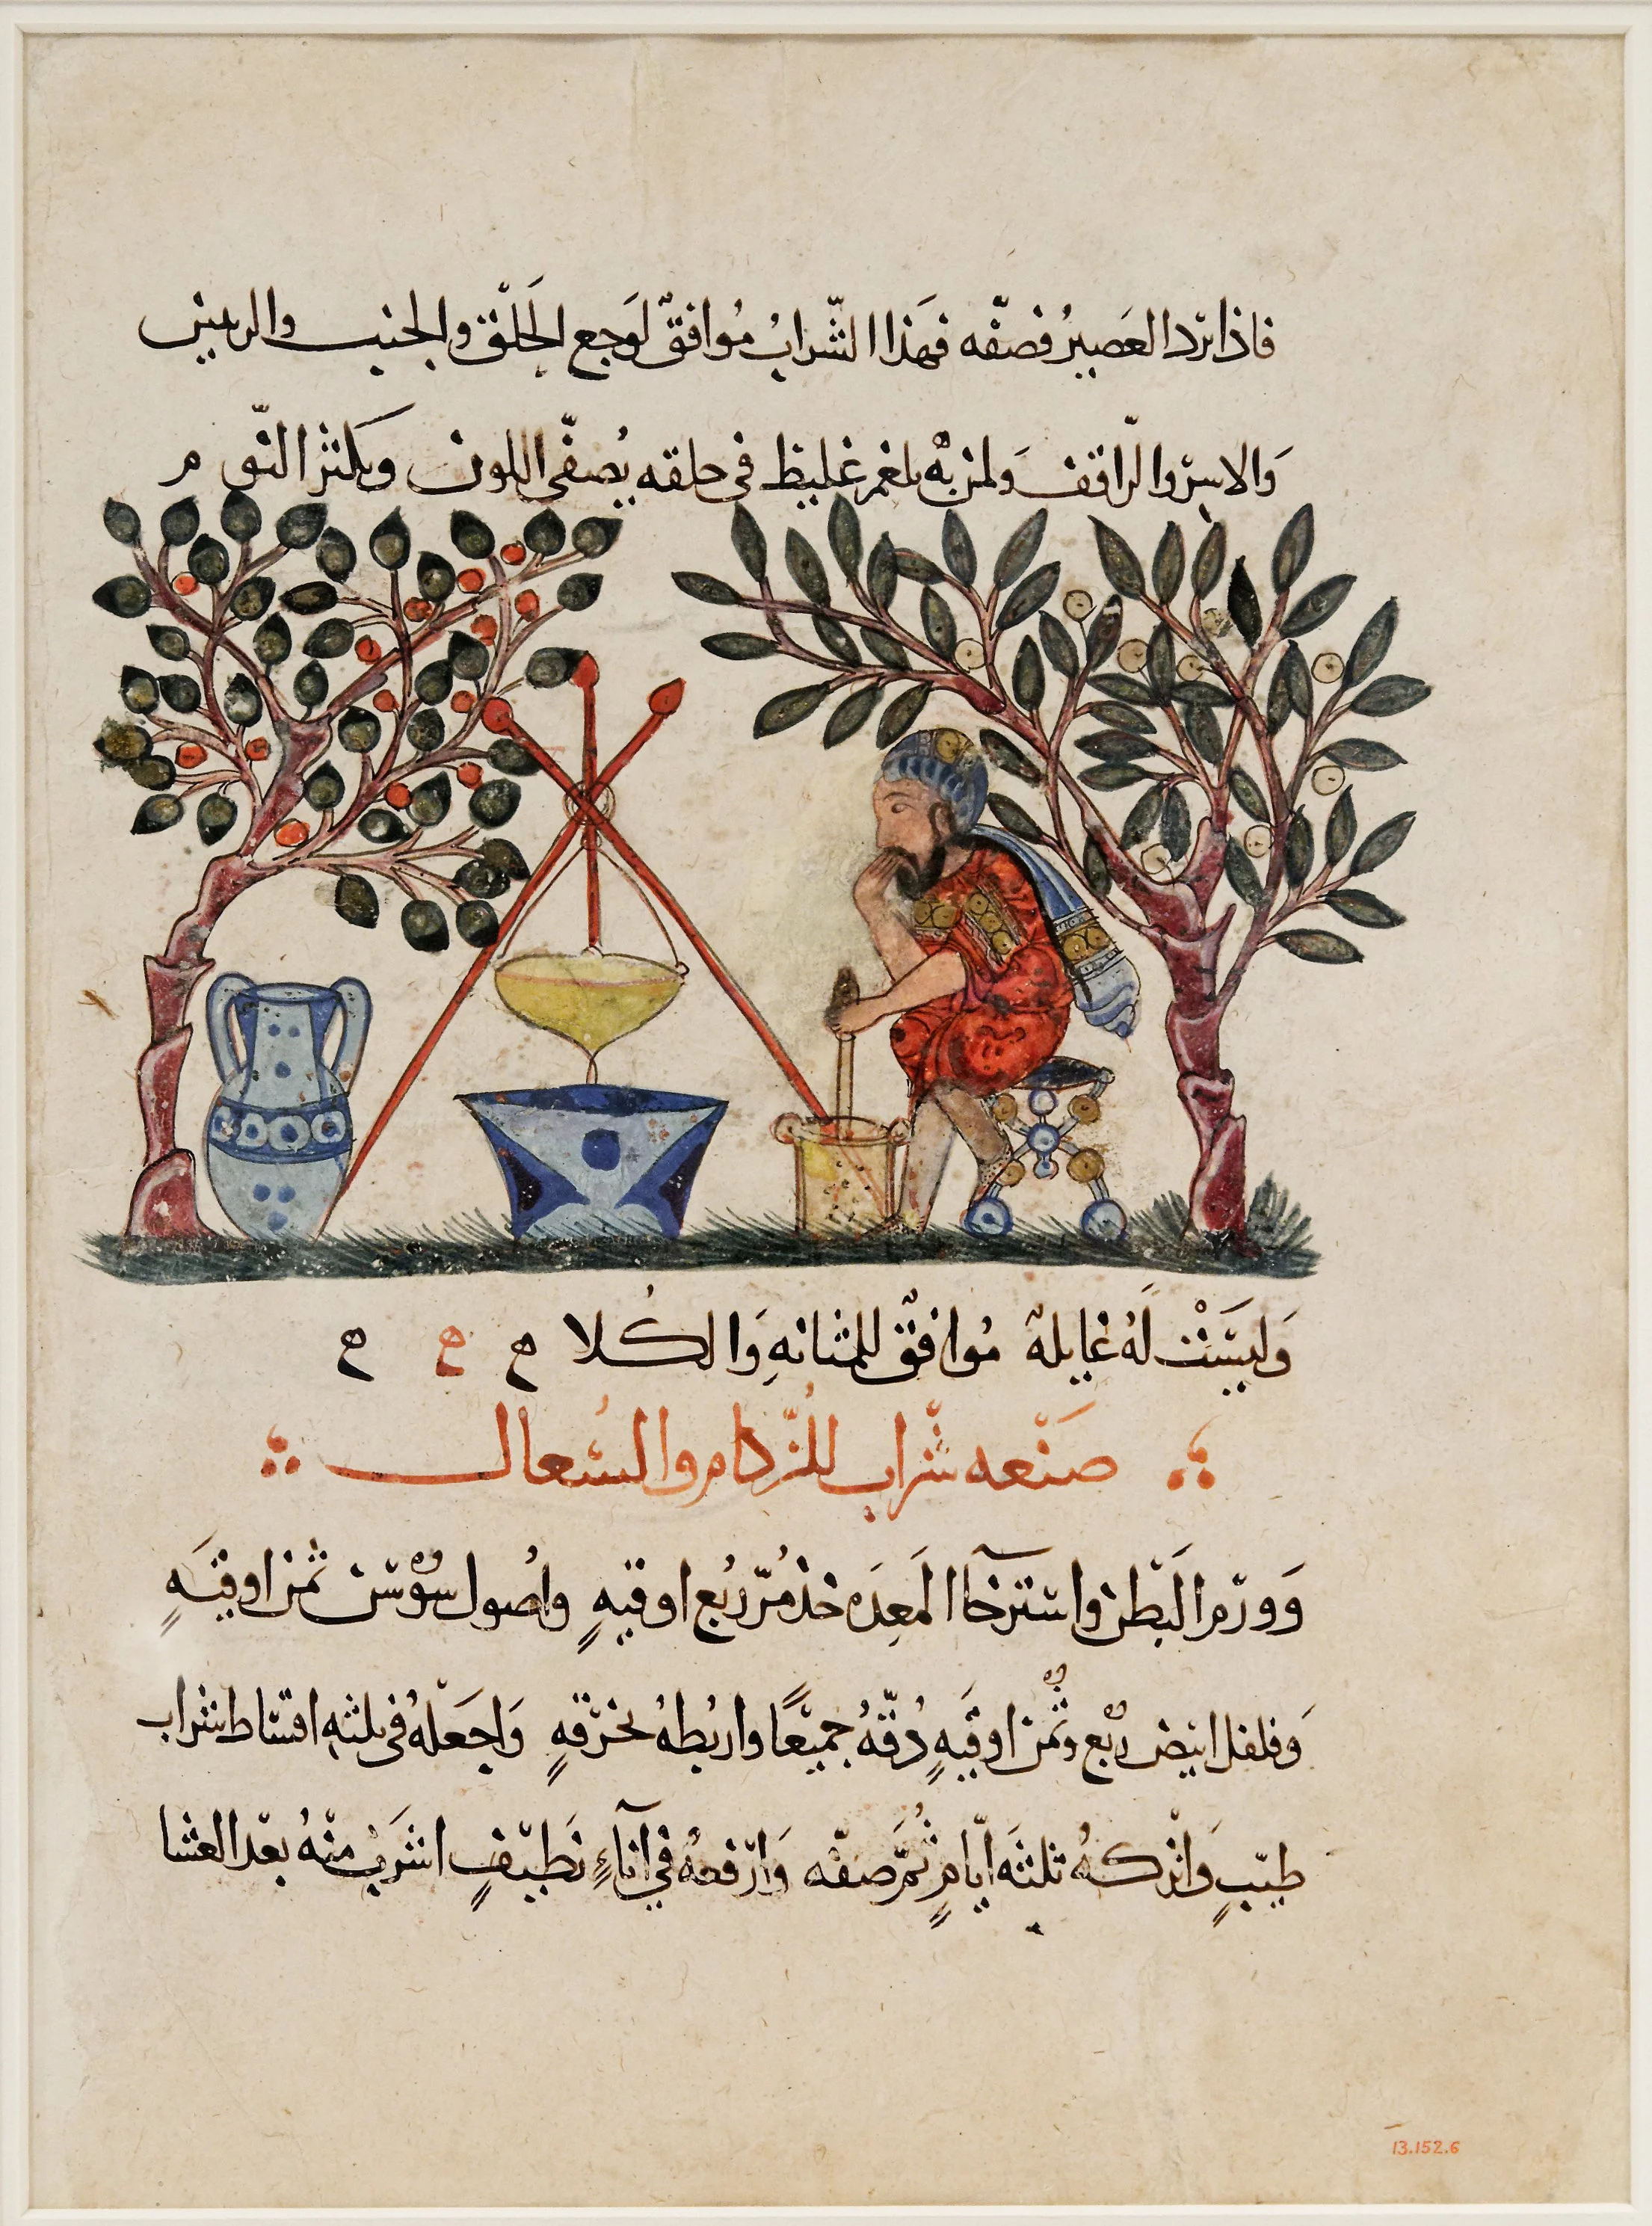
A folio from a manuscript of the Arabic translation of Dioscorides' De Materia Medica (Metropolitan Museum of Art, 13.152.6): the preparation bench of the tradition — straining at left, pounding at right — the same two labors this portfolio's grinding and filtration logs record. The page is shown as a working record of its craft; its text is not transcribed here, and no preparation in this course is ever taken from a picture.
Folio from a manuscript of Dioscorides, De Materia Medica (Arabic translation), The Metropolitan Museum of Art, accession 13.152.6, via Wikimedia Commons. Public domain.
Long before printed reference books were common, working apothecaries kept their knowledge in handwritten ledgers, inventory lists, and bound recipe collections. The most famous of the ancient works, the De Materia Medica of the Greek physician Dioscorides (first century CE), organized hundreds of medicinal substances by their properties and remained in use for over fifteen centuries. Later, official pharmacopoeias such as the London Pharmacopoeia of 1618 gave apothecaries standardized lists of preparations and their ingredients.
But between those great books, every working apothecary kept a personal archive: notes on which supplier's roots were sound, which year's resin harvest melted cleanly, which clay settled fastest in suspension. These working records were the true engine of the craft. A formula in a book tells you what to combine. Your own ledger tells you what actually happened when you combined it.
★ Your Master Materia Botanica Portfolio is that working record for Unit III. It does not replace the shared Materia Botanica, which is the class reference for plant knowledge. The portfolio is your personal laboratory archive: your observations, your measurements, your successes, and just as importantly, your failures. An apothecary who records only successes is writing advertising, not science.
Check in: What does your own ledger tell you that a formula in a book cannot — and what does an apothecary who records only successes end up writing?
❦ In your workbook: record why apothecaries built portfolios in your own way — the ledgers between the great books, the working record of what actually happened, and failures recorded beside successes — copy, sketch, or note what matters.
The Master Portfolio Structure
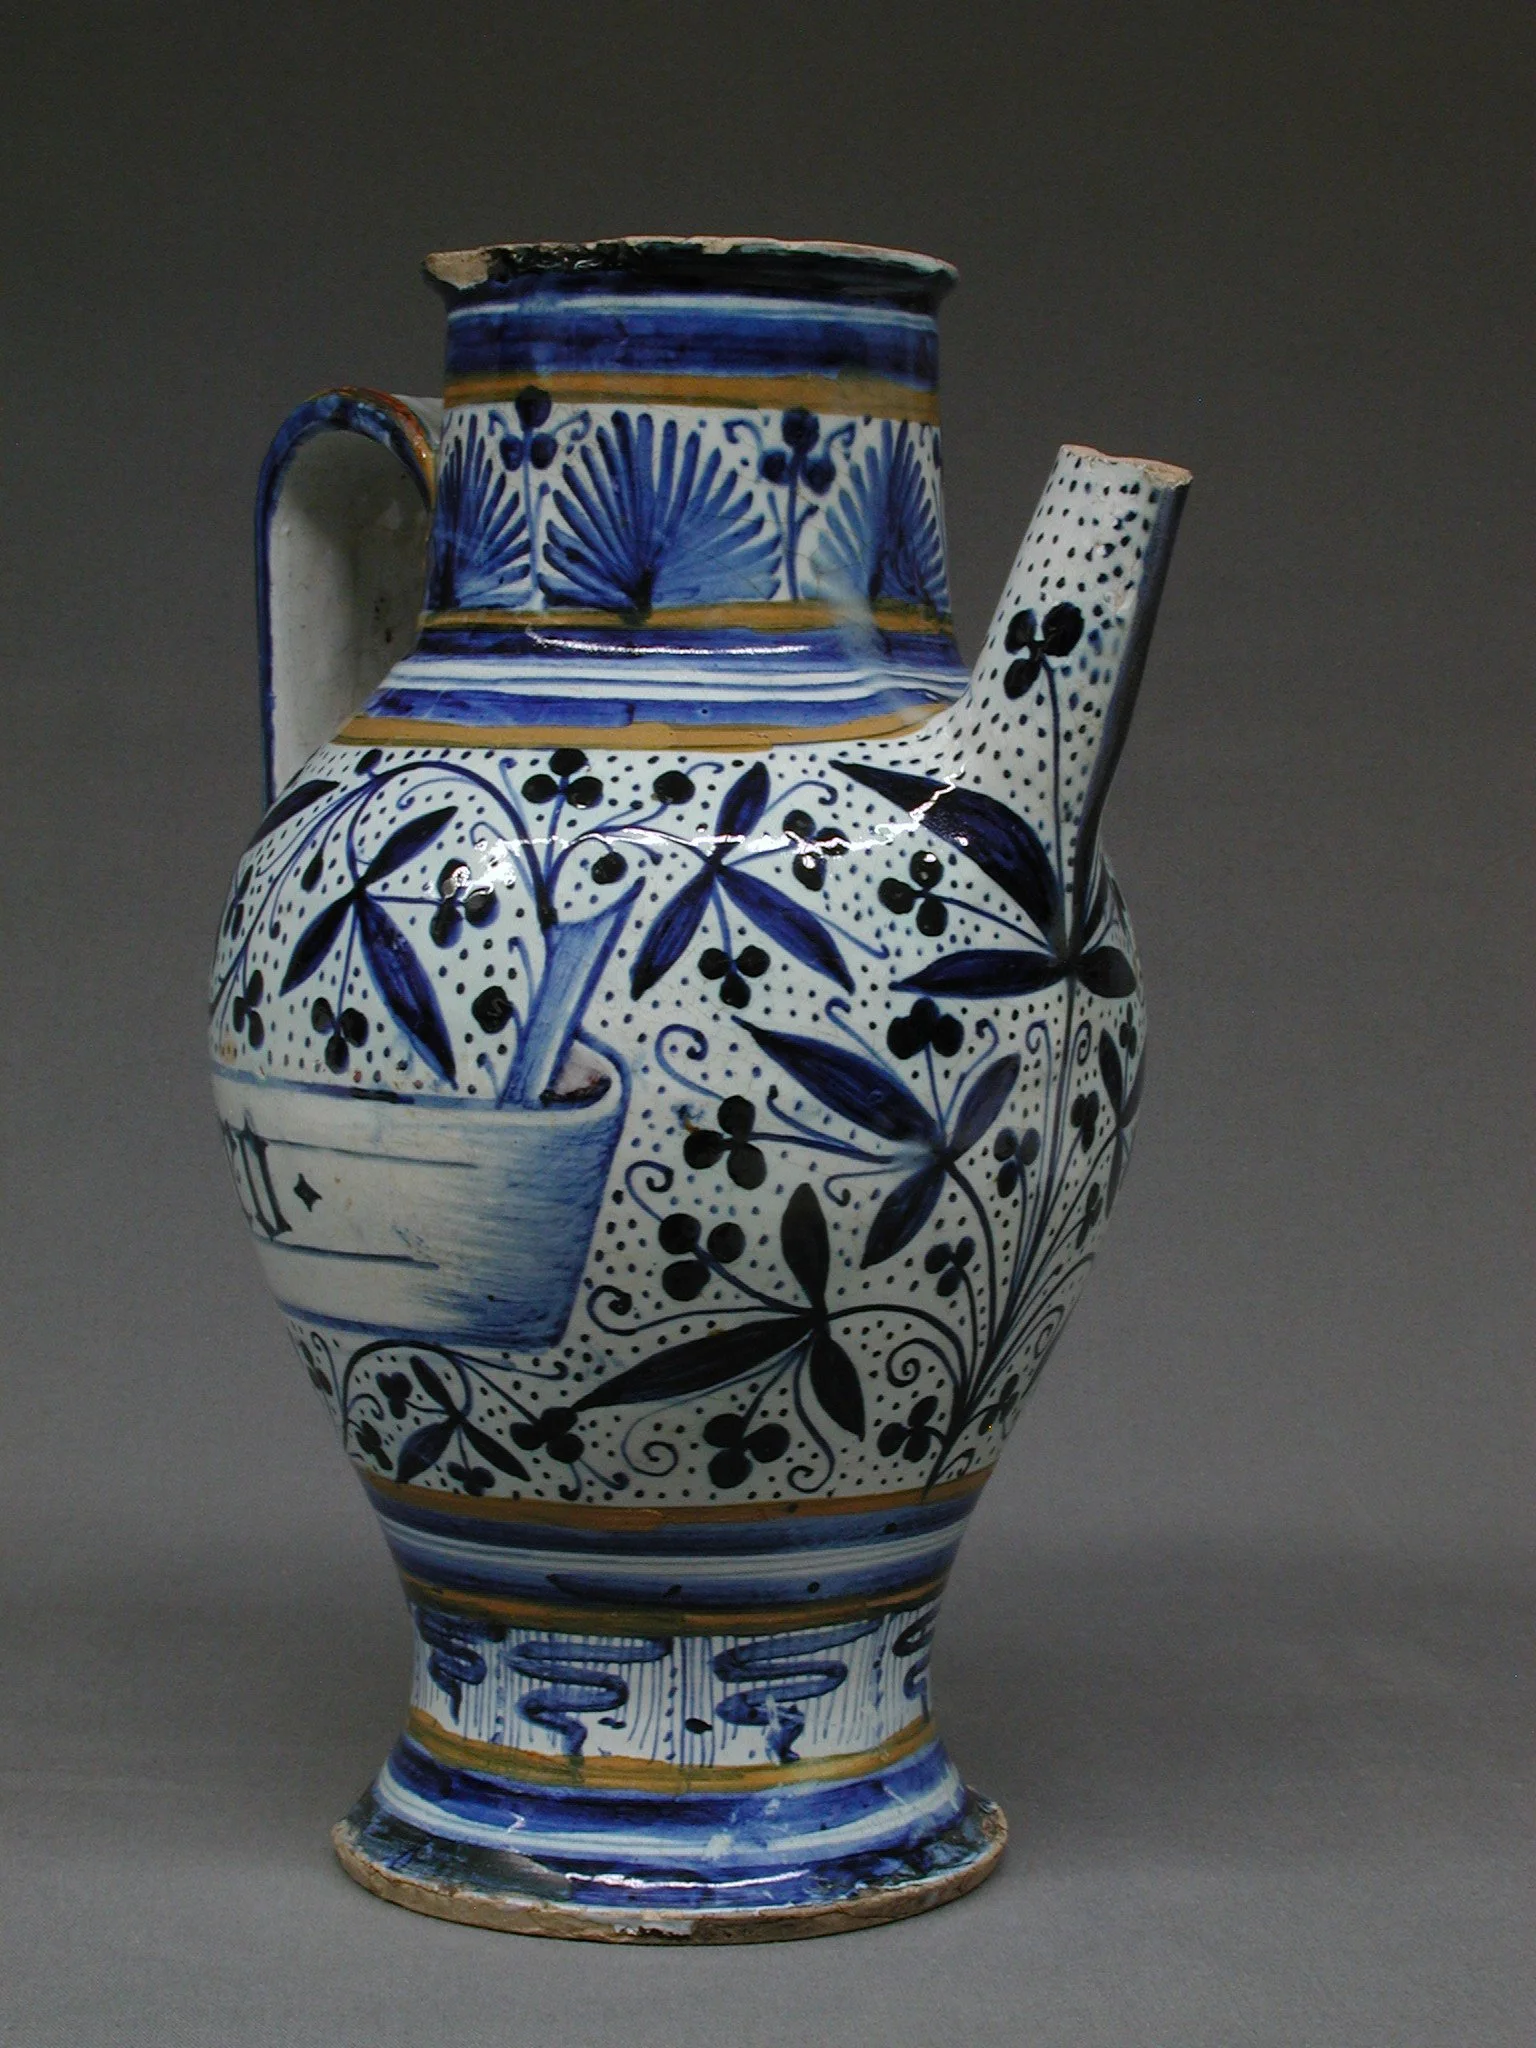
A maiolica pharmacy jar, ca. 1470–90 — the historical apothecary's shelf vessel, painted with the craft's own mortar. Every storage line in your portfolio ("Glass jar, cool shelf, labeled with specimen code and date") is this vessel's discipline, five centuries on.
The Metropolitan Museum of Art, Open Access (CC0). Object 199726, "Pharmacy jar," ca. 1470–90, maiolica (tin-glazed earthenware).
Your portfolio has seven sections, one for each lesson of Unit III plus a final index. If you have kept your records from Lessons 18 through 23, most of the material already exists. Your task is to organize it, complete any gaps, and index it so that every entry can be found in under a minute.
Section 1: Roots, Bark & Resins (from Lesson 18)
One entry per material studied. Each entry records the material's identity, source, condition on receipt, density and moisture observations, fracture behavior notes, and storage location. Include at least one sketch or pressed specimen reference per entry.
Section 2: Oils, Waxes & Botanical Bases (from Lesson 19)
One entry per base studied. Each entry records viscosity observations, melting behavior, absorption notes, stability observations, and preparation compatibility notes. Record which bases you worked with directly and which you studied from samples.
Section 3: Salts, Clays & Mineral Materials (from Lesson 20)
One entry per mineral material. Each entry records grain structure, absorbency, suspension behavior, moisture interaction, and any purification performed. Include your salt crystallization and clay suspension observations here.
Section 4: Grinding & Processing Records (from Lesson 21)
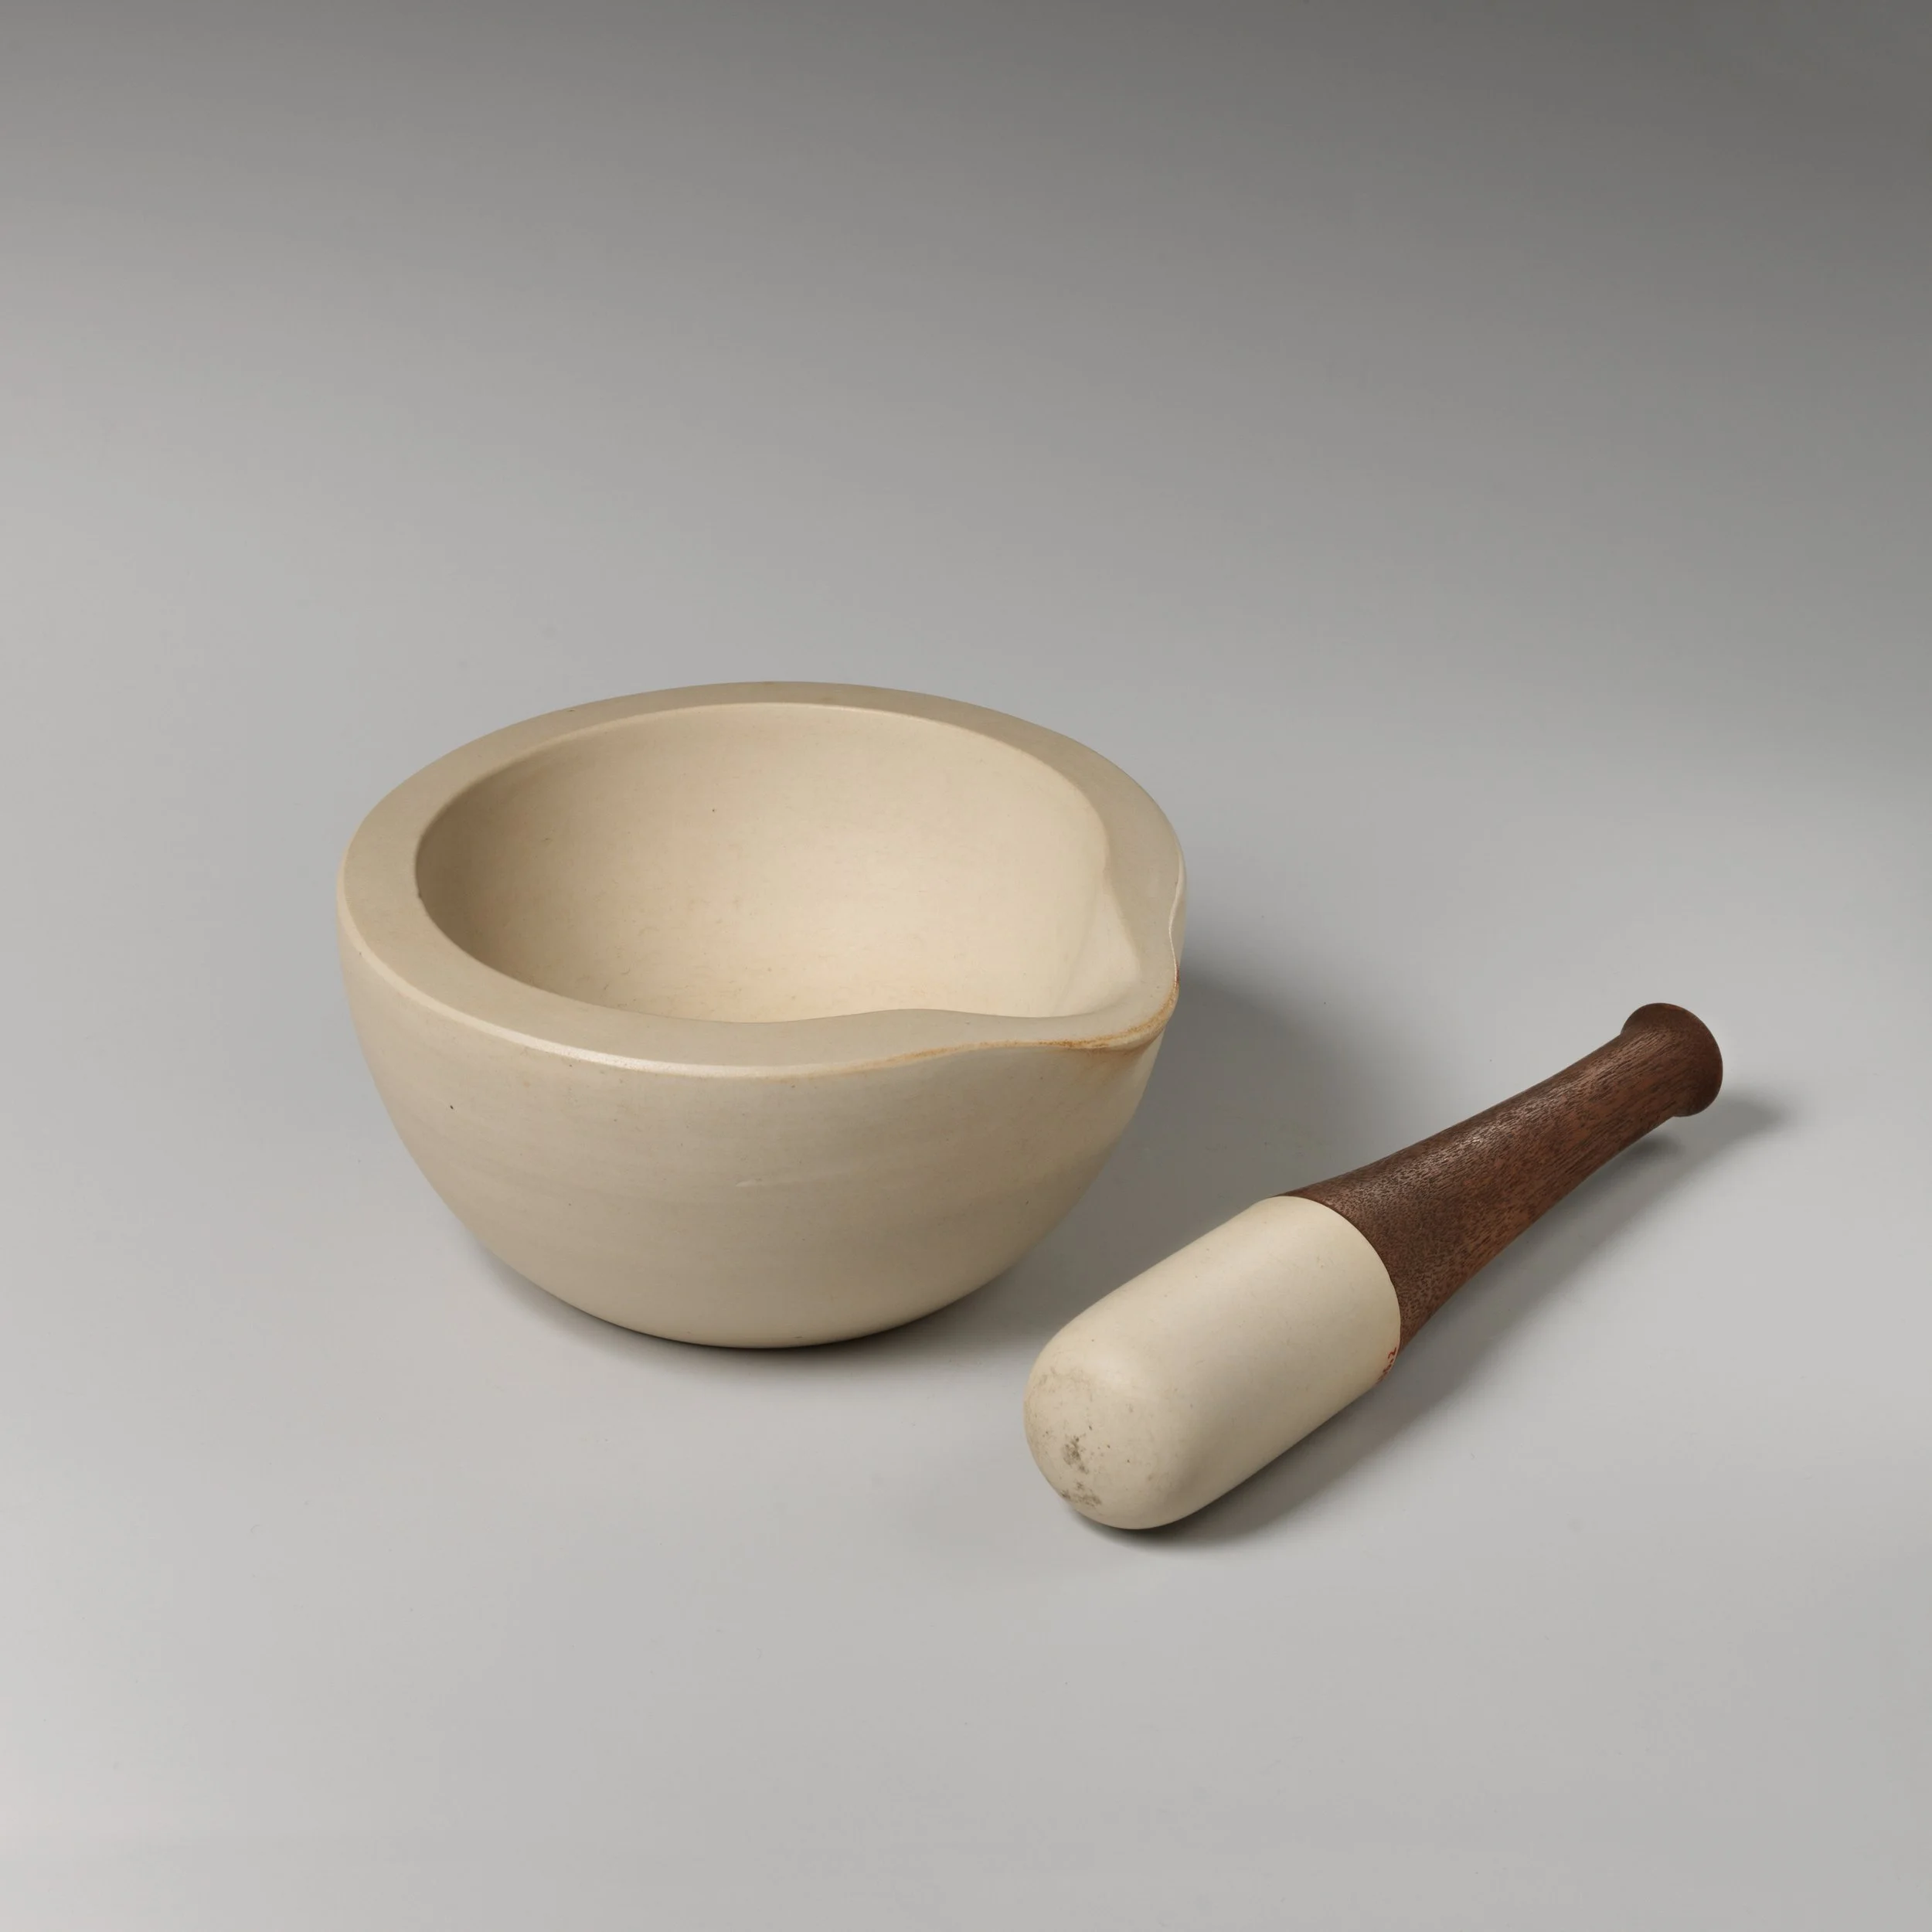
A mortar and pestle, ca. 1780, unglazed stoneware with a wooden-handled pestle. The model entry's burdock took eight minutes in a ceramic mortar under firm, steady pressure; the grinding log exists so that the next root's eight minutes can be compared against these.
The Metropolitan Museum of Art, Open Access (CC0). Object 206740, "Mortar and pestle," ca. 1780, unglazed fine stoneware, wood.
Your grinding log: every material ground, the tool used, starting texture, final particle size, time taken, and observations on fracture behavior. Include your ochre pigment grinding notes and the particle size comparison records.
Section 5: Filtration & Separation Records (from Lesson 22)
Your filtration log: every filtration performed, the method used (cloth, gravity settling, strainer), what was separated, clarity observations, and time required. Note which methods suited which materials.
Section 6: Extraction Preparation Records (from Lesson 23)
Your preparation ledger: every material prepared for extraction, the conditioning performed (cutting, powdering, softening, hydration), and the intended extraction method. This section is the bridge into Unit IV. Make it complete, because Unit IV will assume it exists.
Section 7: Index & Cross-References
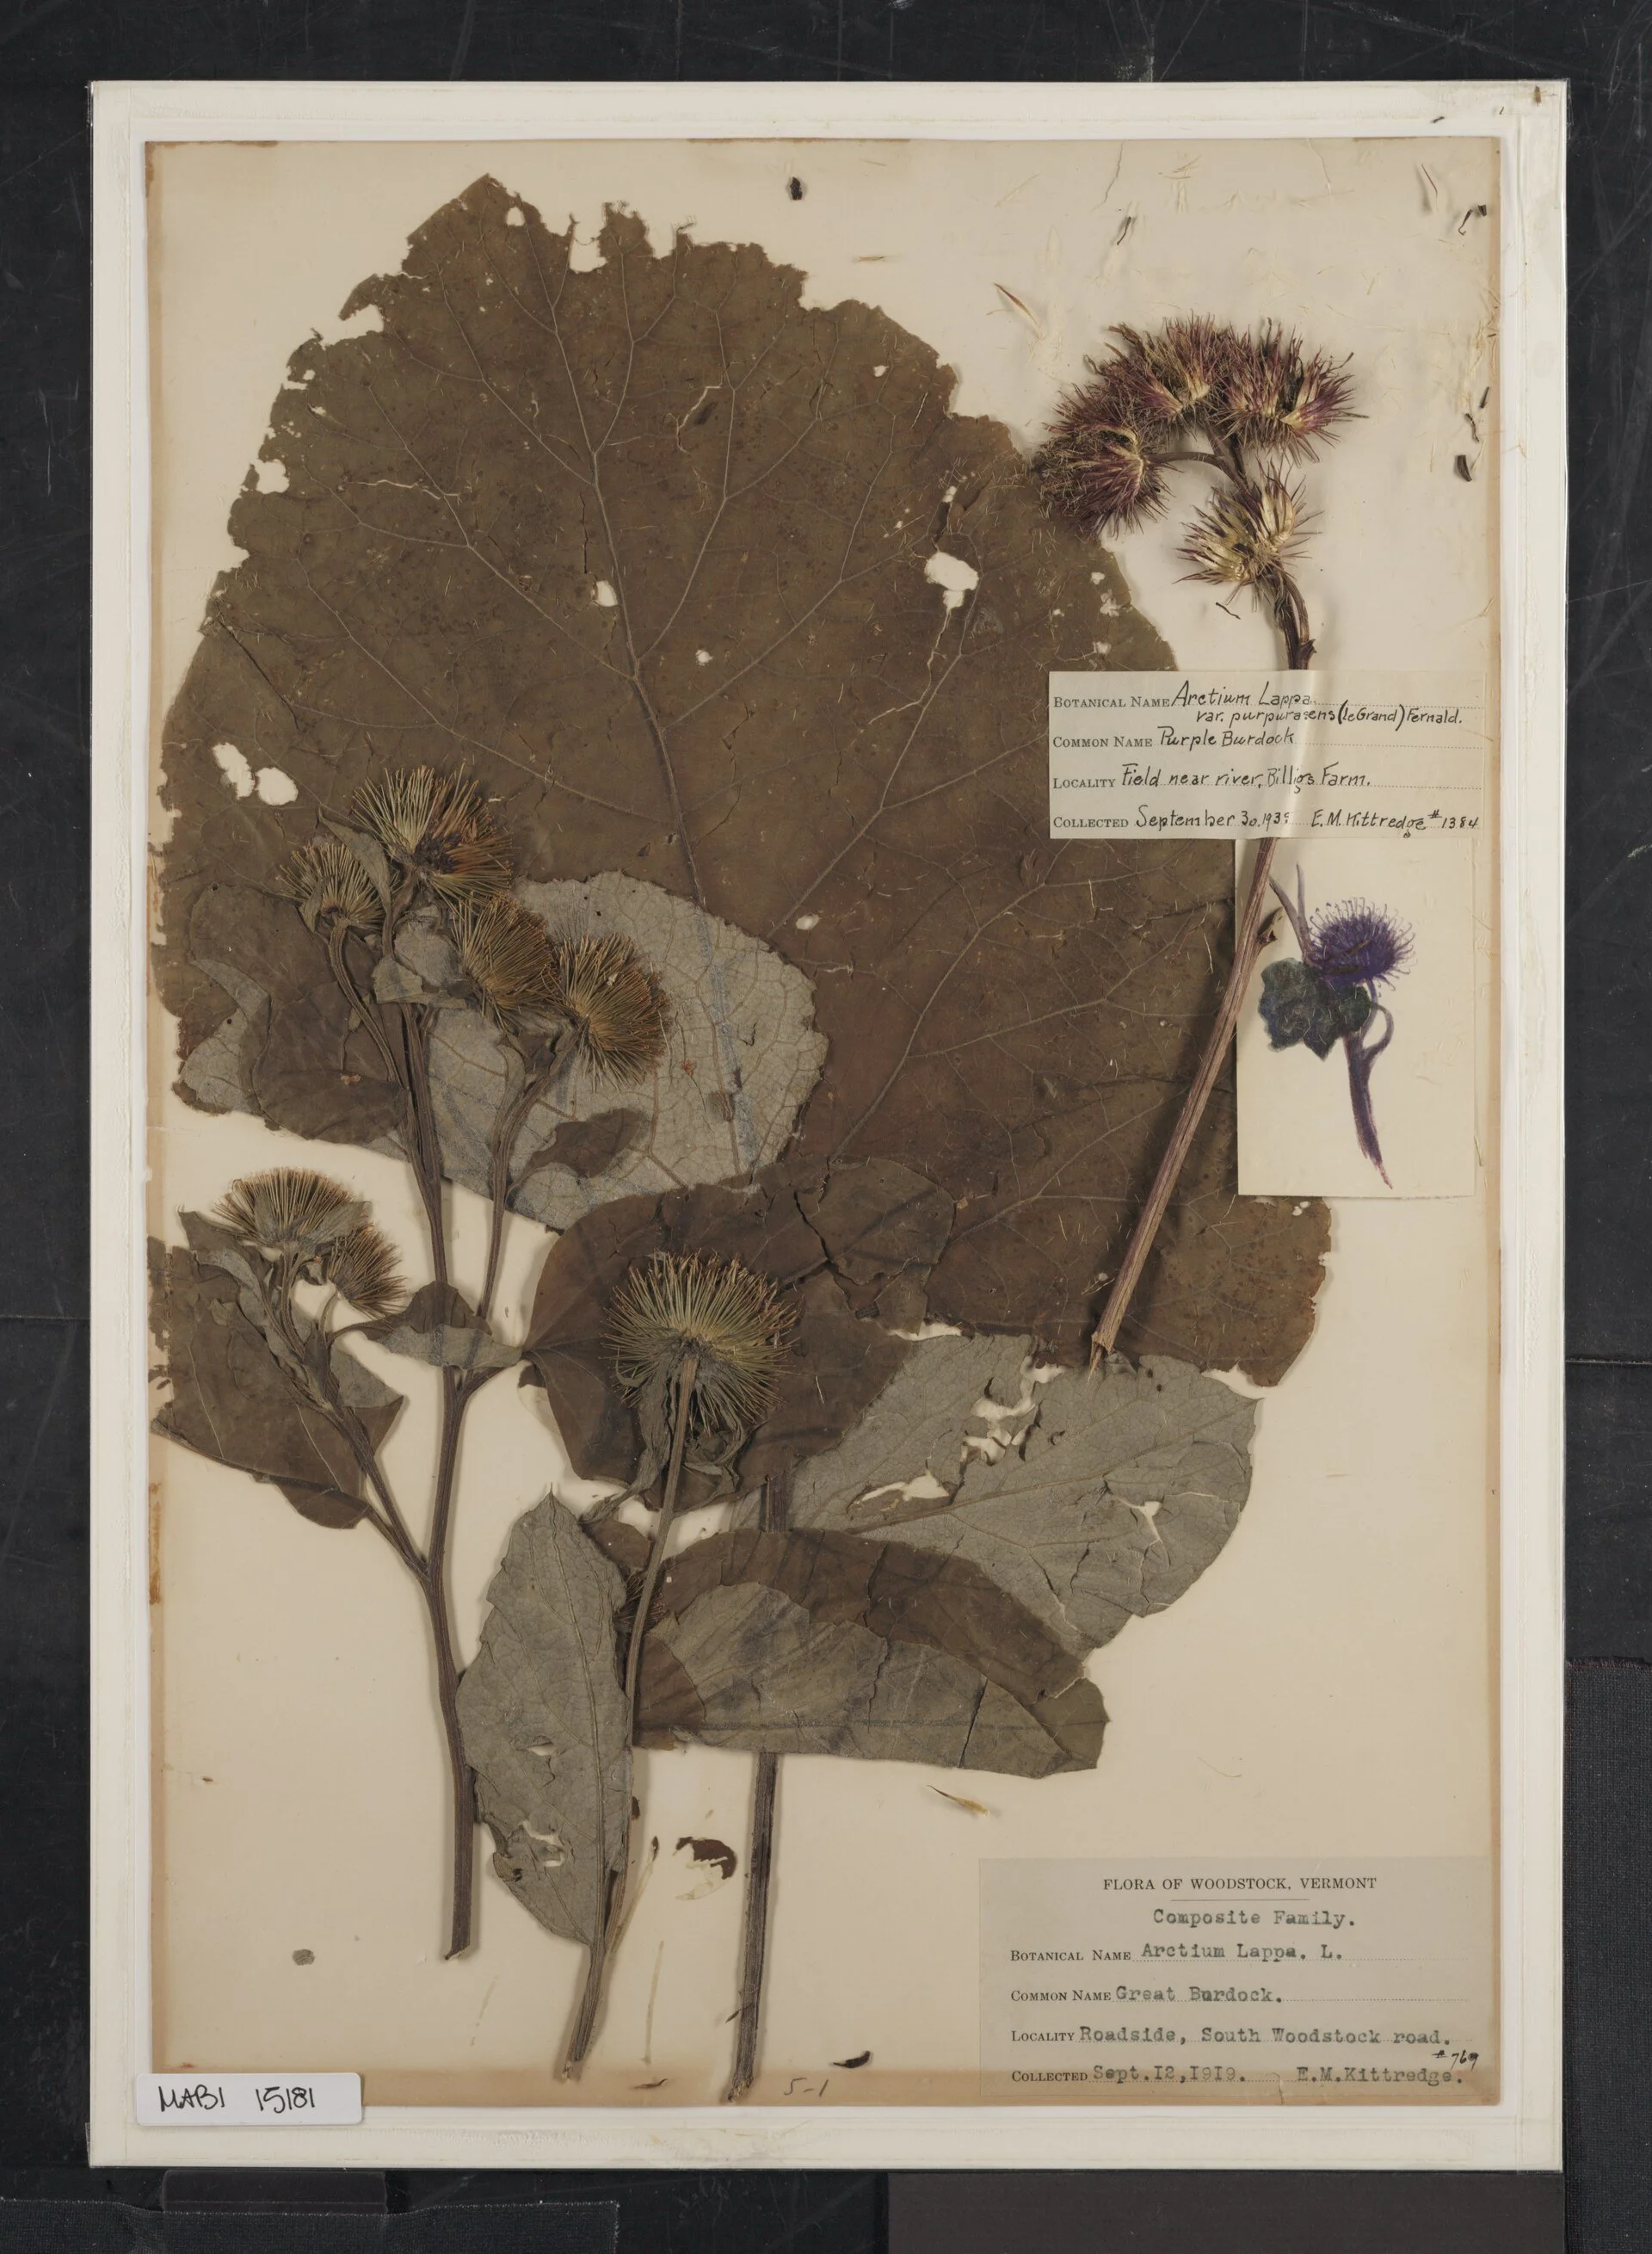
A herbarium sheet done right: the specimen, its botanical and common names, where it was gathered, when, and by whom — the institutional ancestor of your portfolio entry and its specimen code, still findable more than a century after it was collected. Kept here as a record-keeping portrait, not an identification guide.
Billings-Kittredge Herbaria (collected by E. M. Kittredge, Woodstock, Vermont, 12 September 1919), photograph U.S. National Park Service, via Wikimedia Commons. Public domain.
★ A master index listing every material by name, with the section and page where its full entry lives. Cross-reference each botanical entry to the shared Materia Botanica. Cross-reference mineral entries to their preparation and filtration records. The index is what turns a pile of notes into an archive. Do not skip it.
Check in: Which section is built last, and which section is the bridge into Unit IV — and what does the lesson say Unit IV will assume about it?
❦ In your workbook: record the seven sections in your own way — six sections of records, one of finding, and Section 6 complete because Unit IV assumes it exists — copy, sketch, or note what matters.
In your packet: Assignment I — The Portfolio Build ⚒ begins here. Work it now, or mark the place and take it as homework — your choice.
Model Entry: A Complete Portfolio Entry
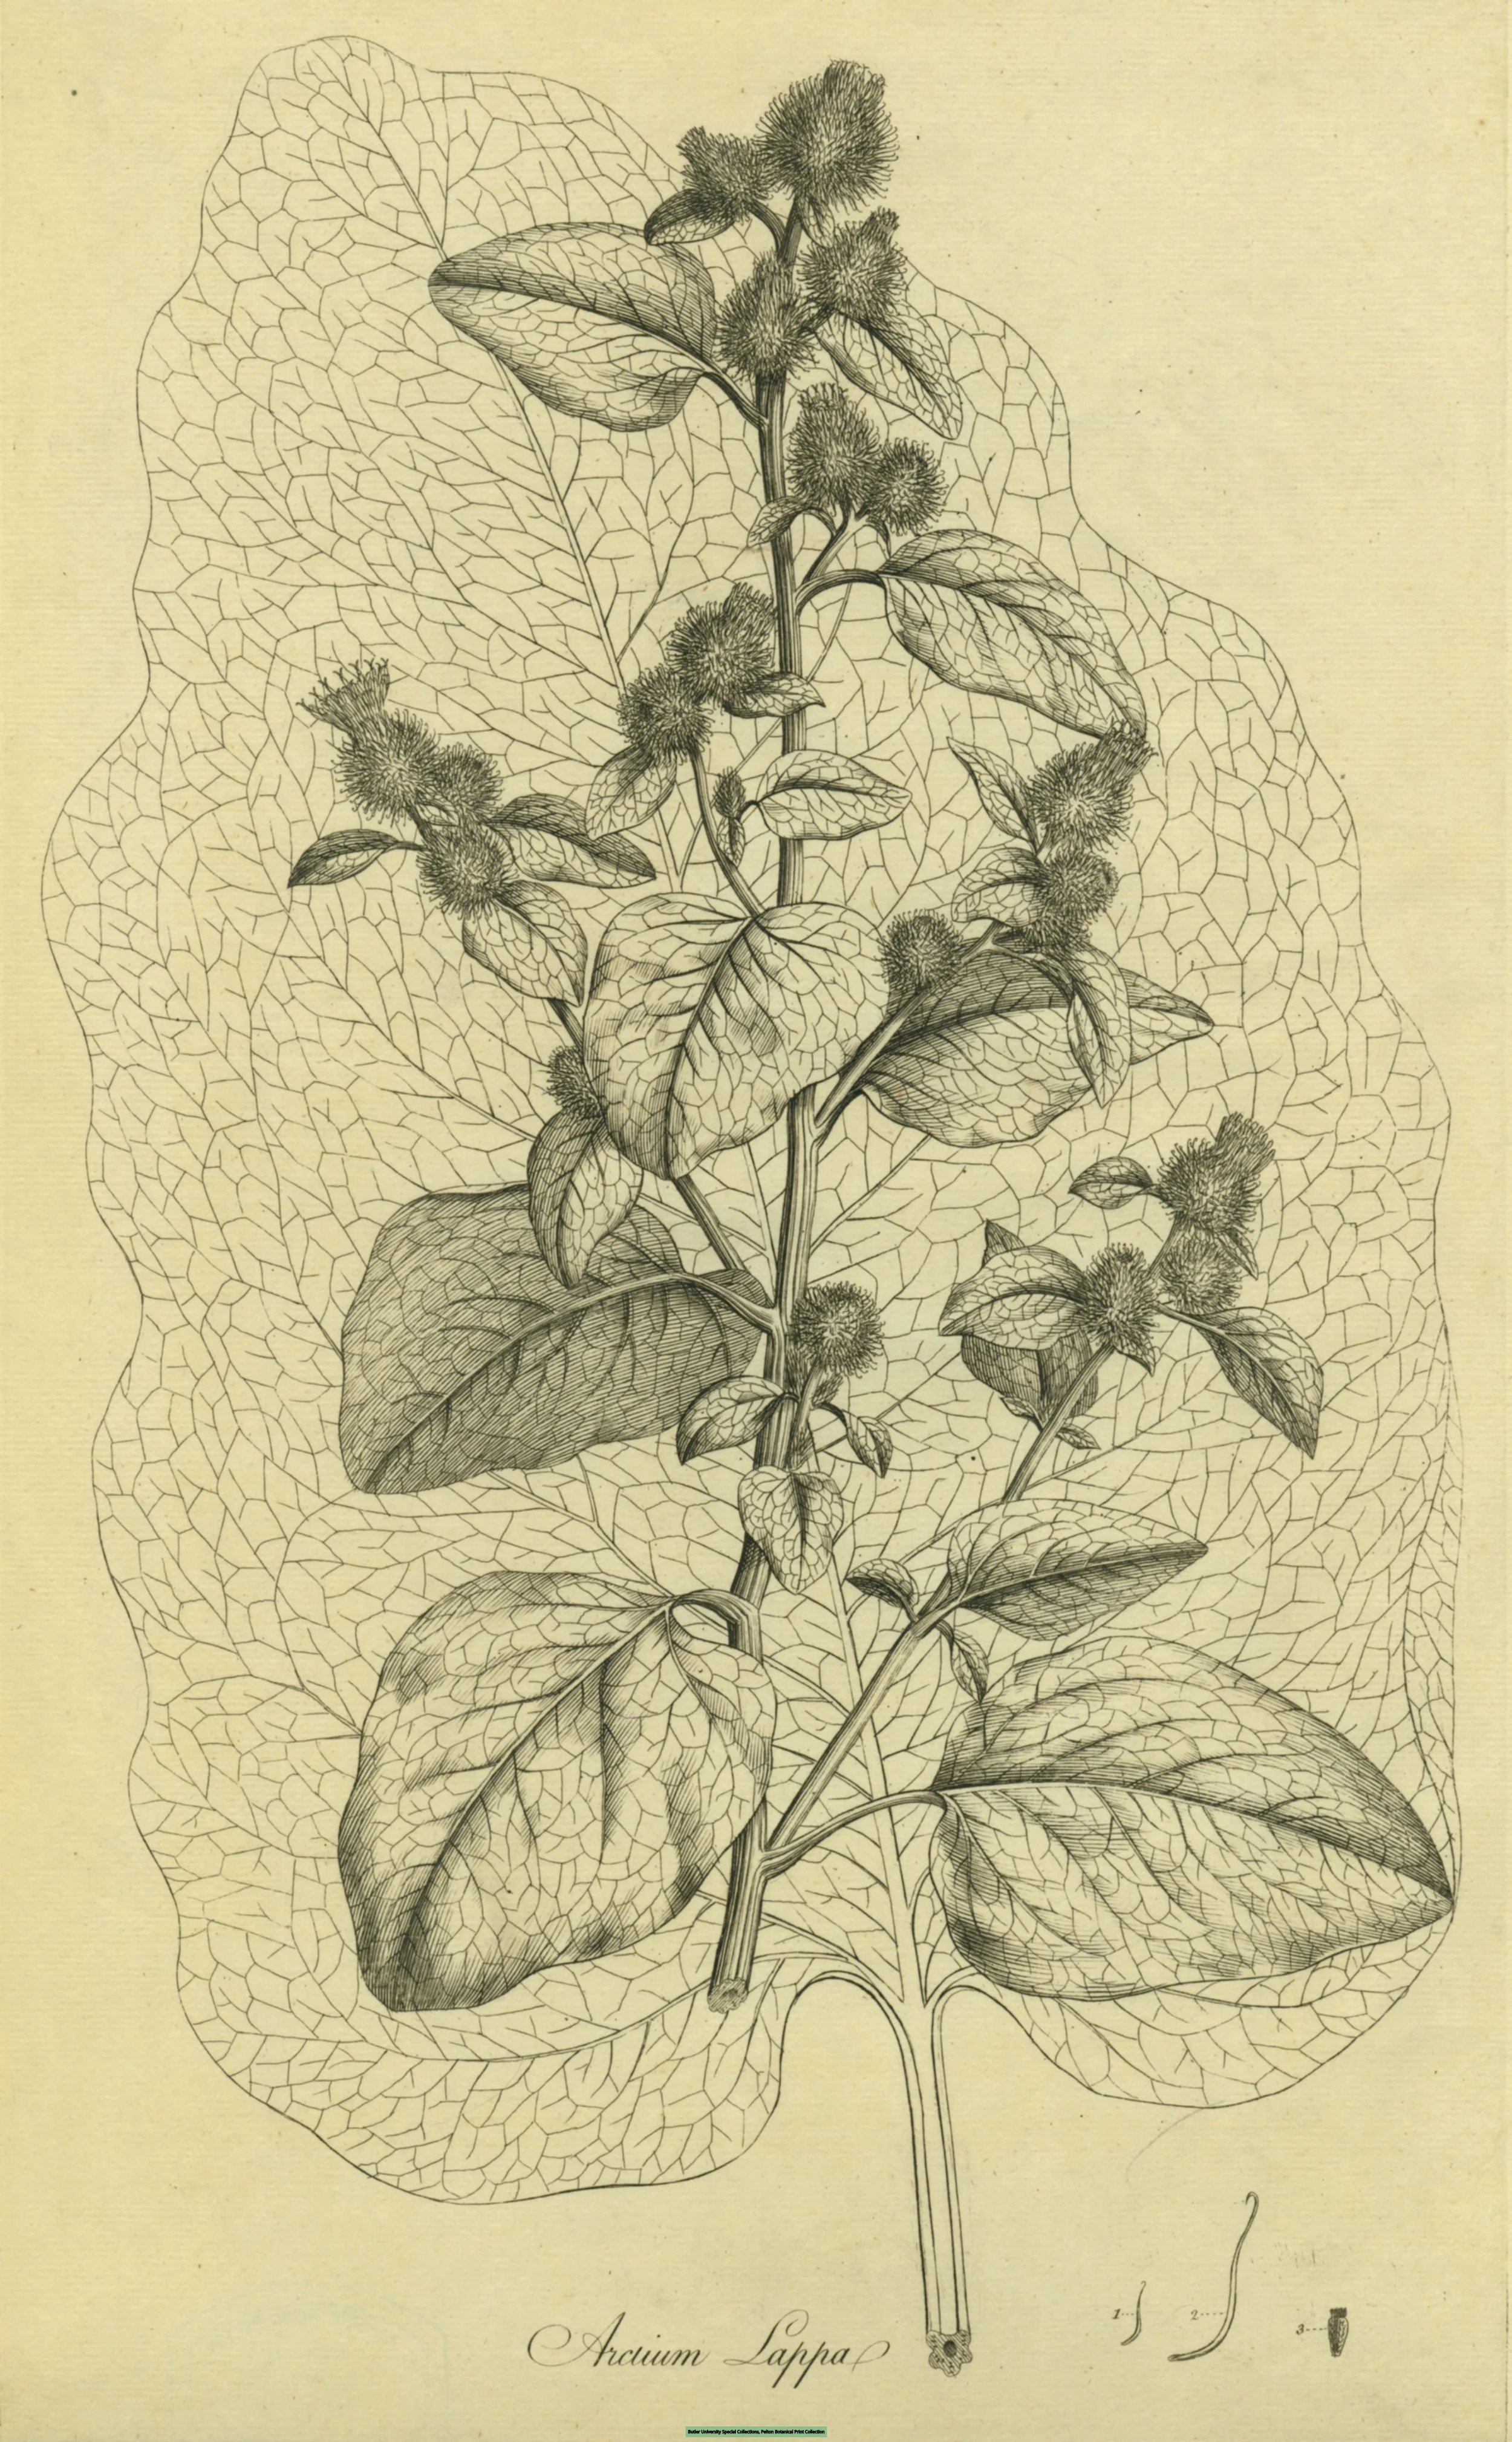
Burdock, Arctium lappa — the plant of the lesson's model entry, engraved whole: burs, leaves, and the great leaf behind, the way a portfolio entry is written part by part against the whole material. A study portrait; your entry is written from the root in your hand, never from a picture.
Arctium Lappa, botanical engraving (Baylor University Special Collections, Phelps Botanical Print Collection), via Wikimedia Commons / DPLA. Public domain.
Study this example before writing your own. It shows the level of detail the Master Portfolio Standard requires.
MATERIAL: Dried burdock root, cut and sifted SPECIMEN CODE: U3-R-004 PROVENANCE: Purchased, dried; supplier recorded in intake log, Lesson 18 SECTION: 1 (Roots, Bark & Resins)
Condition on receipt: Pieces 1 to 3 cm, hard, pale tan interior with darker bark. Snaps cleanly with a sharp crack. No mold, no soft spots, no off odor. Aroma faintly sweet and earthy.
Density and moisture: Sinks promptly in water (dense, well dried). No flexibility when bent; fractures rather than yielding, indicating thorough drying.
Grinding record (cross-ref Section 4, p. 12): Ground in ceramic mortar, 8 minutes to coarse powder. Root is fibrous; required firm, steady pressure. Produced some stringy fragments that resisted powdering; these were separated by sifting and set aside for decoction work, where coarse pieces are acceptable.
Filtration note (cross-ref Section 5, p. 7): Coarse pieces settled readily in water; fine powder remained suspended for several minutes before settling. Relevant to future decoction preparation.
Storage: Glass jar, cool shelf, labeled with specimen code and date. Away from direct light.
Materia Botanica cross-reference: Burdock entry, shared Materia Botanica.
Scholar's note: The fibrous pieces that would not powder taught me something: not every part of a root grinds the same way. I had assumed grinding was grinding. It is not. The stringy fragments went into the decoction jar instead of the powder jar, and that felt like the right decision. Professor Muddlenook would call this "letting the material tell you what it wants to be." I am beginning to understand what he means.
Notice what this entry does. It records facts (measurements, observations, locations), it cross-references other sections, and it includes one honest reflection. The reflection is not decoration. Six months from now, when you read this entry, the reflection will remind you what you learned, not just what you did.
Check in: The burdock's stringy fragments resisted powdering. Where did they go instead, what work were they set aside for — and why does the entry call its closing reflection something other than decoration?
❦ In your workbook: record the model entry in your own way — the field order of a complete entry, its two cross-references, and the honest reflection it ends with — copy, sketch, or note what matters.
Professor's Mid-Lesson Note
Sealed with the wax of Professor Crimblebrew Muddlenook, Master Apothecary of the Potions Laboratory, Head of House Meridies.
A word about honesty, scholars, because this is the lesson where it matters most.
You will be tempted, as you assemble your portfolio, to tidy up your records. To round the grinding time to a neater number. To omit the filtration that clogged and had to be restarted. To leave out the salt crystals that grew crooked and strange.
Do not do this.
A portfolio is not a performance. It is a tool. The clogged filter teaches you more than the clean one, because the clogged one tells you what to watch for next time. The crooked crystals tell you something about your evaporation conditions that perfect cubes never would. Record what happened, not what you wish had happened. Your future self, the one attempting extractions in Unit IV, will thank your present self for the truth.
An archive you cannot trust is worse than no archive at all, because it gives you confidence without foundation. Build on stone, not on wishes.
— Professor Crimblebrew Muddlenook, Potions Laboratory • Master Apothecary • Head of House Meridies
❦ In your workbook: record the honesty note in your own way — the clogged filter and the crooked crystals kept, the grinding time unrounded, and confidence built on stone, not on wishes — copy, sketch, or note what matters.
The Consolidation Procedure
Work through your portfolio in the same disciplined order you use for every laboratory session.
Mise en Place
Gather: all Unit III lesson notes, your grinding log, filtration log, preparation ledger, intake records, specimen jars for verification, your portfolio binder or notebook, writing materials, and the Master Portfolio Standard checklist from the assignment packet.
Procedure
- Inventory. Lay out all Unit III records. List what exists and identify gaps. Every lesson from 18 through 23 should have contributed material.
- Section by section. Build Sections 1 through 6 in order. Complete each entry to the standard of the model entry above. Fill gaps by re-examining your stored materials where possible; where re-examination is impossible, mark the entry "incomplete" honestly rather than inventing observations.
- Cross-reference. As you complete each entry, add cross-references to related sections and to the shared Materia Botanica.
- Index. Build Section 7 last, after all other sections are complete. Every material gets an index line.
- Self-assessment. Evaluate your portfolio against the Master Portfolio Standard in the assignment packet. Remedy every deficiency you find.
Observation
As you work, note which sections were easiest to complete and which had the most gaps. The pattern tells you where your record-keeping habits are strong and where they need work. Write these observations on the self-assessment page.
Cleanup
Return all specimen jars to storage, resealed and relabeled. Wipe down your work surface. File loose papers into the portfolio. A consolidation session ends with everything put away, or it is not finished.
Archive Entry
Log this consolidation session in your laboratory journal: date, sections completed, gaps found and filled, gaps that remain, and your self-assessment score. This entry is the first page of your Unit IV readiness record.
Check in: A gap in your records cannot be filled by re-examining the material. What does step 2 of the procedure require you to write on that entry — and why is inventing the observation the one thing it forbids?
❦ In your workbook: record the consolidation procedure in your own way — inventory, sections in order, cross-references as you go, the index last, and the journal entry that closes the session — copy, sketch, or note what matters.
In your packet: Assignment II — The Reconciliation ◐ begins here. Work it now, or mark the place and take it as homework — your choice.
Unit III Safety Consolidation
Before advancing to Unit IV, confirm that you can state the following from memory. If you cannot, review the relevant lesson before proceeding.
- Dusts and powders: Fine grinding produces airborne particles. Work with ventilation, avoid inhaling directly, and wear a dust mask for prolonged grinding sessions. (Lesson 21)
- Resins and heat: Resins soften and melt with heat. Use indirect heat only, never leave melting resin unattended, and keep a clear workspace. (Lesson 18)
- Mineral materials: Some clays and mineral powders irritate skin and eyes. Gloves and eye protection for handling dry powders; wash hands after. (Lesson 20)
- Mold: Any stored botanical showing mold is discarded entirely, container and all. No exceptions, no salvaging. (Lessons 15, 18)
- Labeling: Every container labeled with contents, date, and specimen code. Unlabeled material is treated as unknown and discarded. (All lessons)
- Oils and waxes: Heated oils and melted waxes cause burns. Heat-safe vessels, monitored heat, no water near hot oil. (Lesson 19)
Unit IV introduces solvents, alcohol, prolonged heat, and active extraction. The safety habits you consolidated here are the foundation for everything that follows.
Check in: State the list back from memory, as this section asks. Which item governs an unlabeled jar found on the shelf during reconciliation — and what happens to it?
❦ In your workbook: record the safety consolidation in your own way — dusts, resins and heat, minerals, mold, labeling, oils and waxes, each with its lesson — copy, sketch, or note what matters.
In your packet: Assignment III — The Self-Assessment ✎ begins here. Work it now, or mark the place and take it as homework — your choice.
Guided Observation: Reading the Gaps in Your Own Records
This lesson's observation is desk work, done as the consolidation proceeds: you watch your own record-keeping habits declare themselves in the pattern of the gaps, because the portfolio shows you not only what the materials did, but how the keeper kept them.
Work through it in order, from the lesson's own Observation step.
Note the pattern as you work. As you work, note which sections were easiest to complete and which had the most gaps. The pattern tells you where your record-keeping habits are strong and where they need work. Write these observations on the self-assessment page.
Read the model entry against your own. Study the burdock entry once more — its condition, density, grinding, and filtration fields, its two cross-references, its storage line, and its scholar's note — and set one of your own Section 1 entries beside it. Note every field the model carries that yours does not yet.
Carry the observation into the journal. Log this consolidation session in your laboratory journal: date, sections completed, gaps found and filled, gaps that remain, and your self-assessment score. This entry is the first page of your Unit IV readiness record.
Consider:
- Which section had the most gaps — and is the cause a material you handled carelessly, or a record you wrote carelessly?
- Which gap did you fill by re-examining a stored material, and which did you mark "incomplete" honestly instead?
- What will your Unit IV self thank your present self for having written down?
❦ In your workbook: record the guided observation in your own way — the gap pattern section by section, and the journal entry that opens your Unit IV readiness record — copy, sketch, or note what matters.
Materials
Everything in its place, before we begin. For this consolidation lesson you will need:
Required (Level One — household items)
- All Unit III lesson notes: Lessons 18 through 23, printed or handwritten — your grinding log, filtration log, preparation ledger, and intake records among them
- Your portfolio binder or notebook — a binder or stout notebook: this becomes the physical portfolio. Tabbed dividers for seven sections
- Stored specimen jars, for verification during reconciliation — do not open more than one at a time
- Writing materials: pen, pencil, ruler for the index pages
- Labels and a marker, to correct or replace any unclear container labels you find
- The Master Portfolio Standard checklist from the assignment packet
Suggested (Level Two — historically closer)
- A bound ledger book: sewn or glued binding, as historical apothecaries used for permanent records
- An archival ink pen: fade-resistant ink for entries meant to last years
- Numbered specimen tags: tied tags bearing your specimen codes, in the manner of old pharmacy jars
- Acid-free paper for the index page and any entries you will keep for years
Safety notes for the verification work (from the packet, in its words): Wear a dust mask when handling fine powders during verification. Work with ventilation when examining resins or aromatic materials. Wear gloves for mineral materials that irritate skin; wash hands after. If any stored material shows mold, discard the entire container. Do not attempt to salvage it. Reseal and relabel every jar you open. An open jar is a forgotten jar.
Reflection Questions
Answer the following questions in your workbook.
- The lesson says an apothecary who records only successes is writing advertising, not science. Which of your Unit III records is a failure you were tempted to leave out — and what does it teach that a success could not?
- Why is the index built last but consulted first? What breaks in Unit IV if Section 7 is skipped or built before the other sections are complete?
- The model burdock entry sends its stringy fragments to the decoction jar instead of the powder jar. What does that decision show about the difference between recording what a material did and forcing it into what you expected?
- Your self-assessment names three record-keeping habits to improve in Unit IV. Which of the three answers a gap pattern you actually found in this consolidation — and which section's gaps exposed it?
- The reconciliation checks paper against jars. Why does the lesson insist every discrepancy be remedied before advancing, rather than noted and carried into Unit IV?
Workbook Checklist — Lesson 24
In my workbook I have:
- ☐ inventoried all Unit III records, Lessons 18 through 23, and listed what exists and where the gaps are
- ☐ built Sections 1 through 6 in order, every entry completed to the model entry's standard, with gaps marked "incomplete" honestly rather than invented
- ☐ added cross-references to related sections and to the shared Materia Botanica as each entry was completed
- ☐ built Section 7 last: every material indexed by name, with section and page, so any entry can be found in under a minute
- ☐ performed the full reconciliation — every recorded specimen checked against its physical jar, labels, condition, and storage confirmed, every discrepancy remedied, and the sheet filed at the front of the portfolio
- ☐ scored my portfolio against the Master Portfolio Standard and written the one-page assessment: strongest section, weakest section, three habits to improve
- ☐ stated the Unit III Safety Consolidation from memory, and logged the consolidation session in my laboratory journal as the first page of my Unit IV readiness record
☐ Lesson completed Date: ___ Signature: ___
The Professor's Closing Note
Sealed with the wax of Professor Crimblebrew Muddlenook, Master Apothecary of the Potions Laboratory, Head of House Meridies.
You began this unit with roots and bark, the heaviest and most stubborn materials in the apothecary's collection. You learned to grind them, to filter them, to suspend clays and crystallize salts, to prepare every dense material for the transformations to come.
Now your portfolio holds all of it, organized, indexed, and honest. That is no small achievement. Many students can perform a technique once. Fewer can document it so clearly that another person could repeat it. You have done the harder thing.
In Unit IV, we begin extraction: drawing the hidden properties out of these prepared materials with oils, water, alcohol, and heat. Your portfolio is the map you will navigate by. Keep it close, keep it current, and keep it honest.
The laboratory is ready. The archive is ready. Soon, so will you.
— Professor Crimblebrew Muddlenook, Potions Laboratory • Master Apothecary • Head of House Meridies
Cross-Class Connections

Herbology · Unit V, Lesson 36 — The Materia Botanica: Building Your Herbal
Come up to the Greenhouse, portfolio-keepers, and build the other half of the book your Section 7 keeps pointing to. Here every plant gets one entry in our shared Materia Botanica: my growing notes beside Professor Muddlenook's keeping notes, eight fields in a fixed order, so the root you ground in his laboratory is the same plant whose growing story stands in this book. Bring the honesty he taught you — cautions written plainly, blanks left honest — and we will write the growing half together.
PROFESSOR BERYL FERNFOOT
Herbology Greenhouse • Master Herbalist • Head of House Oriens

Scrollwork · Unit VI, Lesson 23 — Archive Labels & Library Systems
You have indexed a portfolio of jars and logs. Now come and index a library. In my Scriptorium we take up the label, the list, and the shelfmark at the scale of whole collections — how the medieval librarians made their memory hold, and why a reference book that cannot be found is a book that does not exist. Your under-a-minute index has a thousand-year pedigree, scholars. Come and meet its ancestors.
PROFESSOR QUILLBERRY NOCTURNE
Scrollwork Library

Creative Arts · Unit II, Lesson 11 — Case Binding & Archival Boxes
Your portfolio is pages today, scholars, and a working book for years — if it is housed properly. In my workshop you will learn to case a book to measure and to build the archival box in which a great record rests: boards cut square, a case built to fit the book it houses, a box that will outlast everyone in the room. Build the practice corner first, on scrap, as always. Then bring your Master Portfolio pages when they have grown into a book, and we will house them properly.
PROFESSOR COGBRANCH TIMBERCLANK
Creative Arts Workshop
Further Reading & Sources
- Dioscorides, De Materia Medica (1555 Laguna edition) — World Digital Library
- De materia medica — overview and manuscript history
- The Pharmacopoeia Londinensis of 1618 — British Society for the History of Medicine
- Apothecary jars and early modern pharmacy — Science Museum Group
- Historical pharmaceutical collections — Wellcome Collection
- Mortars, pestles, and the historical pharmacy — Metropolitan Museum of Art
Browse the Potions shelf in the school Library for readable editions of these works.
End of Lesson 24. Unit III complete. Onward to Unit IV: Botanical Extractions.
Submit your work for this lesson using the form below.
CONTINUE IN THE POTIONS LABORATORY
← Previous · Lesson 23: Preparing Ingredients for Extraction Next · Lesson 25: The Preparation Manifest →
Unit III — Dense Materials & Preparation Potions Laboratory — All 52 Lessons
The rest of Unit III: Lesson 18 · Roots & Bark · Lesson 19 · Oils & Waxes · Lesson 20 · Salts & Clays · Lesson 21 · Grinding & Processing · Lesson 22 · Filtration · Lesson 23 · Preparing for Extraction · Lesson 25 · Preparation Manifest