

HERBOLOGY
Unit III · Lesson 25REPOTTING & ROOT BOUND MECHANICS
PROFESSOR BERYL FERNFOOT
Herbology Greenhouse
Master Herbalist
UNIT III • LESSON 25
Propagation, Pruning & Plant Stewardship
Professor's Introduction

Hello, scholars,
Everything you see above the soil is only half the story. The other half is down in the dark, threading through the potting mix, pressing against the walls of the container, doing its quiet work where no one watches. Today we talk about the half you cannot see, and about the day it runs out of room.
Repotting is one of the kindest things you can do for a plant, and one of the easiest to get wrong. Too early, and you disturb a plant that was perfectly content. Too late, and the roots have tied themselves into knots. Too large a pot, and you drown a plant in kindness. The good news is that once you understand what the roots want, the whole procedure becomes simple, and your hands will know what to do.
Come, then. Bring a plant that has been asking you a question through its drainage holes.
— Professor Beryl Fernfoot, Herbology Greenhouse • Master Herbalist • Head of House Oriens

The line beneath the map is our road: every stop a place where the knowledge of plants changed, every lesson a step along it.
Lesson Objectives
By the end of this lesson, you will be able to:
- Recognize the signs of a root-bound plant: circling roots, roots emerging from drainage holes, water running straight through, and slowed growth.
- Explain why a pot only one to two inches larger is the correct choice, and what goes wrong with oversized pots.
- Perform a complete, gentle repotting: release, root inspection, loosening, fresh mix, and settling.
- Describe proper aftercare: watering, reduced light, and the no-fertilizer rule for the recovery weeks.
- State when NOT to repot: new arrivals, dormant seasons, and stressed plants.
- Assess whether your own Scholar's Familiar needs repotting, and plan the procedure or rule it out with reasons.
Reading this lesson: ★ marks the passages to remember. They return on the unit quiz and the class test. Check in questions ask the material back as you go; answer them in your workbook when you meet them.
Working this lesson: Your assignment packet is the first download on this page. Work in it as the lesson moves along, answering each assignment as its subject is taught — or read the lesson through for your notes and take the assignments as homework afterward. Both are proper ways to sit this class. Signposts in the reading tell you where each assignment belongs. Written answers are short answers in your own words; a few honest lines are worth more than a filled page.
Your Assignment Packet
This lesson's assignments live in its packet: the Lexicon Handout (every term, course terms marked ◆), Materials, Guided Practice, the Assignment Manual with its answer key for self-checking, the Reflection Questions, and the Workbook Checklist. Download the packet before you begin and keep it beside you as you read.
The Invisible Crowding
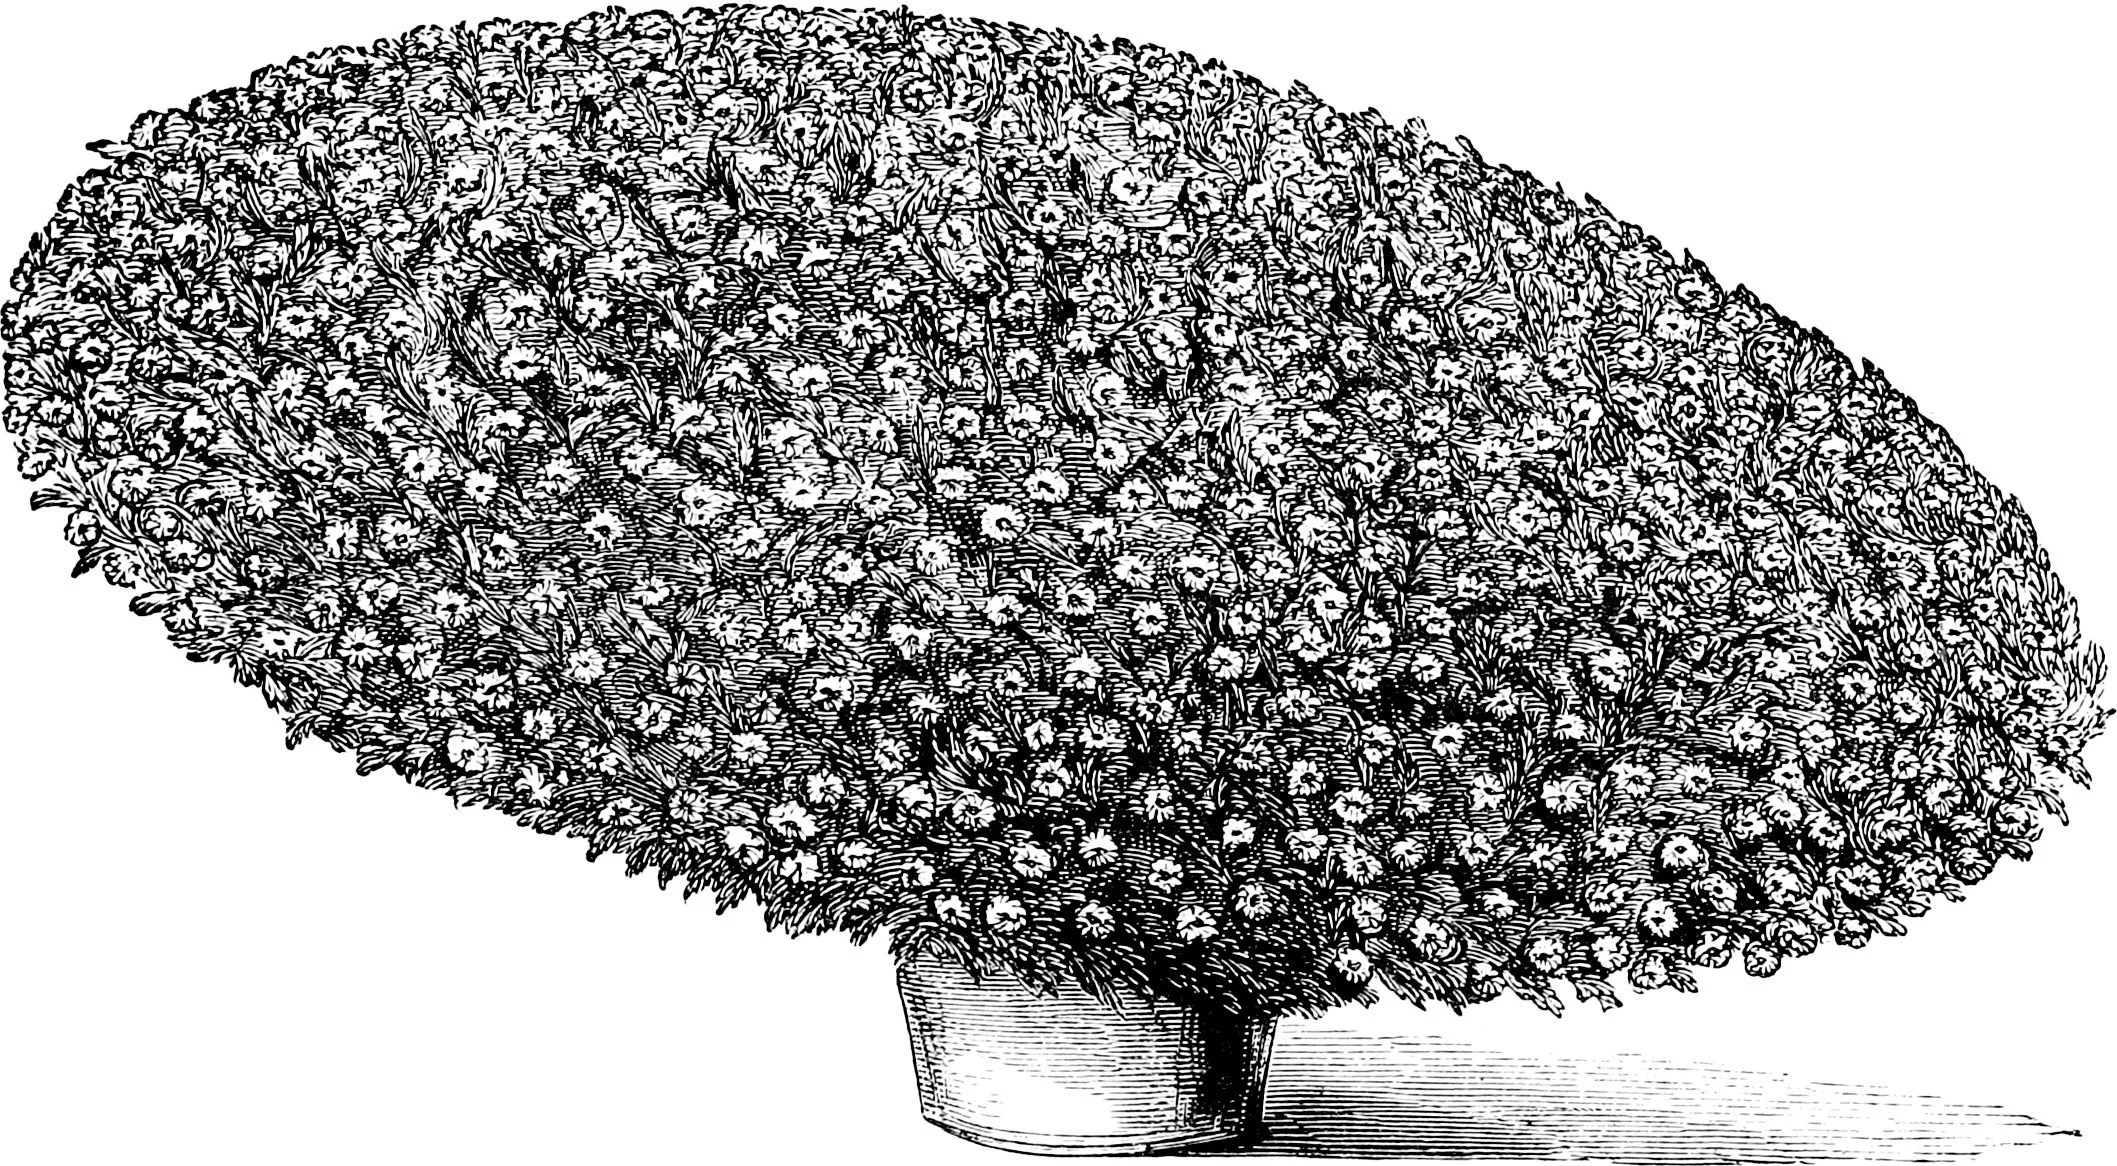
A specimen chrysanthemum grown to show size, from Shirley Hibberd's The Amateur's Greenhouse and Conservatory (1873). Hibberd's growers raised plants like this by shifting them into larger pots as the roots filled each one — the visible plant is only half of what a pot holds.
Shirley Hibberd, The Amateur's Greenhouse and Conservatory (London, 1873). Public domain.
A container is a compromise. In nature, a root system spreads as far as it wishes, foraging outward for water and nutrients, and no wall ever tells it to stop. In a pot, the roots grow outward, meet the wall, and turn. They follow the wall around and around, circling, and as the seasons pass, the circling becomes a dense mat. The plant is not yet dying. It is simply out of room.
Gardeners call this being root bound, or pot bound, and it is one of the most common conditions of container plants. Nearly every houseplant you have ever bought arrived at least partly root bound, because nurseries grow plants fast in small pots and a dense root system ships more safely than a loose one.
★ A root-bound plant can survive for a long time. It will not necessarily look sick. But it is working harder than it should. Water pours through the pot almost as fast as you pour it in, because there is more root than soil to hold the moisture. The plant may slow its growth even in the growing season, because there is nowhere new for the roots to go. And if you lift the plant from its pot, you will see the evidence plainly: a solid mass of roots holding the shape of the container, white tips circling the bottom, sometimes a thick root spiraling like a rope around the whole mass.
Check in: A root-bound plant "is not yet dying. It is simply out of room." What two costs does it pay for staying in that pot?
This is the plant asking for a larger home. Your job is to answer, at the right time, in the right size, with gentle hands.
❦ In your workbook: record the invisible crowding in your own way — the circling mat, the water that will not stay, the growth that slows — copy, sketch, or note what matters.
Reading the Signs
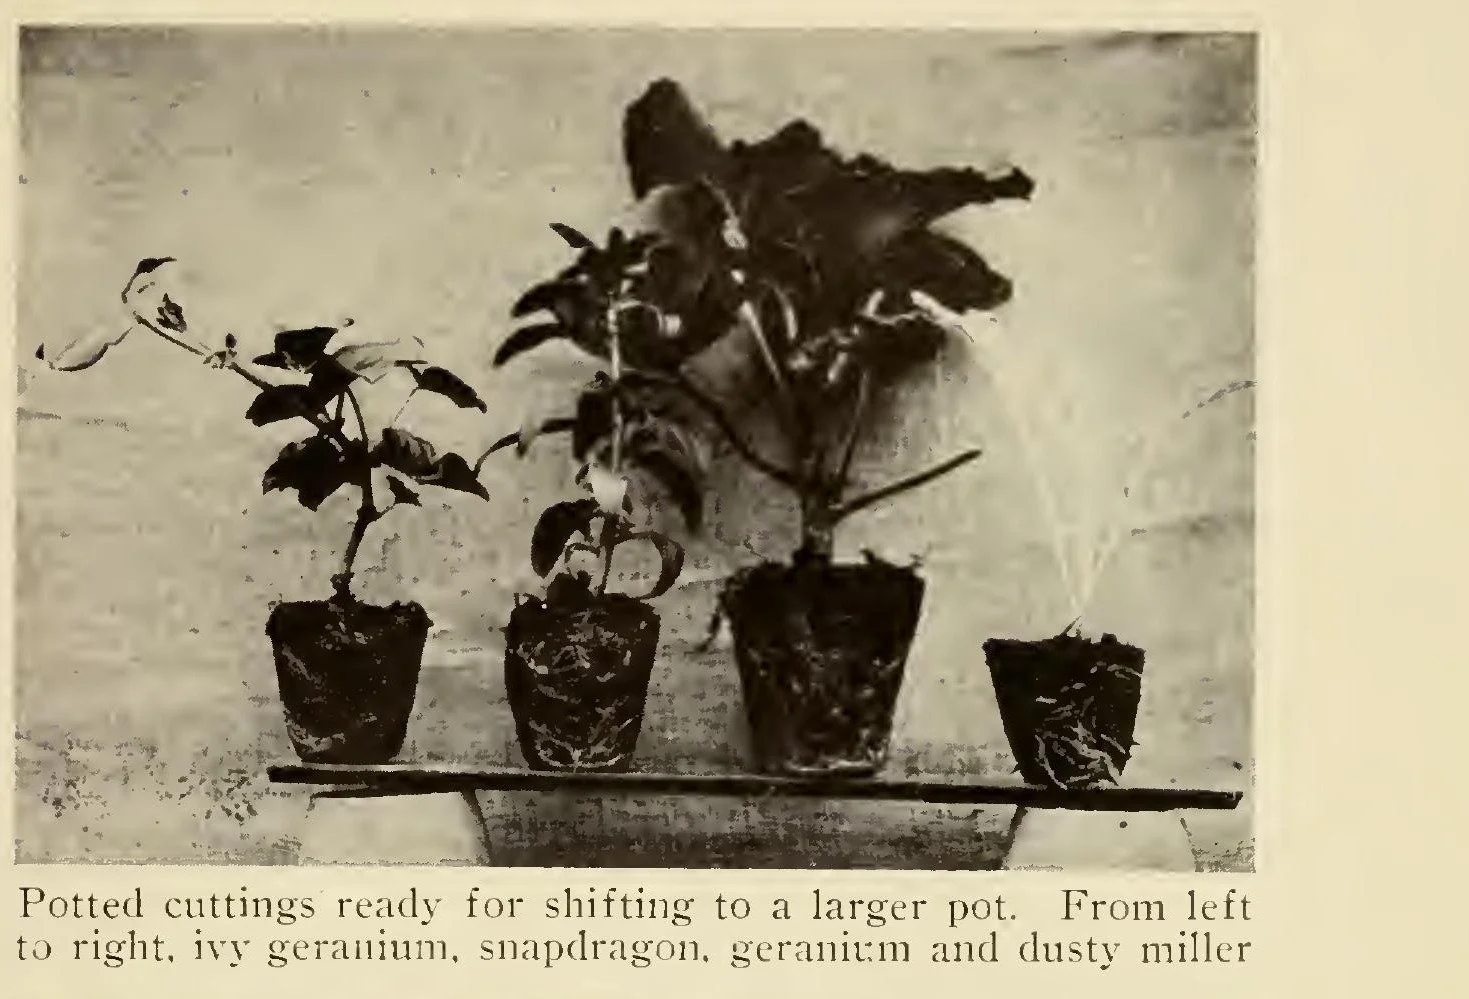
Potted cuttings ready for shifting to a larger pot" — F. F. Rockwell's Gardening Indoors and Under Glass (1912). Knocked out of their pots for the camera, the root balls keep the pots' shape, laced with roots: the lift test's verdict, photographed.
F. F. Rockwell, Gardening Indoors and Under Glass (New York, 1912), plate facing p. 40; scan via the Internet Archive. Public domain.
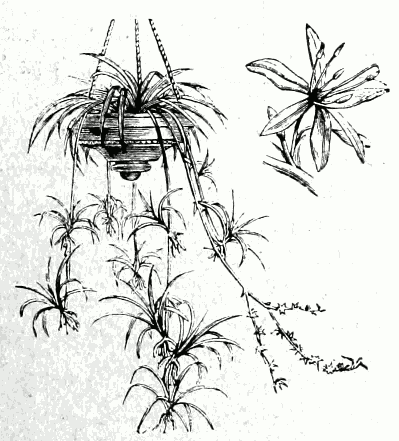
A spider plant in a hanging basket, plantlets cascading on its runners — from Udo Dammer's house-plant book Zimmerblattpflanzen (1908). When the plantlets crowd and the roots follow, this is the plant the lift test is for.
Udo Dammer, Zimmerblattpflanzen (Berlin, 1908). Public domain.
Before you repot anything, confirm that repotting is actually needed. Plants are repotted far too often by enthusiastic beginners, and every repotting is a disruption. Here are the signs that matter, and you should look for more than one:
Roots emerging from the drainage holes. This is the classic sign, and the most visible. Fine roots pushing out of the bottom of the pot mean the root system has filled the container and is looking for more territory.
Water runs straight through. When you water, the liquid pours out the bottom almost immediately, and the soil surface dries within a day. This means roots have displaced most of the potting mix. There is little soil left to absorb and hold water.
Slowed growth in the growing season. A healthy plant in spring or summer should be producing new leaves or stems. If growth has stalled despite good light and proper watering, the roots may have nowhere to expand.
The plant dries out unusually fast. Tied to the water problem: if you find yourself watering twice as often as you used to, the pot is mostly roots now.
Roots circling the surface. Sometimes roots push up and circle around the base of the stem at the soil surface. Another clear signal.
★ The lift test. If you suspect crowding, water the plant first (dry soil crumbles and tears roots), then tip the pot on its side and slide the plant out gently. If the roots form a dense, pot-shaped mat with circling white tips, the diagnosis is confirmed. If the root ball is still loose and the mix falls away easily, the plant is fine. Slide it back in and wait.
Check in: What does the lift test show you that the surface signs cannot — and what result tells you to slide the plant back in and wait?
One sign is a hint. Two signs are a diagnosis.
❦ In your workbook: record the signs in your own way — the drainage holes, the water running through, the lift test and its two answers — copy, sketch, or note what matters.
In your packet: Assignment II — The Familiar's Repotting Assessment ◐ begins here. Work it now, or mark the place and take it as homework — your choice.
Professor's Mid-Lesson Note
My scholars,
A word about timing, because it matters more than most beginners realize. Repot in the growing season, spring through early summer, when the plant is actively producing new roots and can recover quickly. A plant repotted in the depth of winter, when it is dormant and conserving its strength, must heal without the energy to do it.
There are exceptions. A severely root-bound plant, one whose roots are strangling the drainage entirely or pushing the plant up out of its pot, may be repotted at any time. Need outranks season. But if the need is not urgent, wait for spring.
— Professor Beryl Fernfoot, Herbology Greenhouse • Master Herbalist • Head of House Oriens
The One-to-Two-Inch Rule
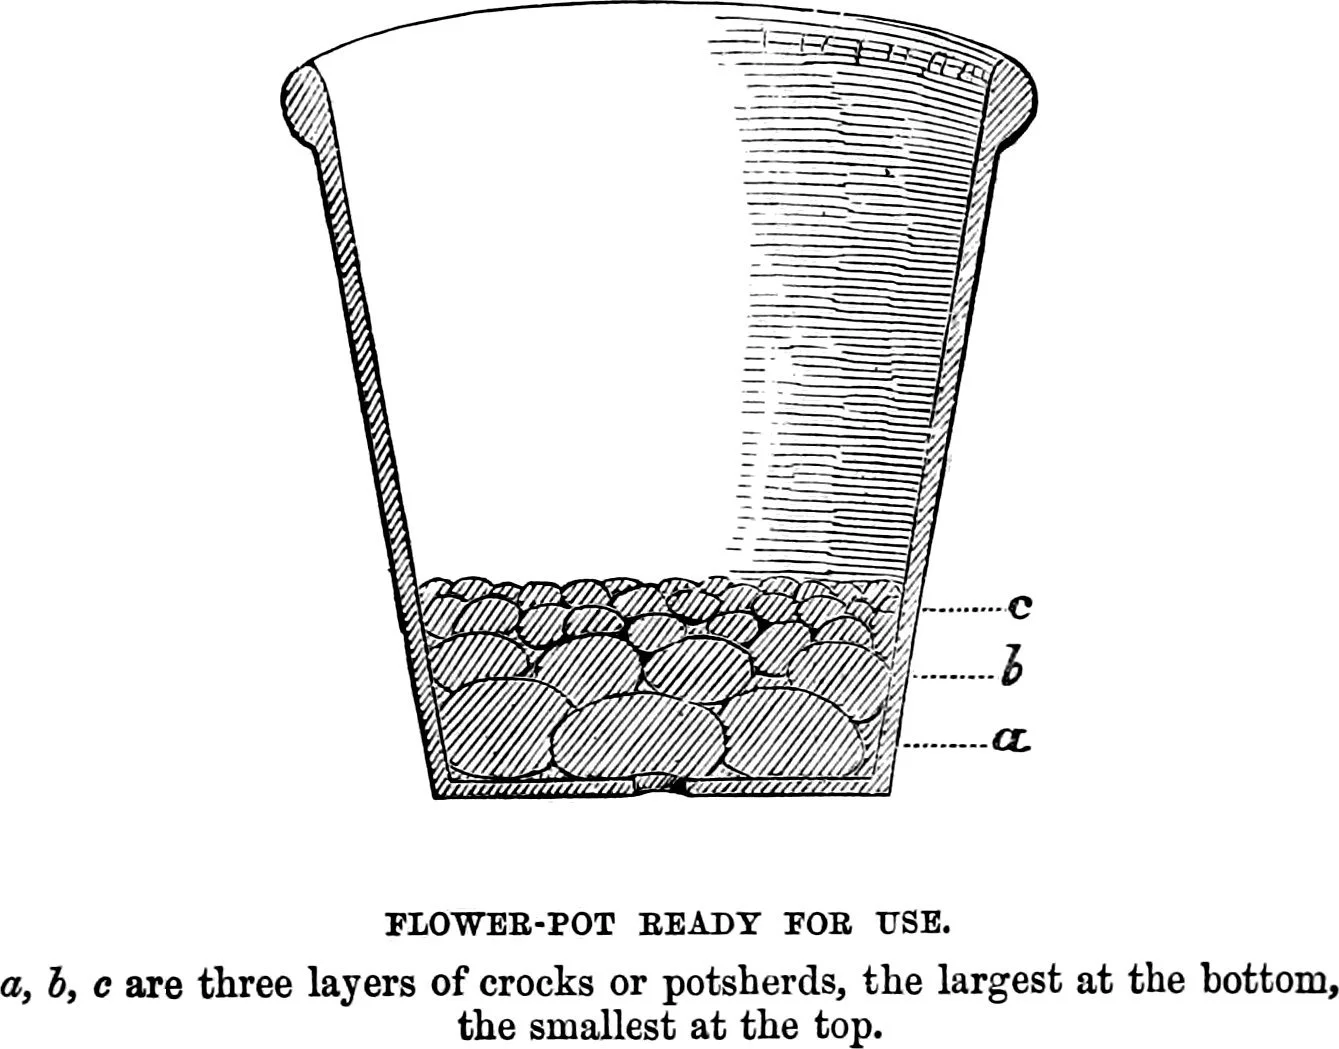
A flower pot in cross-section, from Hibberd's Amateur's Greenhouse and Conservatory (1873): three graded layers of crocks over the drainage hole — the period way of keeping the hole open. The lesson's rule stands behind the drawing: no drainage holes, no repotting into it.
Shirley Hibberd, The Amateur's Greenhouse and Conservatory (London, 1873). Public domain.
★ Here is the rule that prevents the single most common repotting mistake: choose a new pot only one to two inches larger in diameter than the current one.
The temptation is understandable. The plant is cramped, so give it room, lots of room, a grand new mansion of a pot. But a pot that is too large holds far more potting mix than the root system can colonize. The roots drink from only a small portion of it. The rest of the mix stays wet, and wet mix with no roots in it is where rot begins. This is called overpotting, and it is one of the fastest ways to kill a plant with kindness.
Check in: Why does a much larger pot endanger a plant instead of helping it — and where, exactly, does the rot begin?
Think of it this way. Roots are the plant's mouth. A bigger pot is a bigger table. If you seat a child at a banquet table meant for twenty, most of the food goes uneaten and spoils. Give the plant a table it can actually finish: one size up, no more.
There is one exception. If you had to remove a large portion of damaged or rotted roots during repotting, the remaining healthy root system may be smaller than before. In that case, choose a pot the same size as the old one, or even slightly smaller, to match the roots you have rather than the roots you lost.
The new pot must have drainage holes. This is not negotiable. A pot without drainage is a bowl, and bowls drown plants.
❦ In your workbook: record the one-to-two-inch rule in your own way — the banquet table, the wet mix where rot begins, and the one exception — copy, sketch, or note what matters.
The Repotting Procedure
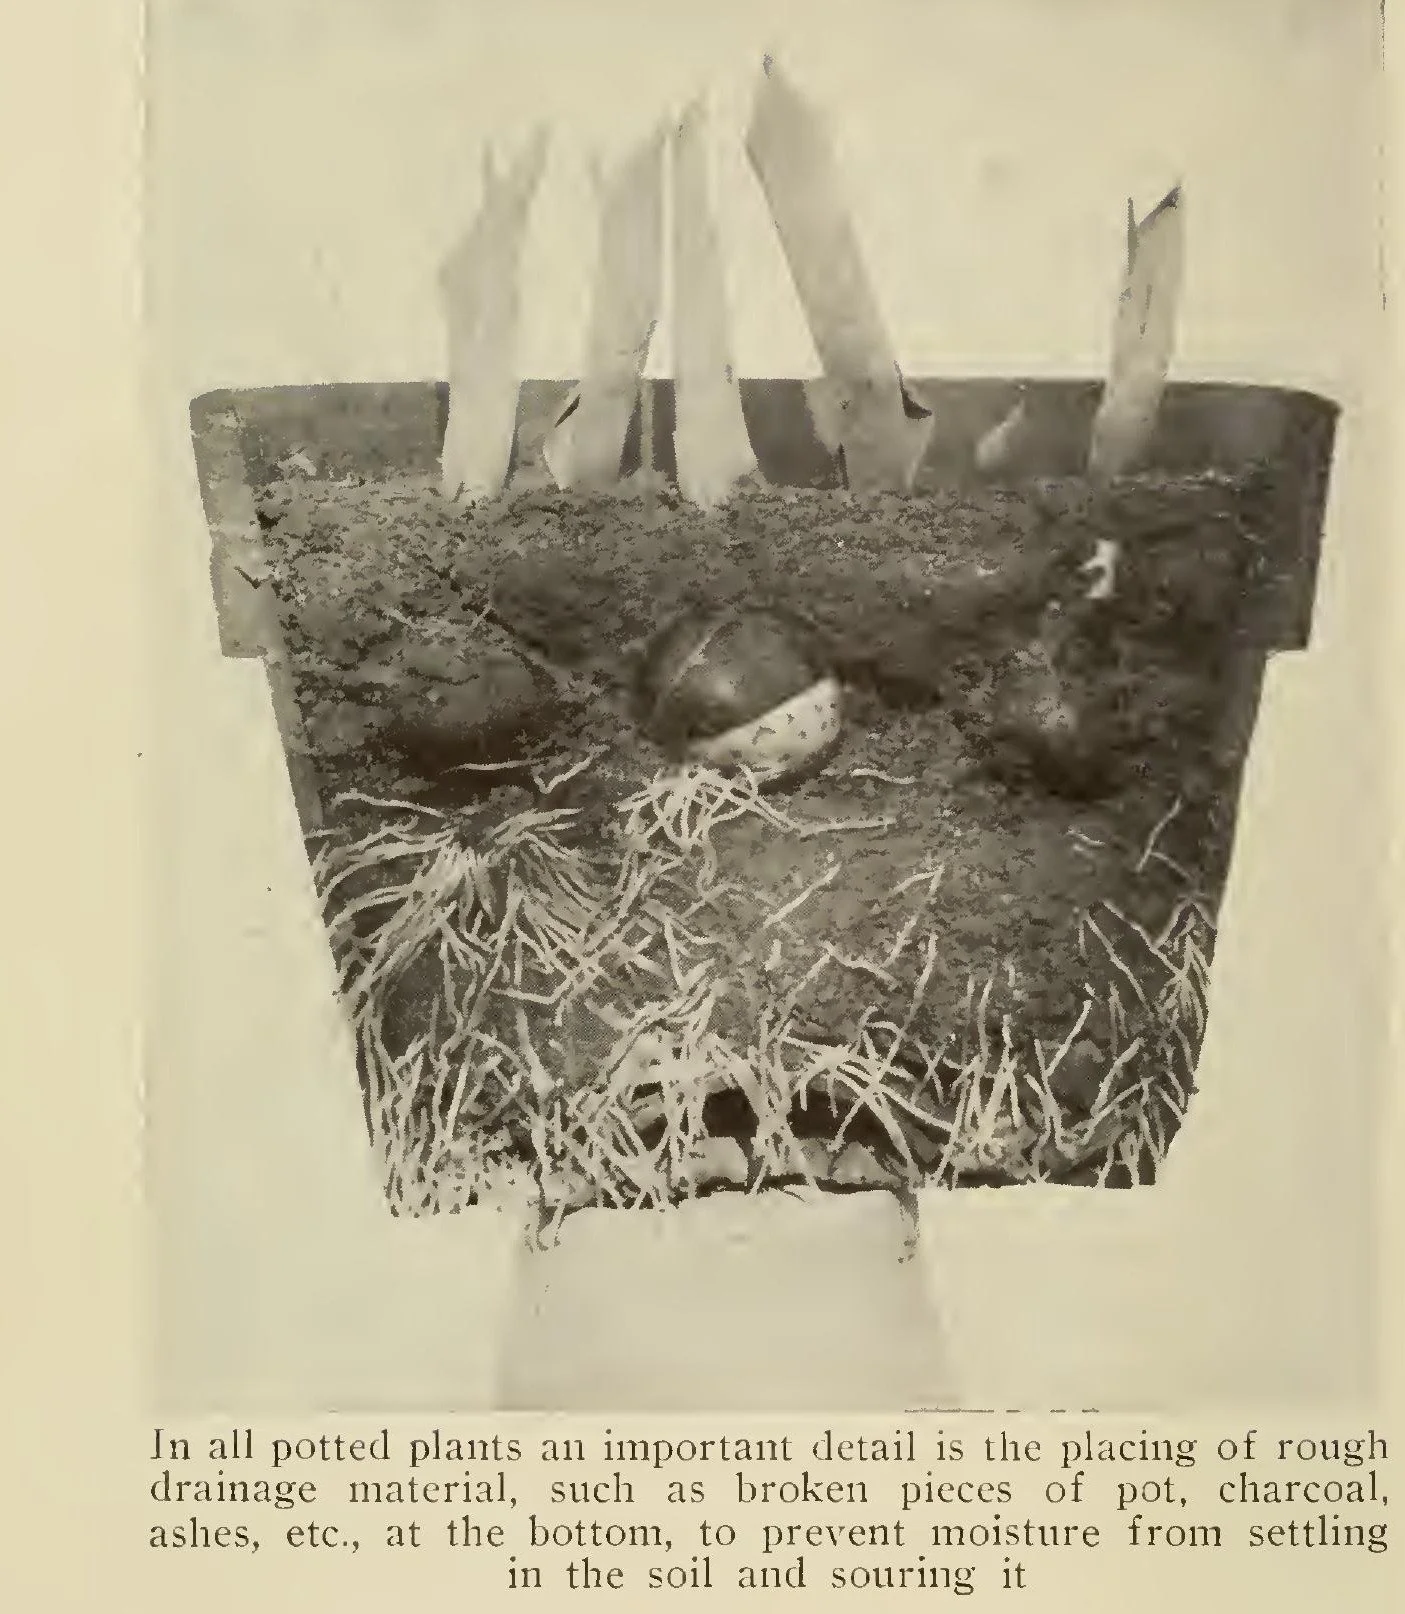
A potted plant cut open, from Rockwell's Gardening Indoors and Under Glass (1912): roots fill the lower pot and reach the drainage layer at its base. Rockwell's gardeners crocked the bottom of the pot; the lesson's modern rule is the same idea by a plainer road — a pot with drainage holes, never a sealed one.
F. F. Rockwell, Gardening Indoors and Under Glass (New York, 1912), plate facing p. 41; scan via the Internet Archive. Public domain.
Gather everything before you begin. A plant sitting bare-rooted on the table while you hunt for potting mix is a plant under stress.
You will need: the new pot (one to two inches larger, with drainage holes), fresh potting mix appropriate to the plant, a watering can, a clean cloth or newspaper to work on, and optionally clean scissors for trimming dead roots. Wash the new pot first, especially if it has been used before, to remove any old salts or pathogens.
Step one: water the plant. Water thoroughly a few hours before repotting, or the day before. Moist soil holds together and releases from the pot cleanly. Dry soil crumbles, tears root hairs, and turns a gentle procedure into a rough one.
Step two: release the plant. Tip the pot on its side. Support the stem between your fingers, with the foliage resting against your hand, and tap or squeeze the pot gently to loosen the root ball. For flexible plastic nursery pots, squeezing the sides usually frees it. For rigid pots, run a clean knife around the inside edge. If the plant will not budge, do not yank it. Cut the old pot away if you must. The pot is replaceable. The roots are not.
Step three: inspect the roots. Look at what you have. Healthy roots are firm and pale, white to light tan. Dead roots are dark, mushy, or papery. Trim away anything dead with clean scissors. This is also the moment to confirm your diagnosis: the dense, circling mat of a root-bound plant will be obvious.
★ Step four: loosen the circling roots. This is the step beginners skip, and it matters. If you place a circling root ball unchanged into a new pot, the roots will continue circling in the larger space as if the old walls were still there. Gently tease the outer roots free with your fingers. For a tightly bound mat, make a few shallow vertical cuts through the outer root layer with a clean knife, just enough to interrupt the circling pattern. It feels destructive. It is mercy. The cuts stimulate new outward growth.
Check in: Why will a circling root ball keep circling in a bigger pot if you set it in unchanged — and what two remedies does this step give you?
Step five: position in the new pot. Add a layer of fresh potting mix to the bottom of the new pot. Set the plant in so that the soil surface sits at the same level it did before, roughly an inch below the rim. Do not bury the stem deeper than it was. Stems that were above the soil belong above the soil.
Step six: fill and settle. Fill around the root ball with fresh mix, working it gently into the gaps with your fingers or a chopstick. Press lightly for stability, but do not pack the mix down hard. Roots need air as well as water, and compacted mix suffocates them. Water thoroughly until it runs from the drainage holes. This settles the mix into place and removes air pockets.
❦ In your workbook: record the repotting procedure in your own way — the six steps in order, from watering first to watering to settle — copy, sketch, or note what matters.
In your packet: Assignment III — The Repotting Procedure ⚒ begins here. Work it now, or mark the place and take it as homework — your choice.
Aftercare: The Recovery Weeks
Repotting is surgery, however gentle, and the patient needs recovery time. The wilting, drooping, or stalled growth a plant may show in these first days is transplant shock — the temporary stress of the minor root damage no repotting can wholly avoid — and it usually resolves within a week or two. For the first week or two:
Water carefully. The fresh mix holds moisture differently than the old, compacted one. Check with your finger before watering, as you learned in the watering lesson. The plant may need less water than you expect while its roots re-establish.
Reduce the light. Place the plant in bright but indirect light for a week, out of harsh direct sun. Damaged roots cannot supply water as efficiently, and strong sun increases water loss through the leaves. Once you see new growth, return it to its usual spot.
★ Do not fertilize. This is the rule from your first weeks with your Familiar, and it applies here too: no fertilizer for at least two weeks after repotting. Fresh potting mix contains its own nutrients, and damaged roots cannot take up fertilizer properly. Feeding a recovering plant burns the very roots you are trying to heal. Wait for clear new growth, then resume feeding gently.
Check in: Why is fertilizer withheld for at least two weeks, even though the plant has just been through a disruption and might seem to need feeding?
Watch, don't fuss. Check the plant daily, but resist the urge to keep adjusting it. Recovery is quiet work. Wilting in the first days is common and usually temporary. Persistent wilting after a week, or yellowing that spreads, means something went wrong, and you should investigate: too much water, too little, or roots that were more damaged than they appeared.
❦ In your workbook: record the recovery weeks in your own way — careful water, reduced light, no fertilizer, and watching without fussing — copy, sketch, or note what matters.
When NOT to Repot
Knowing when to leave a plant alone is as important as knowing how to repot it. Do not repot:
A new arrival. A plant that just came home is adjusting to new light, new humidity, new everything. Give it days at least, preferably a few weeks, before adding the disruption of repotting. Two changes at once is too much.
A dormant plant. In autumn and winter, most houseplants rest. Repotting a dormant plant asks it to heal when it has no energy to spare. Wait for spring unless the need is urgent.
A stressed plant. Yellowing leaves, wilting from underwatering, pest damage, disease: these are not solved by repotting, and the added stress can finish what the original problem started. Fix the underlying problem first. Repot only when the plant is stable.
A plant that is flowering. Many plants resent root disturbance while blooming and may drop their flowers in protest. If the plant is not severely root bound, wait until flowering finishes.
A plant that does not need it. The lift test showed loose roots and crumbly mix? Then the plant is fine. Put it back. The best repotting is the one you decided not to do.
❦ In your workbook: record when NOT to repot in your own way — the new arrival, the dormant plant, the stressed plant, the flowering plant, and the plant that simply does not need it — copy, sketch, or note what matters.
In your packet: Assignment IV — The When-NOT-to-Repot Scenarios ✎ begins here. Work it now, or mark the place and take it as homework — your choice.
Guided Observation: The Lift Test, Worked Slowly
This lesson's observation is the lesson's own diagnostic, worked at bench pace on your own plant: the signs first, then the lift, then an honest verdict. It asks for no purchased equipment at all — only a plant, water, and your eyes.
You will need:
- your Scholar's Familiar in its pot (or a container plant you can visit — see the alternative path below)
- a watering can
- paper and pen, or your garden journal, for the record
Read the signs first. Before touching the pot, work through the lesson's list: roots emerging from the drainage holes; water running straight through; slowed growth in the growing season; the plant drying out unusually fast; roots circling the surface. Write down which signs your plant shows. One sign is a hint. Two signs are a diagnosis.
Water, then lift. If you suspect crowding, water the plant first — dry soil crumbles and tears roots. Then tip the pot on its side and slide the plant out gently, supporting the stem between your fingers.
Read the root ball. A dense, pot-shaped mat with circling white tips confirms the plant is root bound. A loose root ball, with the mix falling away easily, means the plant is fine: slide it back in and wait. Either answer is a success — the observation, not the repotting, is the work here.
Record the verdict. Write your diagnosis with its evidence: which signs you found, what the lift showed, and your decision — repot (with pot size, timing, and aftercare planned) or wait (with your reasons).
Consider:
- Which of the visible signs did your plant show before the lift — and did the lift agree with them?
- Why does the lesson make you water the plant before lifting it out?
- If your verdict was "not yet," what will you watch for, and when will you test again?
No root-bound plant of your own? That is an honest finding, not a failed lesson: most well-kept plants are not crowded. Work the signs checklist on a container plant you can visit regularly — a park container planting, or a neighbor's pot with permission — reading the visible signs (drainage holes, surface circling, how water behaves) without lifting a plant that is not yours, and record what the lift test would settle if it were. A nursery purchase is the other honest route: a newly bought houseplant is, as this lesson teaches, often at least partly root bound already — but give a new arrival its settling weeks before you lift or repot it, exactly as the When NOT to Repot section directs.
Materials
Required (Level One — household items)
- New pot: one to two inches larger in diameter than the current pot, with drainage holes.
- Fresh potting mix: appropriate to the plant; check the bag for starter fertilizer content.
- Watering can: for watering before and after the procedure.
- Newspaper or cloth: to protect the work surface.
- Clean scissors: for trimming dead roots.
Suggested (Level Two — historically closer)
- A clay or terracotta pot: breathable walls suit many herbs and houseplants.
- A purpose-mixed potting medium: blended for the plant's needs rather than generic bagged mix.
- A transplanting trowel: for clean, controlled work around the root ball.
- A bound garden journal: for the diagnosis, procedure notes, and aftercare log.
Safety note: Lift heavy pots with your legs, not your back, and ask for help with large containers. Wear gloves if the potting mix is dusty, and consider a dust mask when handling dry mix. Wash your hands when finished. Adult supervision for younger students.
Reflection Questions
Answer the following questions in your workbook.
- The lesson calls overpotting "killing a plant with kindness." What other kinds of plant care can become harmful through excess? What does this suggest about the relationship between care and restraint?
- Why does the lesson insist on loosening or cutting circling roots rather than simply placing the root ball unchanged into a larger pot? What would happen over time?
- The aftercare rules (reduced light, no fertilizer, patient observation) echo the first-weeks rule from Lesson 1. What is the underlying principle that connects them?
- Repotting is described as "surgery, however gentle." Is this metaphor accurate? What does it ask of the gardener's attitude?
- A friend says, "My plant is struggling, so I'm going to repot it this weekend." What questions would you ask before agreeing that repotting is the right move?
Workbook Checklist — Lesson 25
In my workbook I have:
- ☐ recognised the signs of a root-bound plant — roots at the drainage holes, water running straight through, unusually fast drying, slowed growth in the growing season
- ☐ stated the one-to-two-inch rule, and explained why overpotting leaves wet mix where root rot begins
- ☐ performed the lift test and read the root ball honestly — a dense, pot-shaped mat, or loose roots and crumbly mix
- ☐ carried out the repotting procedure — water, release, inspect and trim, loosen the circling roots, position at the original depth, fill and settle — or written the full plan for a hypothetical plant
- ☐ kept the aftercare rules: careful watering, reduced light for about a week, no fertilizer for at least two weeks, new growth as the signal of recovery
- ☐ named the times NOT to repot: a new arrival, a dormant plant, a stressed plant, a flowering plant, and a plant that does not need it
- ☐ completed the Repotting Assessment, the Repotting Procedure, and the When-NOT-to-Repot Scenarios — or their no-plant paths
☐ Lesson completed Date: ___ Signature: ___
The Professor's Closing Note
My scholars,
There is a lesson hidden inside this lesson, and I will name it plainly: the plant tells you what it needs, if you learn to read it. Roots through the drainage holes. Water running straight through. Growth slowing in the season of growing. These are not mysteries. They are messages, written in the only language the plant has.
Your work in this course, from the first day you chose your Familiar to this one, has been learning that language. Observation before action. Diagnosis before treatment. Gentleness always.
Repot well, and your plant will answer in the only way it can: with new leaves, reaching for the light.
— Professor Beryl Fernfoot, Herbology Greenhouse • Master Herbalist • Head of House Oriens
Cross-Class Connections

Creative Arts · Unit V, Lesson 19 — Clay I: Pinch, Coil & Slab
A pot is a plant's house, scholars, and houses are built, not wished for. At my bench you will learn the pinch, the coil, and the slab, and the flower pots we shape there are the Greenhouse's own steady order — Professor Fernfoot's scholars ask, and this workshop answers. Bring me the measure of your old pot, and we will build its successor one honest size larger, with walls even and air worked free, ready for the roots to move in.
Further Reading & Sources
- How to Repot a Houseplant the Right Way (Martha Stewart) — step-by-step repotting with the one-size-up rule and aftercare guidance.
- Repotting: The Signs to Watch For and How to Do It (Ted Lare) — when to repot, the overpotting warning, and seasonal timing.
- How Often Should You Repot Houseplants? (Homes & Gardens) — expert guidance on pot sizing (about an inch wider) and why bigger pots invite root rot.
- Repotting Houseplants — Meadows Farms — the when-NOT-to-repot list and the 1–2 inch rule with watering adjustments.
- How to Revive a Dying or Overwatered Houseplant (Olivia's Garden) — the no-fertilizer rule for stressed roots and the 1–2 inch container guidance.
Browse the Herbology shelf in the school Library for readable editions of these works.
The greenhouse doors stand open. Repot well, and your plant will answer with new leaves. — Professor Beryl Fernfoot, Herbology Greenhouse • Master Herbalist • Head of House Oriens
Plants from this lesson stand in the Materia Botanica, the school's shared archive — each kept with its lessons, its keepings, and its cautions. This lesson's company:
Spider PlantTomatoJade plantPeace Lily The whole Materia BotanicaPROFESSOR BERYL FERNFOOT · HERBOLOGY GREENHOUSE
Submit your work for this lesson using the form below.
CONTINUE IN THE HERBOLOGY GREENHOUSE
← Previous · Lesson 24: Pests & Disease: The Garden Watch Next · Lesson 26: Unit III Stewardship Project →
Unit III — Propagation, Pruning & Plant Stewardship Herbology Greenhouse — All 37 Lessons
The rest of Unit III: Lesson 17 · Seed Starting · Lesson 18 · Seed Scarification · Lesson 19 · Stem Cuttings · Lesson 20 · Root Division · Lesson 21 · Layering & Runners · Lesson 22 · Pruning Geometry · Lesson 23 · Selective Pruning · Lesson 24 · Pests & Disease · Lesson 26 · Stewardship Project