

HERBOLOGY
Unit III · Lesson 26Unit III Stewardship Project
HERBOLOGY GREENHOUSE • UNIT III • LESSON 26
PROFESSOR BERYL FERNFOOT
Herbology Greenhouse
Master Herbalist
Professor's Introduction

Scholars, Unit III has put tools in your hands. You have woken seeds, cut stems at the node, divided roots, layered runners, pinched growing tips, pruned for health, and learned to read a root ball like a letter from underground.
Knowledge like that asks to be used. A lesson read and never practiced is a seed kept in its packet. So this lesson is not a lecture. It is a piece of work: one real project, done with your own hands, on a real plant, documented the way a careful gardener documents everything.
I will walk you through a complete project first, using a mint cutting, so you can see the whole shape of it: the plan, the doing, the watching, and the honest accounting at the end. Then the work is yours.
The greenhouse doors stand open. Bring your tools, and bring your patience.
— Professor Beryl Fernfoot, Herbology Greenhouse • Master Herbalist • Head of House Oriens

The line beneath the map is our road: every stop a place where the knowledge of plants changed, every lesson a step along it.
Lesson Objectives
By completing this lesson, you will be able to:
- Choose a stewardship project that fits your plant, your space, and your season: a propagation project or a care session.
- Plan the project in writing before you touch a single tool.
- Execute a propagation or a careful pruning and repotting session using the techniques from Unit III.
- Track growth responses over time with dated observations.
- Assess your own work honestly against a checklist, and file the project as the closing record of Unit III.
Reading this lesson: ★ marks the passages to remember. They return on the unit quiz and the class test. Check in questions ask the material back as you go; answer them in your workbook when you meet them.
Working this lesson: Your project packet is the first download on this page. Work in it as the lesson moves along, working each part of the project as its subject is taught — or read the lesson through for your notes and take the project afterward. Both are proper ways to sit this class. Signposts in the reading tell you where each part of the project belongs. Written answers are short answers in your own words; a few honest lines are worth more than a filled page.
Your Assignment Packet
This lesson's work lives in its project packet: the Lexicon Handout (every term, course terms marked ◆), Materials, Guided Practice (the project's four-part structure and the shape of the mint-cutting example, so you can plan your own stewardship project before you begin), the Assignment Manual with the project itself — its four parts and their checklists, printed as sheets you can work from — the Reflection Questions, which here are the project's Honest Accounting, and the Workbook Checklist. There is no answer key in this packet, and that is by design: this project is self-assessed against its own checklists. Download the packet before you begin and keep it beside you as you read.
What Is the Stewardship Project?
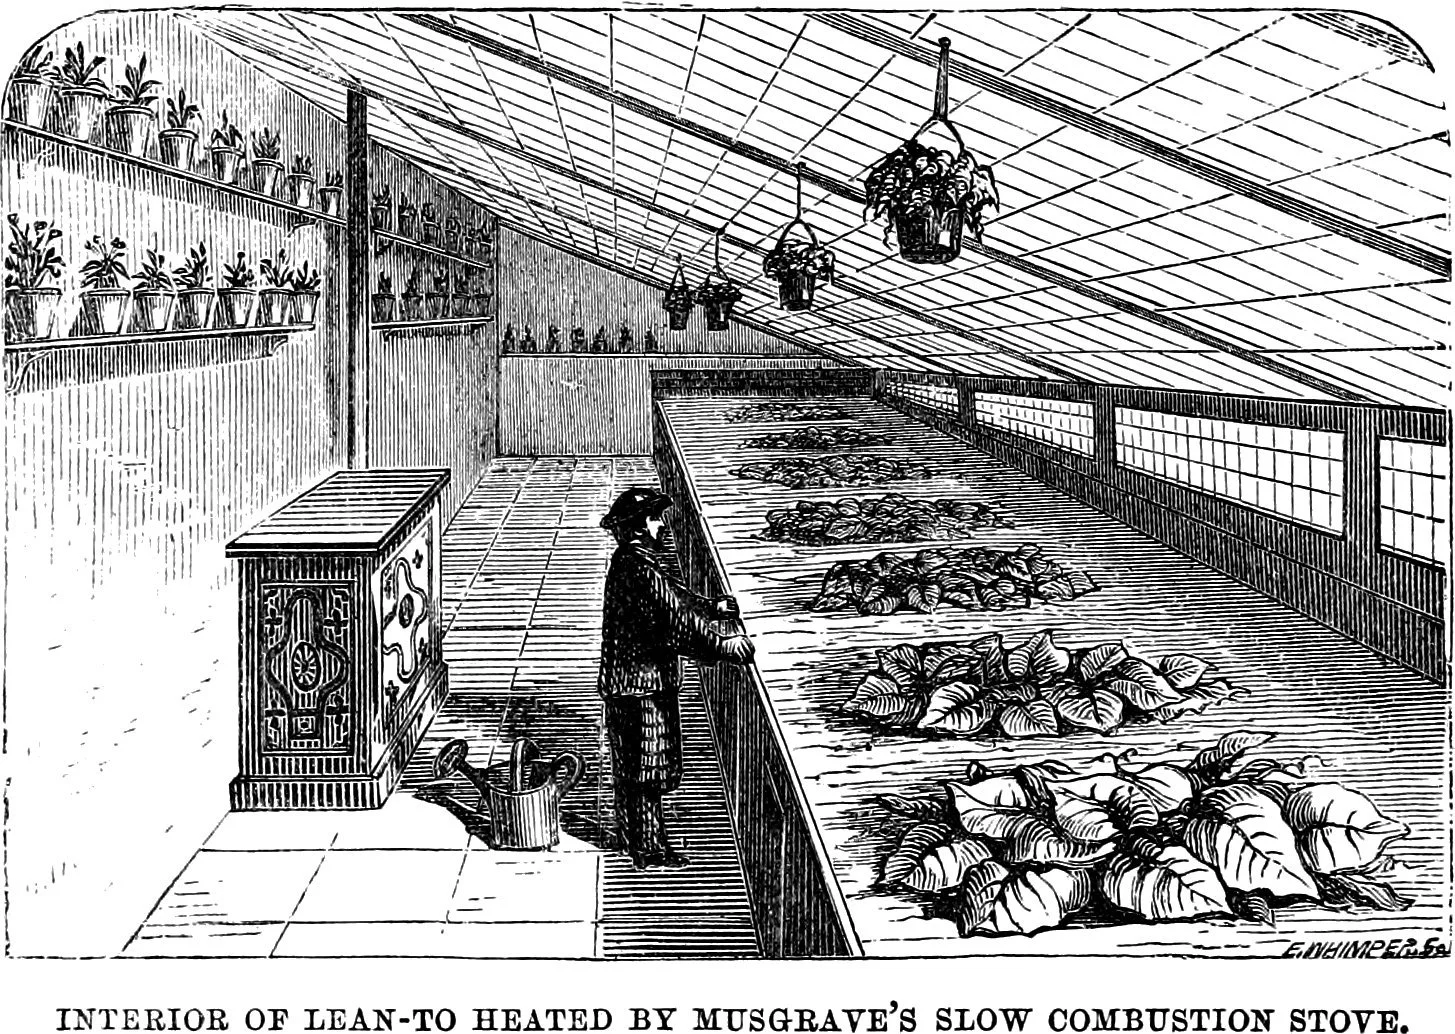
A working lean-to glasshouse in 1873, from Shirley Hibberd's The Amateur's Greenhouse and Conservatory: potted plants on shelves, plants on the bench, a watering can by the gardener's feet. Stewardship is this — a place kept, and plants tended in it.
Shirley Hibberd, The Amateur's Greenhouse and Conservatory (London, 1873). Public domain.
Unit I ended with a botanical profile: a record of what a plant is. Unit II ended with a growing plan: a record of what a plant needs. Unit III ends with a stewardship project: a record of what you did for a plant, and what the plant did in return.
Stewardship is the word gardeners use for the active half of the partnership. Observation is the quiet half: watching, noting, understanding. Stewardship is the part where you act. You multiply a plant. You shape its growth. You free its roots from a cramped pot. You take responsibility for a living thing and then watch, carefully, to see whether your care was well judged.
Your project has two paths. Choose one.
Path One: The Propagation Project. Multiply a plant using any method from this unit: seed starting, stem cuttings, root division, or layering and runners. Document your method, your materials, and your results over time. Propagation is the oldest gardening magic there is, and it is entirely real: one plant becomes two, or five, or twenty, through nothing but understanding and care.
Path Two: The Care Session. Perform a careful pruning and, if the plant needs it, a repotting, with before-and-after records. Not every plant needs multiplying. Some need shaping, thinning, or simply a larger home. A well-judged pruning that opens a plant to light and air is as much an act of stewardship as any cutting.
★ Both paths require the same discipline: plan first, work cleanly, observe afterward, and assess honestly. Both paths end with a filed record in your Scholar's Familiar Journal. And both paths share one rule that runs through all of Unit III: the plant's welfare comes before your curiosity. If a plant is not ready, you wait. Stewardship sometimes means doing nothing, and knowing why.
Check in: The two paths differ in the work they do. What four disciplines do they share — and what is the one rule that runs through all of Unit III?
★ There is no quiz in this lesson and no time limit. Your project is the examination. The assignment packet holds the checklists. Your honest answers are the grade.
❦ In your workbook: record the stewardship project in your own way — what it records, how it differs from the profile and the plan, and the two paths you may choose between — copy, sketch, or note what matters.
In your packet: Unit III Stewardship Project ◐ begins here. Work it now, or mark the place and take it as homework — your choice.
A Worked Example: Mint Cuttings
Before you plan your own project, walk through a complete one with me. I have chosen mint, Mentha, because it is generous: it roots readily, forgives small mistakes, and shows its responses quickly. A mint cutting is the ideal first propagation because it lets you practice every step of the discipline on a plant that will meet you halfway.
The Plan
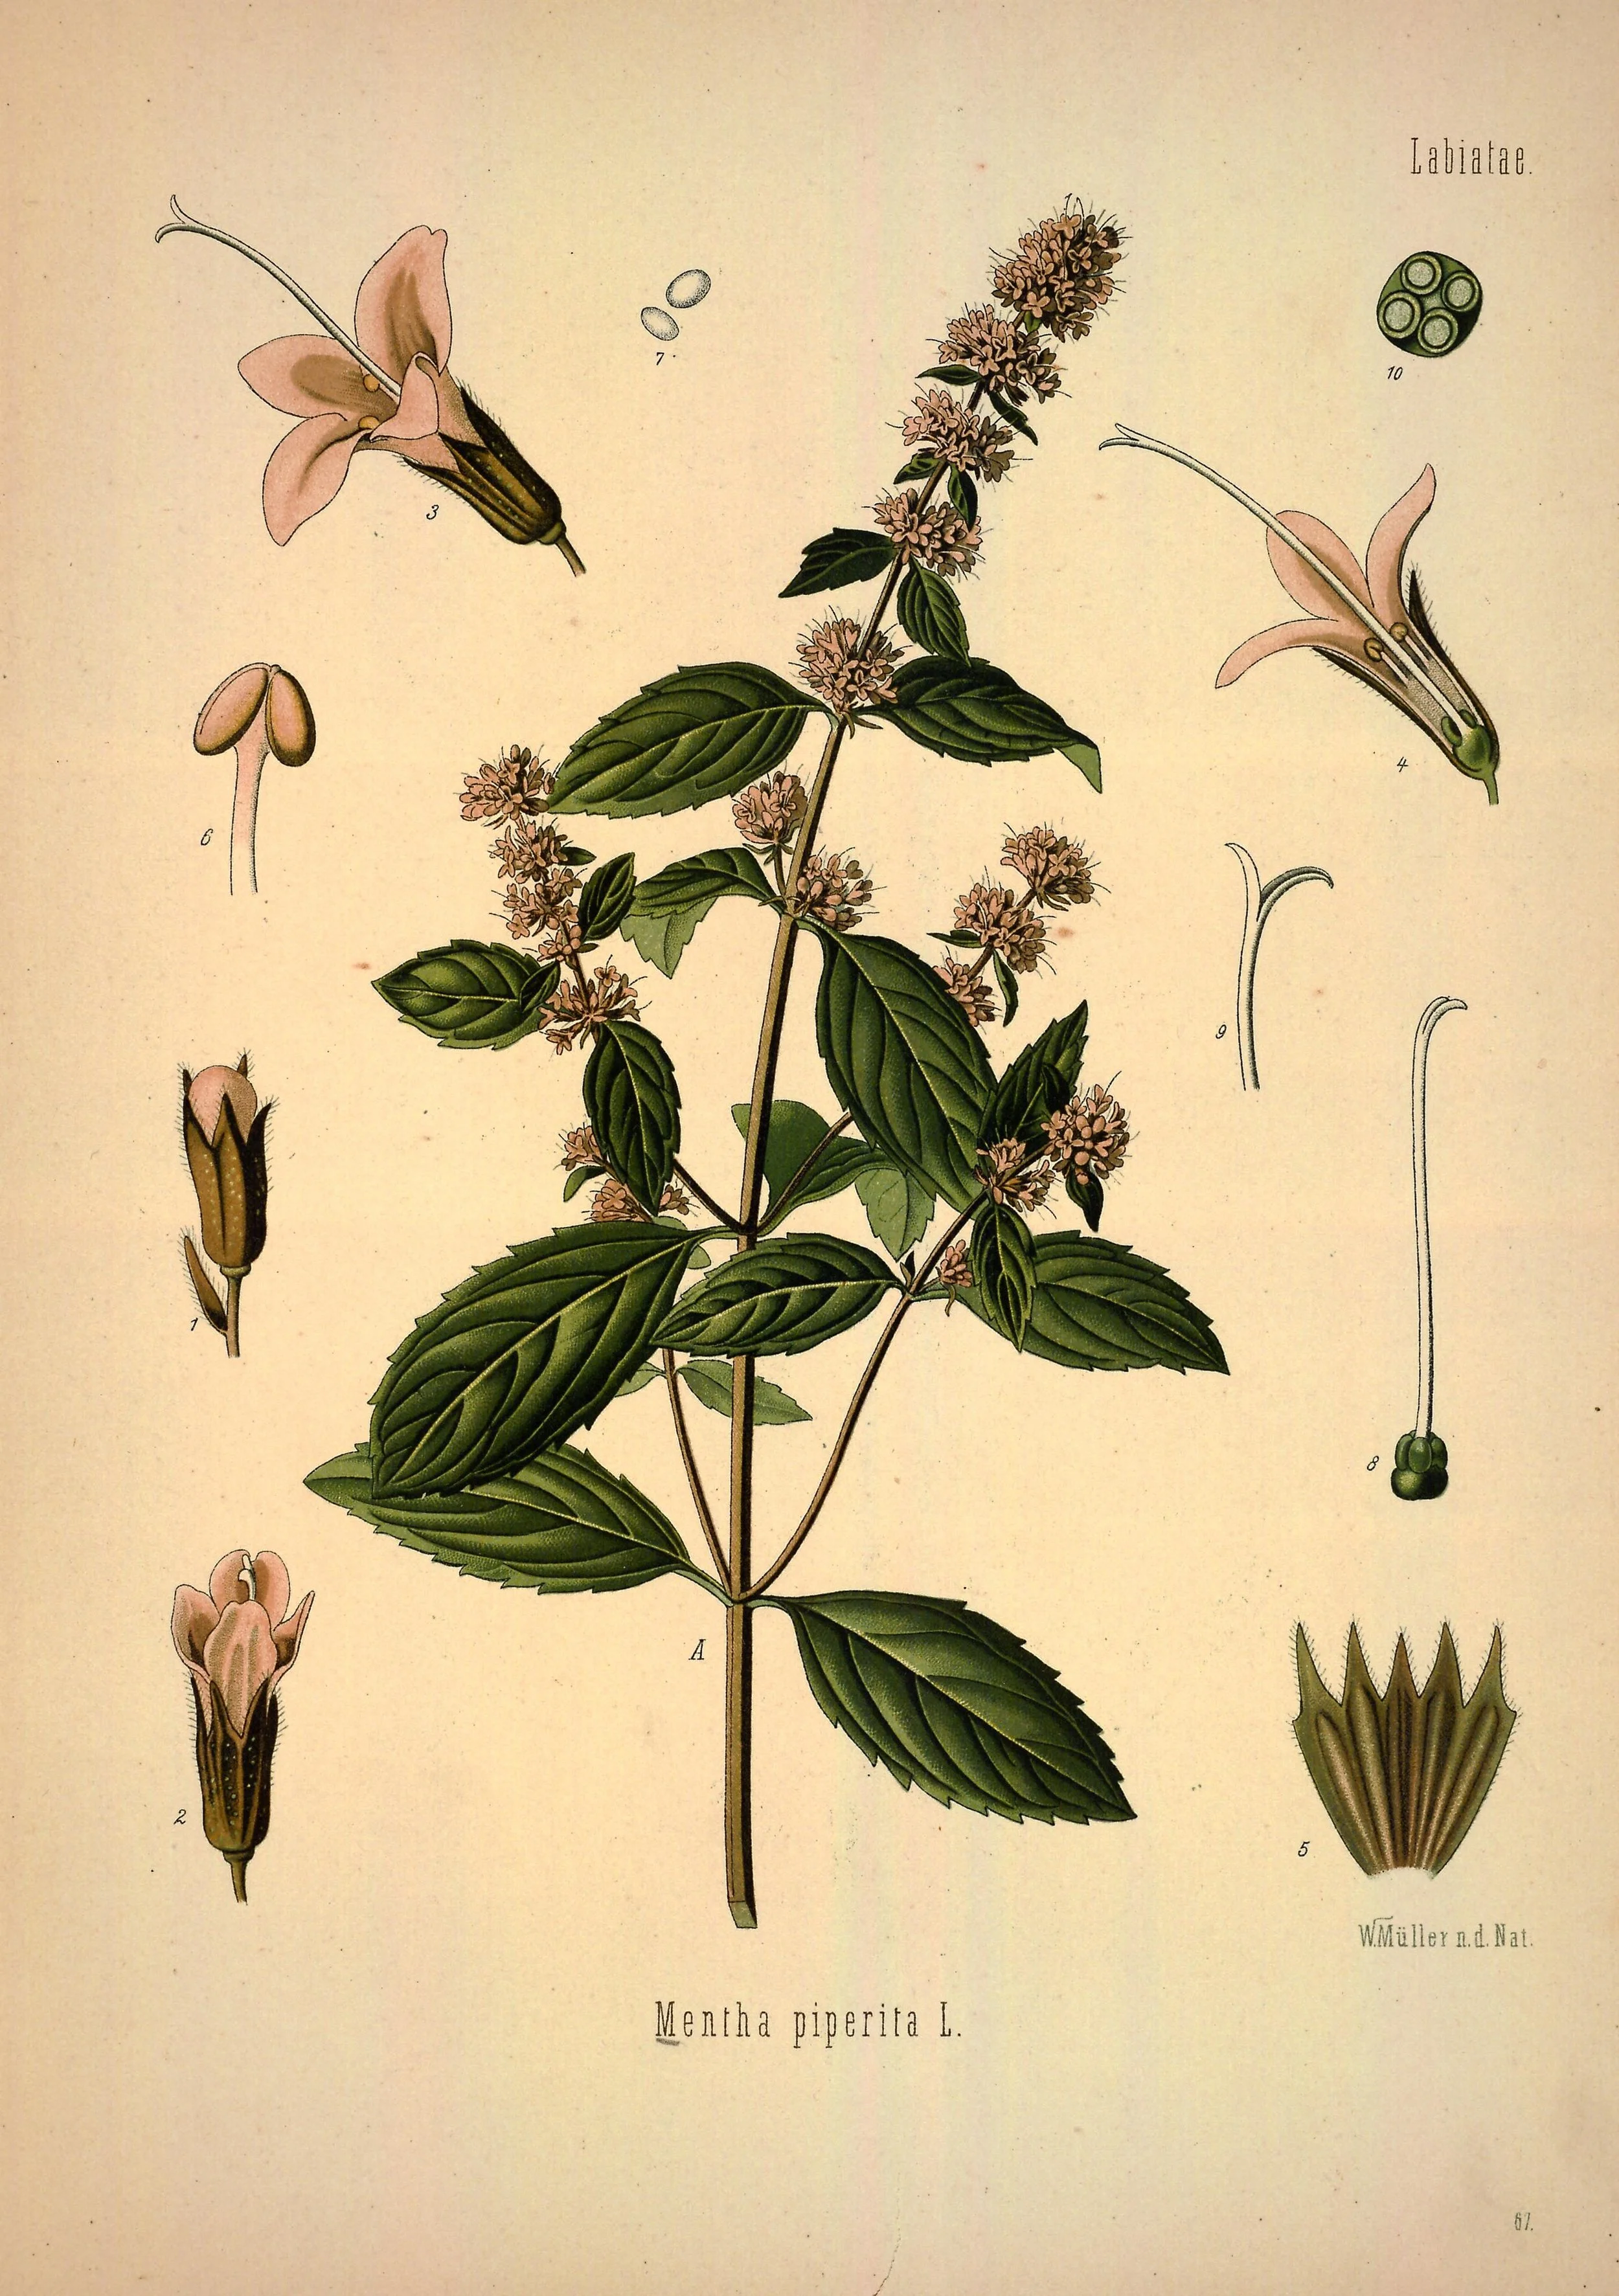
Peppermint (Mentha piperita), plate 67 of Köhler's Medizinal-Pflanzen (1887). The worked example takes its cuttings from a mint mother plant: opposite toothed leaves, square family stem, flowers in whorls — the plant the plan starts from.
Franz Eugen Köhler, Köhler's Medizinal-Pflanzen (1887), plate 67, via the Biodiversity Heritage Library. Public domain.
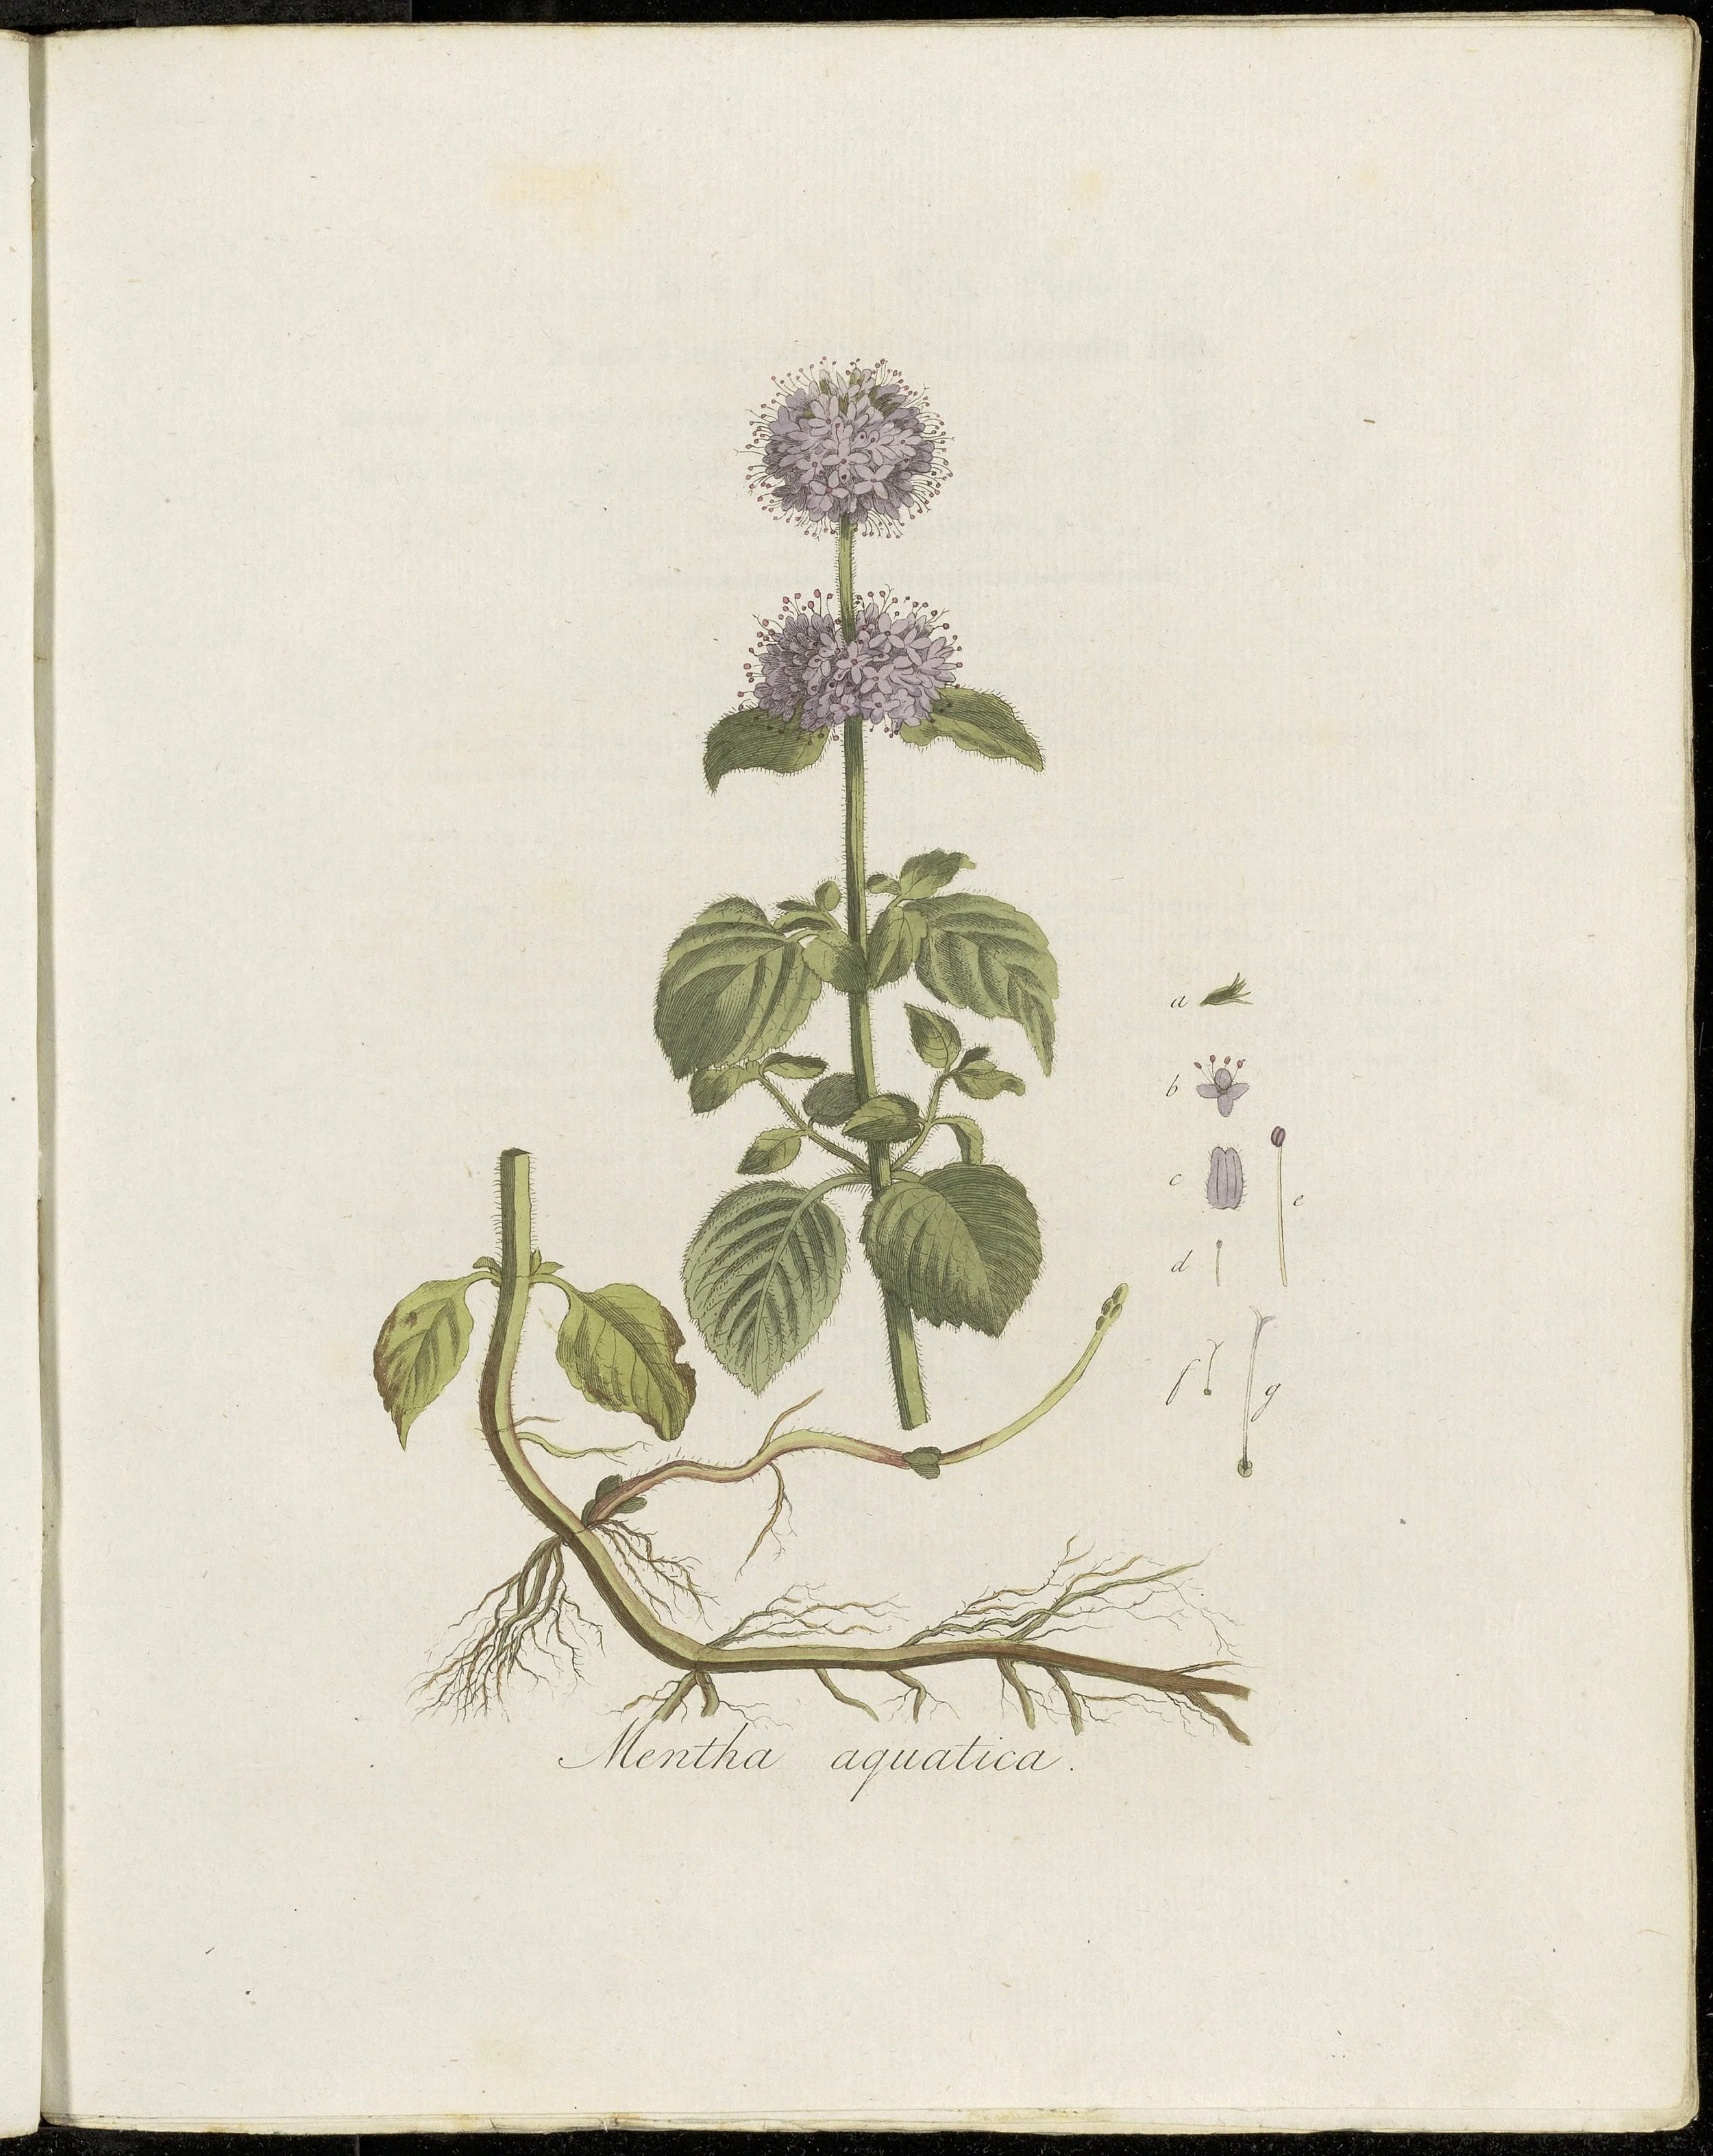
Water mint (Mentha aquatica), one of peppermint's parents, from the Flora Batava (19th century): below the flowering stem the plate draws the creeping underground stem that lets mints spread — the same readiness to root that the project's mint cuttings rely on.
Flora Batava (Jan Kops and successors, 19th century), plate 165; drawn by Georgius Jacobus Johannes van Os. Public domain.
Every project begins on paper, not with the shears. I wrote my plan the evening before, so that the morning's work would be calm and unhurried.
Method chosen: Stem cuttings, from Lesson 19. I chose cuttings over seed because mint grown from seed does not always come true to the parent, and I wanted this new plant to match the old one exactly. That is the first decision every propagator makes: which method suits this plant, and why. Write your reason down. "Because it seemed easiest" is not a reason. "Because cuttings preserve the parent's exact qualities" is.
Mother plant: A healthy mint in a six-inch pot on my windowsill, growing vigorously, free of pests. I inspected it the way Lesson 24 taught: no yellowing, no stippling, no webbing, no sticky residue. A cutting taken from a struggling plant inherits the struggle.
Materials: Clean hand pruners, a small glass jar of room-temperature water, a four-inch pot of damp potting mix as backup medium, labels, a pencil, and my journal. That is all. Propagation asks for almost nothing in the way of equipment, which is part of its charm.
Timing: Early morning, when the plant's stems are full of water and the day is cool. University extension guidance consistently recommends taking cuttings when plants are turgid, which is why morning is the traditional hour.
★ Success measure, decided in advance: Roots visible within two to three weeks, and a new plant potted up and growing within six. I also decided what I would count as a partial success (roots but slow growth) and what I would do differently if a cutting failed (try the potting mix instead of water, take a longer cutting, check the light). Deciding your measures before you begin is what separates an experiment from a hope.
Check in: Fernfoot chose cuttings over seed for her mint, and wrote her reason down before she began. What was the reason — and what does she say is not a reason?
❦ In your workbook: record the plan in your own way — the method and its reason, the mother plant's inspection, and the success measures decided in advance — copy, sketch, or note what matters.
In your packet: Project Part 1: The Plan ✎ begins here. Work it now, or mark the place and take it as homework — your choice.
The Doing
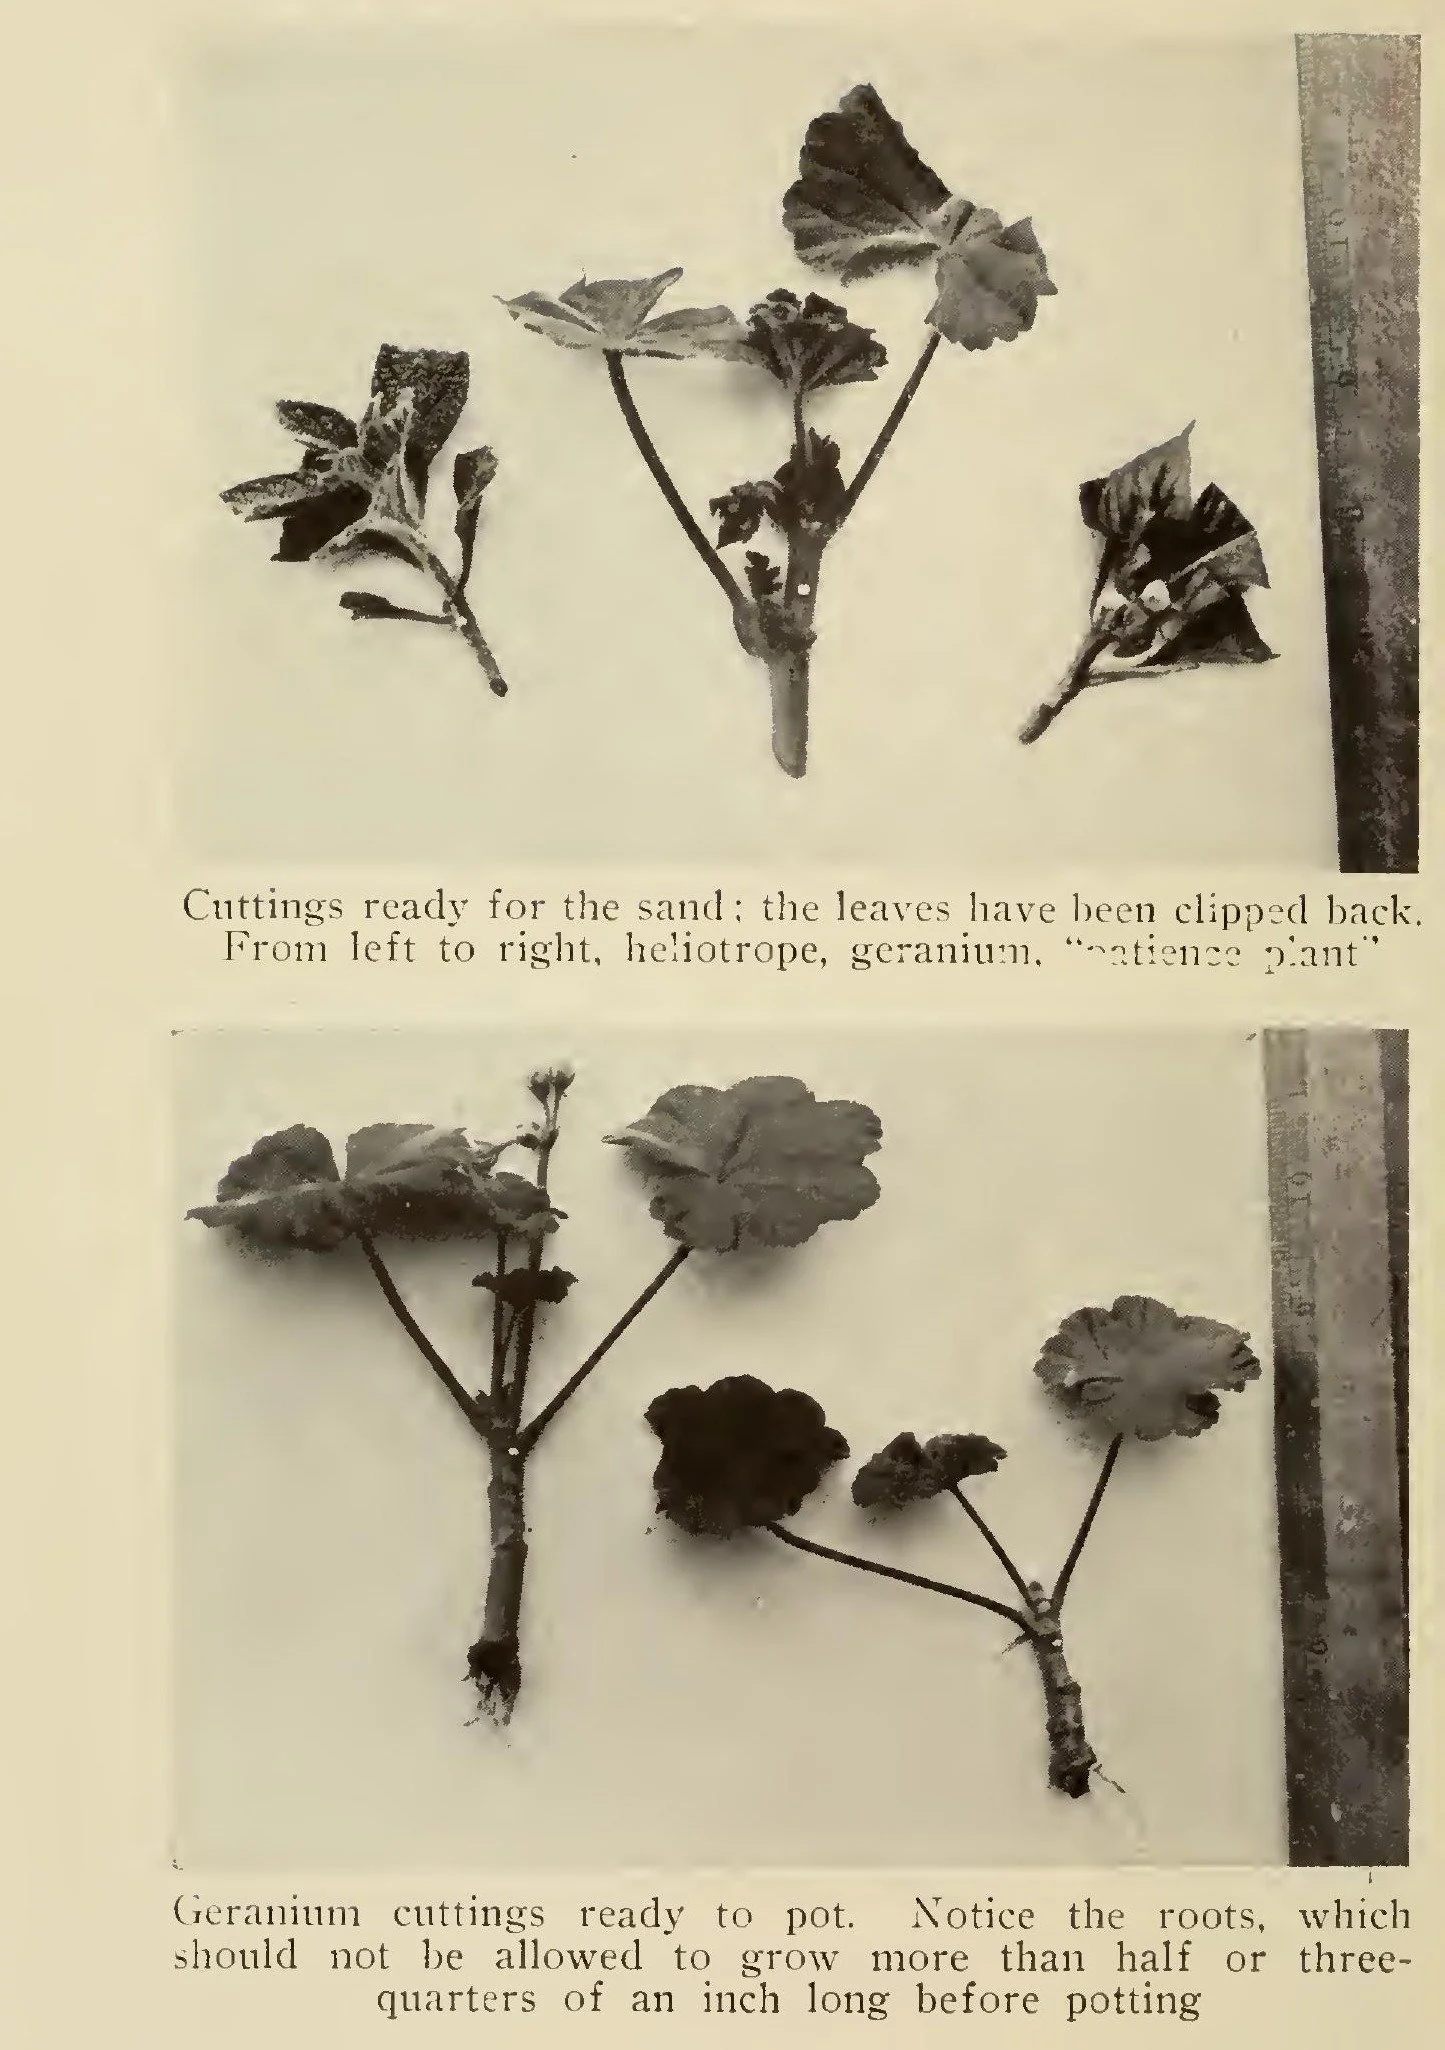
Cuttings before and after rooting, from F. F. Rockwell's Gardening Indoors and Under Glass (1912). Above, cuttings prepared and clipped back, ready for the sand; below, geranium cuttings rooted and ready to pot — Rockwell's rule, printed with the photograph, was to pot them before the roots passed three-quarters of an inch.
F. F. Rockwell, Gardening Indoors and Under Glass (New York, 1912), plate facing p. 29; scan via the Internet Archive. Public domain.
★ Step one: the cut. Using clean pruners, I selected a healthy stem about four inches long with several sets of leaves, and cut it from the mother plant just above a node, so no stub was left behind to rot. Then I made my working cut: a smooth, slanted cut about half an inch below a node. Extension sources agree on this detail, and the reason is worth knowing. The slant increases the surface area of the cut, which improves water uptake, and cutting just below a node places the wound where the plant's own rooting chemistry is concentrated. Nodes are where roots want to form. Cut where the plant is already prepared to root.
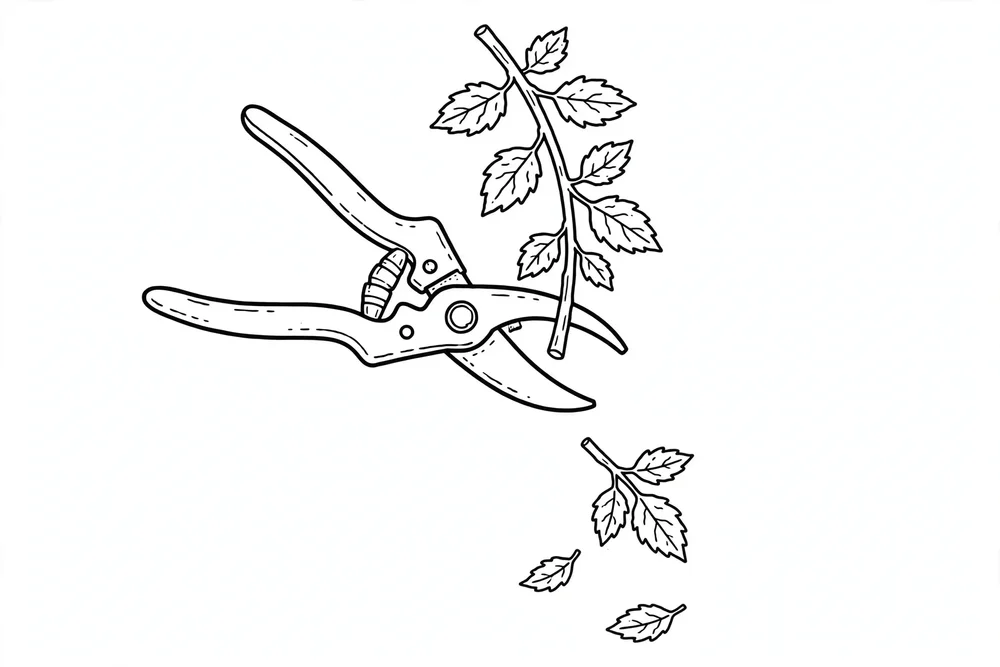
Step two: preparation. I stripped the lower leaves from the bottom half of the stem, leaving the top leaves to feed the cutting through photosynthesis. I pinched off a tiny flower bud I found, because flowers divert the cutting's limited energy away from rooting. Every guide to cuttings says the same: no flowers, lower leaves cleared, upper leaves kept.
★ Step three: the medium. I placed two cuttings in the jar of water and two in the damp potting mix, labeled both, and dated them. Using two media was deliberate: this is how a gardener learns, by comparison. Keep the medium moist but not waterlogged, and keep the cuttings out of direct sun. A cutting has no roots yet; it cannot replace water lost to hot sun, so bright indirect light is the rule until roots form.
Step four: clean tools, clean hands. I wiped the pruners with rubbing alcohol after finishing, as Lesson 19 recommends, so no disease travels from this plant to the next one I touch. Cleanliness in propagation is not fussiness. It is the whole difference between a cutting that roots and a cutting that rots.
Check in: The working cut is made about half an inch below a node, at a slant. What two reasons does the lesson give for cutting exactly there, in exactly that way?
❦ In your workbook: record the doing in your own way — the two cuts and where each is made, the preparation of the stem, and the two media compared — copy, sketch, or note what matters.
In your packet: Project Part 2: The Doing ⚒ begins here. Work it now, or mark the place and take it as homework — your choice.
The Watching
This is the part most beginners skip, and it is the part that matters most. For three weeks, I checked the cuttings every few days and wrote down what I saw, with dates — keeping a propagation log, the dated record of the attempt: its method, its dates, and what each check showed. The record reads like this:
- Day 3: Water cuttings still perky. Mix cuttings firm. No change visible, which is normal. Patience.
- Day 7: Tiny white nubs at the nodes of both water cuttings. The mix cuttings show nothing yet, but the stems are green and the leaves un-wilted, so they are alive and working underground where I cannot see.
- Day 12: Water cuttings have roots about half an inch long, branching. One mix cutting resists a gentle tug, which means roots are anchoring it. The other mix cutting's leaves have yellowed slightly. I note it and do not panic.
- Day 18: Water cuttings have strong root systems, ready to pot up. The anchored mix cutting is putting out a new leaf. The yellowed cutting has not recovered; I record it as a loss and examine why. My best guess: that cutting sat in a wetter corner of the pot. I note the lesson for next time.
★ Three out of four rooted. That is a 75 percent success rate, which for a first attempt is good work. More important than the number is the record: I now know, from my own dated observations, how long mint takes to root in water versus mix, what early roots look like, and what a failing cutting looks like before it is fully gone.
Check in: By Day 18, how many of the four cuttings had rooted — and what does Fernfoot say matters more than that number?
❦ In your workbook: record the watching in your own way — the dated checks across three weeks, what each medium showed, and how a loss was recorded — copy, sketch, or note what matters.
In your packet: Project Part 3: The Watching ◐ begins here. Work it now, or mark the place and take it as homework — your choice.
The Honest Accounting
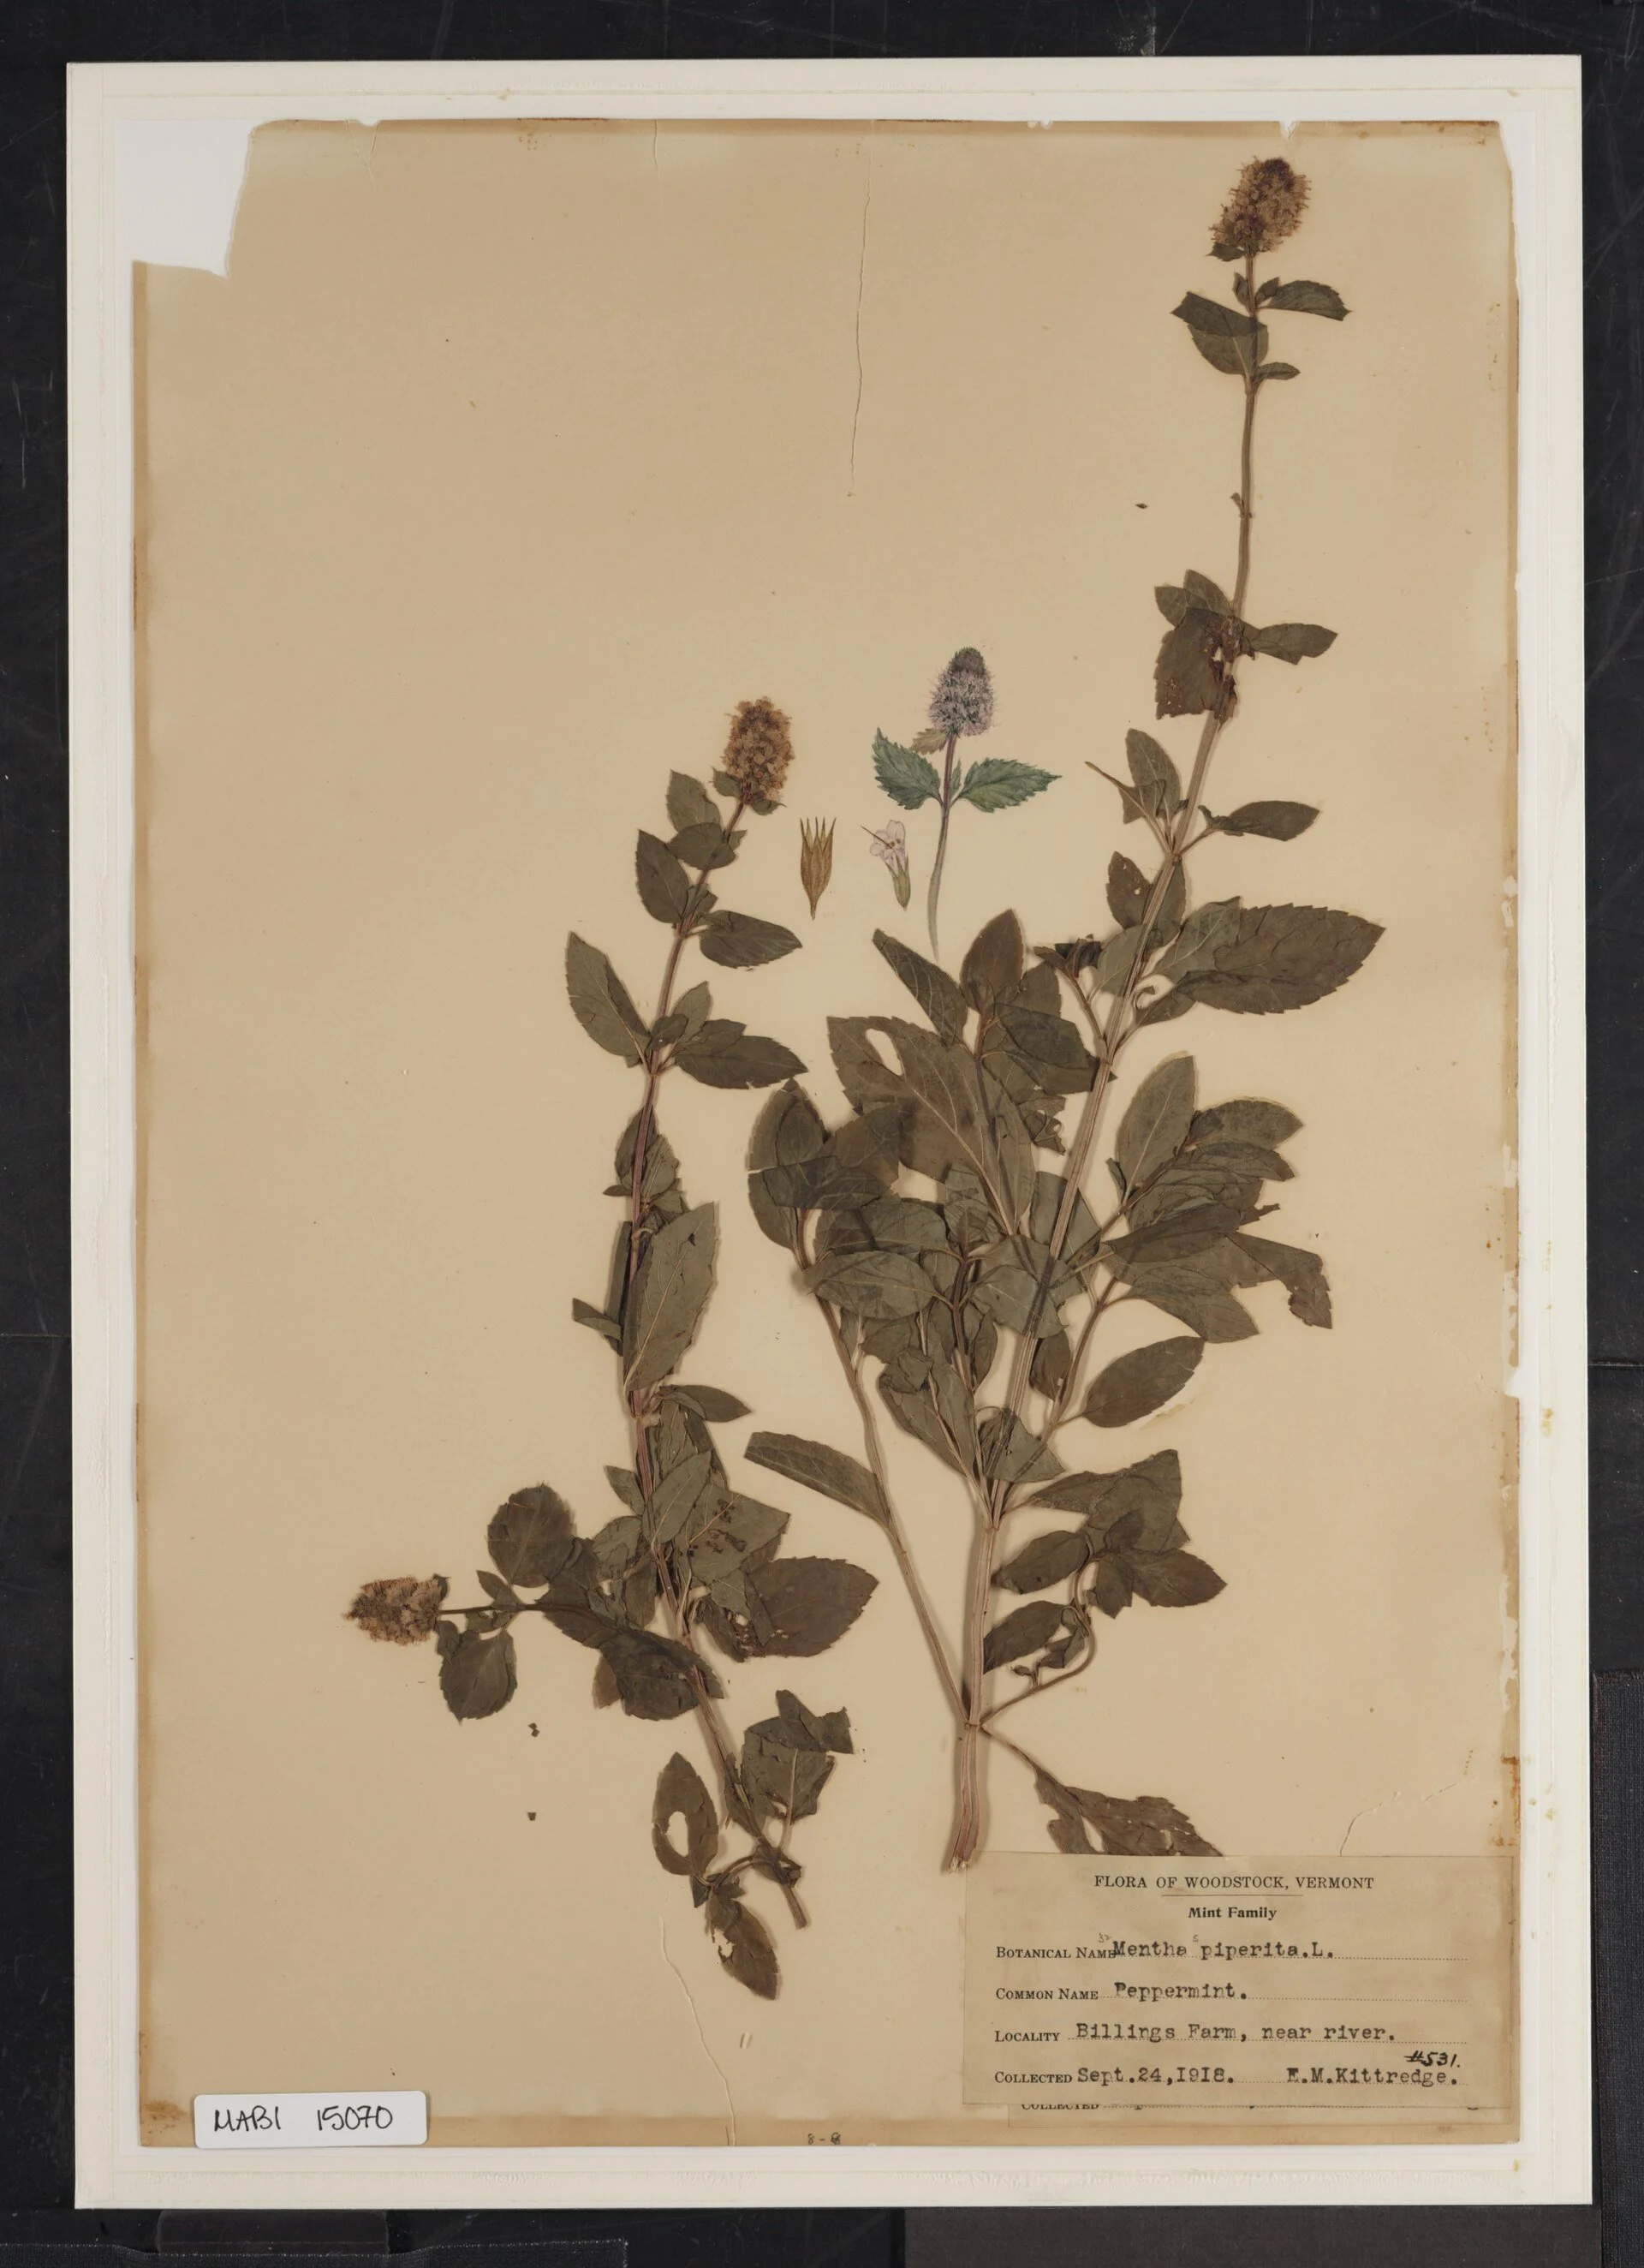
A real archive entry, not a scholar's project page: peppermint pressed and filed at Woodstock, Vermont, in 1918, its label giving the botanical name, the place ("Billings Farm, near river"), the collector, and the date. Your project's Archive Entry is yours to write — this is simply what honest filing has always looked like.
Peppermint specimen sheet, Billings-Kittredge Herbaria (collected by F. M. Kittredge, Woodstock, Vermont, 1918), photographed by the U.S. National Park Service. Public domain.
After potting up the three successes into small pots of their own, I sat down with the checklist from the assignment packet — the self-assessment rubric, the project's closing list of honest questions: what was planned, what happened, what succeeded, what failed — and answered every question truthfully. Did I follow my plan? Yes, except I forgot to label one mix cutting on the first day and had to reconstruct which was which. Did I meet my success measure? Yes: roots within three weeks, new plants potted within the month. What would I change? Label everything immediately, and take the mix cuttings a little longer next time, since the shorter one was the one that failed.
★ That last sentence is the entire point of the project. A gardener who can say what she would change is a gardener who is learning. The filed record, with its dates and its one failure and its honest assessment, is worth more than four perfect cuttings with no notes at all.
❦ In your workbook: record the honest accounting in your own way — the questions Fernfoot answered truthfully, the one thing she forgot, and what she would change — copy, sketch, or note what matters.
In your packet: Project Part 4: The Honest Accounting ✎ begins here. Work it now, or mark the place and take it as homework — your choice.
Professor Fernfoot
You have seen the whole shape of it now: plan, do, watch, account. Notice how little of the work was the cutting itself. The cut took thirty seconds. The planning took an evening, the watching took three weeks, and the accounting took an honest half hour.
That proportion is the discipline. Anyone can snip a stem. A steward plans the snip, watches what follows, and learns from the result. The journal is where the learning lives. Without it, the three weeks of watching evaporate, and you are left with three small pots and no idea why they succeeded.
Write everything down. Date everything. Be honest about the failures, because the failures are the tuition, and the tuition is only wasted if you refuse the lesson.
— Professor Beryl Fernfoot, Herbology Greenhouse • Master Herbalist • Head of House Oriens
Your Turn: The Project
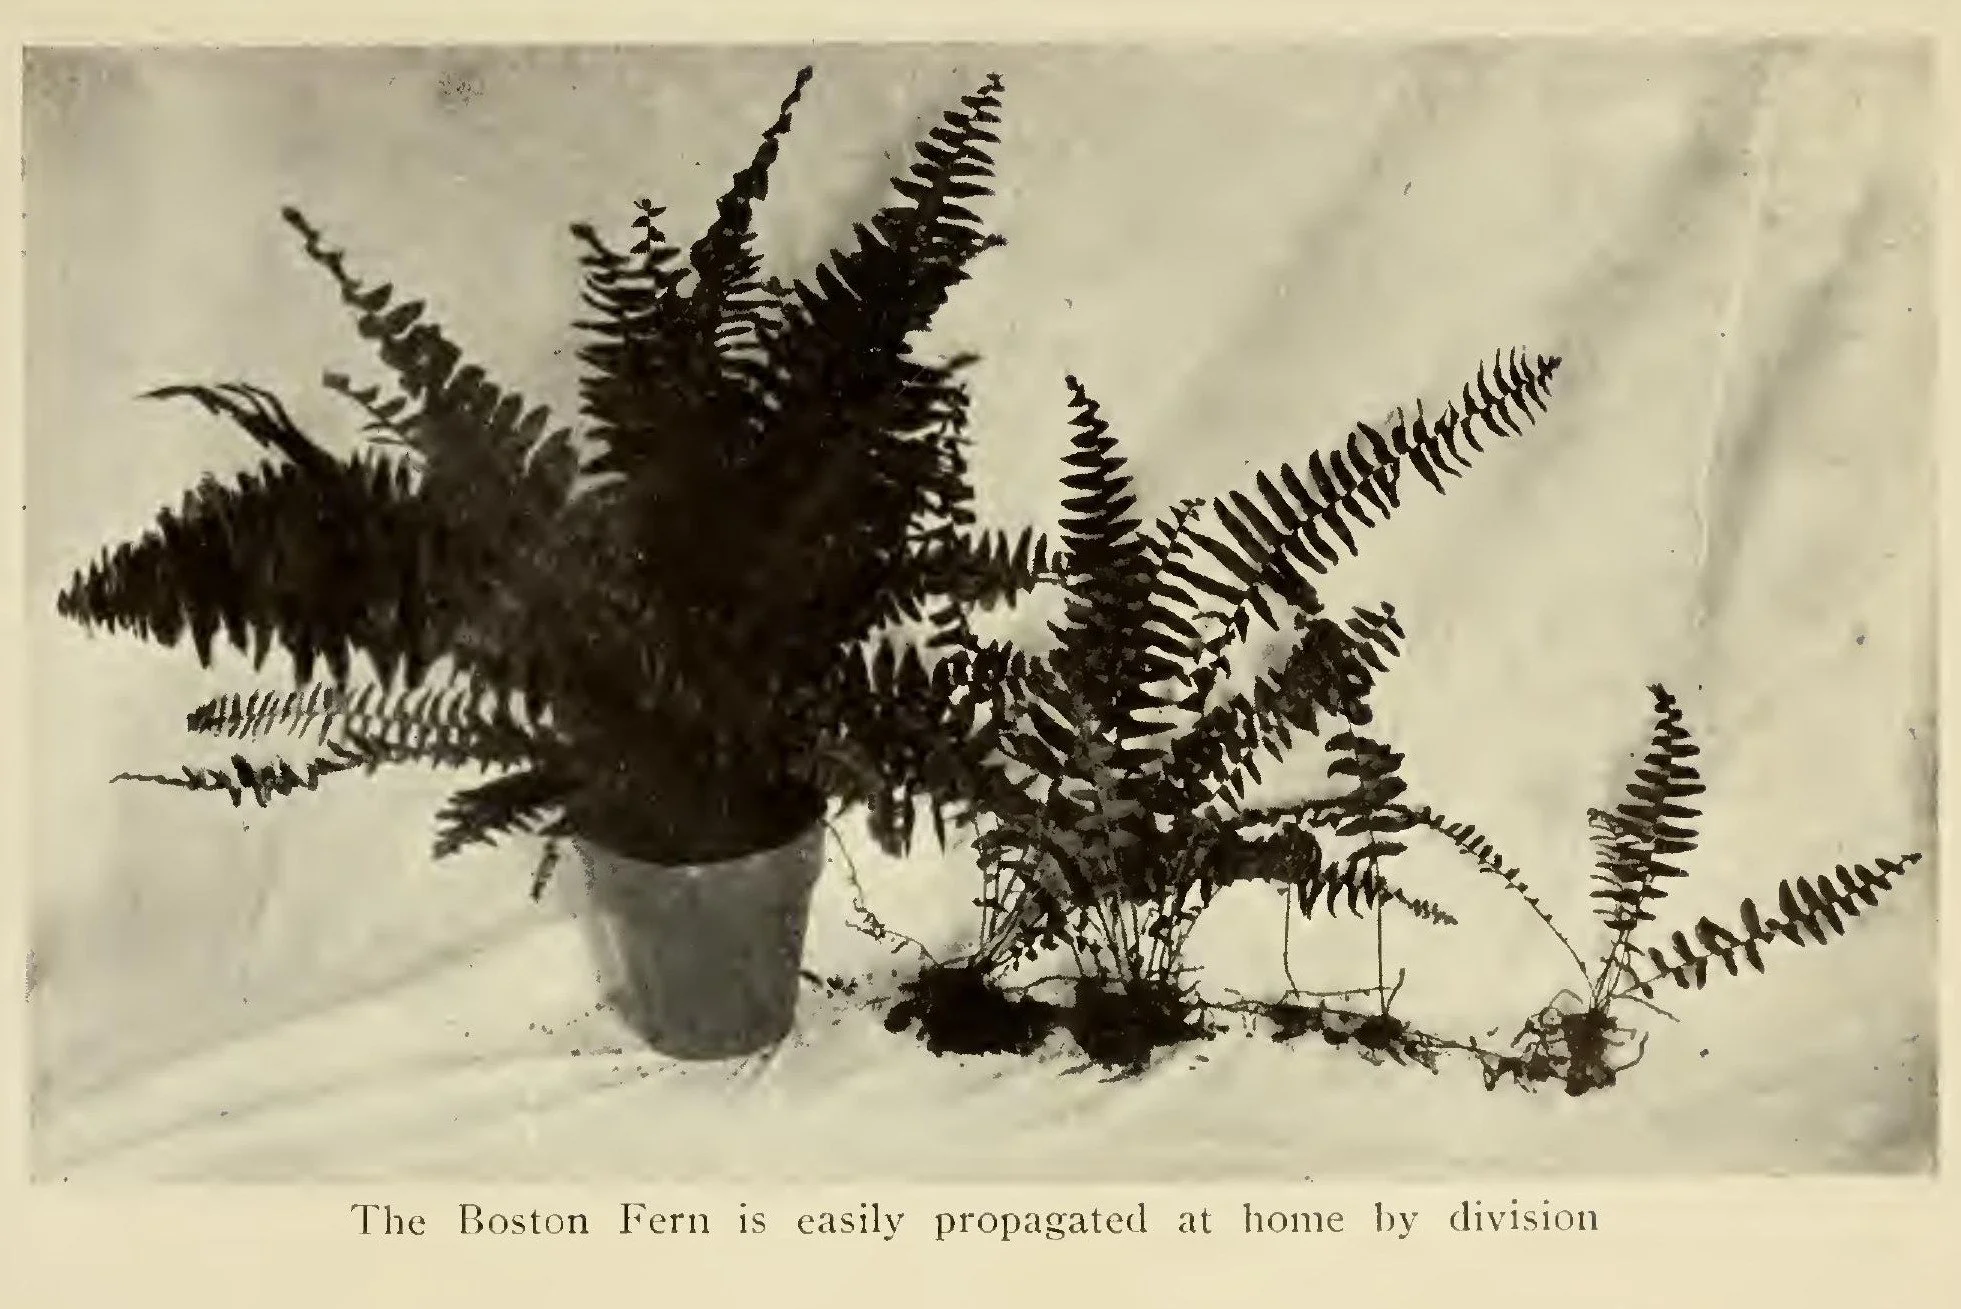
Division, photographed for Rockwell's Gardening Indoors and Under Glass (1912): the mother fern in its pot, and the divisions taken from it standing ready with their roots. Path One allows seed, cuttings, division, or layering — this is division's honest face.
F. F. Rockwell, Gardening Indoors and Under Glass (New York, 1912), plate facing p. 100; scan via the Internet Archive. Public domain.
Choose your path, then work through the four parts. The assignment packet holds the checklists for each part. Check each box honestly as you complete it.
Part 1: The Plan. Choose Path One (propagation) or Path Two (care session). Name your method and write down why it suits this plant. List your materials. Choose your timing. Decide in advance what success looks like, what partial success looks like, and what you will try differently if the first attempt fails. If you are propagating, record which method from Lessons 17 through 21 you are using and why. If you are pruning or repotting, record what the plant needs and how you know, using Lessons 22 through 25.
★ Part 2: The Doing. Work cleanly and calmly. Use sharp, clean tools. Cut where the plant is prepared to heal or root. Sanitize tools between plants. Handle roots gently and never leave them exposed to air longer than necessary. If you are repotting, move only one pot size larger, usually one to two inches wider in diameter, and gently loosen or trim circling outer roots so they can grow outward into the fresh mix. Water the plant in, and place it somewhere sheltered while it recovers.
★ Part 3: The Watching. Observe on a schedule you set in your plan, and write dated notes each time. For propagation: note rooting signs, leaf condition, moisture, and any losses with your best guess at the cause. For pruning and repotting: note wilting, leaf drop, new growth, and recovery over four to six weeks. Extension guidance suggests allowing four to six weeks for a repotted plant to reestablish before judging the result. Do not rush the verdict.
Part 4: The Honest Accounting. Sit down with the checklist and answer every question truthfully. What did you plan? What actually happened? What is your success rate, and how did you calculate it? What would you change next time? File the complete record in your Scholar's Familiar Journal as the closing entry of Unit III.
A note for scholars without a Scholar's Familiar. If you do not keep a living plant of your own, you can still complete this project fully. Path One: with the owner's permission, take cuttings from a friend's, neighbor's, or community garden plant, and document the project exactly as described. Path Two: with permission, take on the care of a neglected plant for at least four weeks. Prune away dead growth, adjust its light and water, repot it if it is root-bound, and document the before, the during, and the after. Stewardship does not require ownership. It requires attention, permission, and follow-through. The skills are identical, and the journal record is just as complete.
❦ In your workbook: record your turn in your own way — the path you have chosen, the four parts in their order, and the permission path if the plant is not your own — copy, sketch, or note what matters.
Tool Safety: The Unit III Recap
You have used tools throughout this unit, and this project asks you to use them once more, so here is the whole of it in one place.
★ Keep your tools clean and sharp. A sharp blade makes a clean cut that heals quickly; a dull blade crushes tissue and invites disease. Wipe blades with rubbing alcohol between plants to prevent carrying disease from one to another. Cut away from your body and your holding hand, slowly and deliberately. Never force a cut. If a stem resists, reposition rather than pushing harder.
Wear gloves when handling soil, compost, or unfamiliar plants, and wash your hands afterward. Keep potting mix and amendments away from your face; do not breathe in dust from dry mixes or powdered amendments. Young scholars should have an adult present for any work with blades or sharp tools.
Store tools dry and out of reach of small children when the work is done. A tool cared for is a tool that stays safe to use.
❦ In your workbook: record the tool safety recap in your own way — the clean, sharp blade and what it prevents, and the rules that travel with every cut — copy, sketch, or note what matters.
Guided Observation: The Mint Cuttings, Walked Through Once More
Before you plan your own project, walk through a complete one with me. The worked example above is this lesson's guided practice: Fernfoot roots mint cuttings in two media, part by part, so that you can watch the method before the project is yours. Walk it once more with these questions beside you:
- In The Plan, which method was chosen, why does it suit mint, and what success measures were decided in advance?
- In The Doing, where is each cut made — from the mother plant, and the working cut — and why does the node matter?
- In The Doing, what two media were compared, and what light rule holds until roots form?
- In The Watching, what did the dated record show by Day 12 and by Day 18, and what was the success rate?
- In The Honest Accounting, what was forgotten on the first day, and what two things would Fernfoot change next time?
Plan, do, watch, account. Write everything down. Date everything.
Materials
Required (Level One — household items)
- Your Scholar's Familiar Journal or a notebook
- A pencil
- Labels
- Clean hand pruners
- Rubbing alcohol
- A small glass jar of room-temperature water
- A four-inch pot of damp potting mix
- Gloves
Suggested (Level Two — historically closer)
- A bound blank book for your Scholar's Familiar Journal record
- A second pot of damp potting mix as a comparison medium
- Extra labels for every cutting, dated as you go
Safety: Keep your tools clean and sharp. Wipe blades with rubbing alcohol between plants to prevent carrying disease from one to another. Cut away from your body and your holding hand, slowly and deliberately. Never force a cut. Wear gloves when handling soil, compost, or unfamiliar plants, and wash your hands afterward. Keep potting mix and amendments away from your face; do not breathe in dust from dry mixes or powdered amendments. Young scholars should have an adult present for any work with blades or sharp tools. Store tools dry and out of reach of small children when the work is done.
Reflection Questions
This project's reflection is its Honest Accounting: there are no separate questions to answer, because the examiner is you. Sit down with your completed record and answer truthfully:
- ☐ What I planned: _______________
- ☐ What actually happened: _______________
- ☐ My success rate: _____ out of _____ attempts (_____ percent).
- ☐ The most useful thing I observed was: _______________
- ☐ The failure or surprise I learned the most from was: _______________
- ☐ Next time I would change: _______________
- ☐ My record is complete, dated, and filed in my Scholar's Familiar Journal as the closing entry of Unit III.
- ☐ I can explain, in my own words, why stewardship sometimes means doing nothing.
Workbook Checklist — Lesson 26
In my workbook I have:
- ☐ What I planned: _______________
- ☐ What actually happened: _______________
- ☐ My success rate: _____ out of _____ attempts (_____ percent).
- ☐ The most useful thing I observed was: _______________
- ☐ The failure or surprise I learned the most from was: _______________
- ☐ Next time I would change: _______________
- ☐ My record is complete, dated, and filed in my Scholar's Familiar Journal as the closing entry of Unit III.
- ☐ I can explain, in my own words, why stewardship sometimes means doing nothing.
☐ Lesson completed Date: ___ Signature: ___
Professor's Closing Note
Unit III began with a seed coat and ends with your hands in the soil. Between those two points you have learned the oldest arts in gardening: how to wake what sleeps, how to multiply what thrives, how to shape what grows wild, and how to give a cramped plant room to breathe.
File your project with care. It is the closing record of this unit, and it belongs beside your botanical profile and your growing plan. Three documents now, each one built on the last: what the plant is, what the plant needs, and what you did.
When you are ready, the harvest waits in Unit IV. You have earned it.
— Professor Beryl Fernfoot, Herbology Greenhouse • Master Herbalist • Head of House Oriens
PROFESSOR BERYL FERNFOOT
Herbology Greenhouse
Master Herbalist
Cross-Class Connections

Creative Arts · Unit V, Lesson 18 — Outdoor & Garden Tools: Handling, Cleaning & Care
Come to the bench before you come to the plant, scholars. Fernfoot teaches you when and where a living plant should be cut, and her word governs every living thing — my lesson teaches the tool itself: bypass pruners for live wood, because a clean wound heals and a crushed one is an open door; sap and soil scrubbed off first, because disinfectant cannot work through dirt; and the blade disinfected between plants in propagation work, always after sick material. Carry them latched, edges down. A tool put away clean does not carry yesterday's sickness into tomorrow's work.
Creative Arts · Unit II, Lesson 11 — Case Binding & Archival Boxes
Your stewardship project ends as a filed record in your Scholar's Familiar Journal, and I will tell you plainly: a record meant to close a unit and be read for years deserves a case built to fit it. In this workshop we case a text block into boards built to its own measures, and build the archival box its most precious records will rest in — Fernfoot's own plant records among them, when their day comes. Case your journal with me, patiently and square, and your closing entry of Unit III will keep.
Further Reading & Sources
- Mississippi State University Extension: Propagating Plants for the Home Landscape — slant cuts below the node, leaf removal, rooting hormone, and medium guidance from a university extension program.
- UGA Extension: Starting Plants From Cuttings for the Home Gardener — detailed cutting preparation steps, including sanitizing containers and wounding stems to expose the cambium.
- LSU AgCenter: You Can Deal With Potbound Plants — recognizing root-bound plants, moving one pot size larger, loosening circling roots, and the four-to-six-week reestablishment window.
- Better Homes & Gardens: What Is Transplant Shock? — causes, signs, and recovery guidance for plants stressed by repotting or root disturbance.
- Planet Natural: Repot Before Winter or Wait? A Fall Root Ball Check — reading a root ball, when a repot cannot wait, and why a recovering plant should not be overpotted.
Browse the Herbology shelf in the school Library for readable editions of these works.
School of Evershade · Herbology Greenhouse · For personal educational use
Submit your work for this lesson using the form below.
THE UNIT III QUIZ
HERBOLOGY GREENHOUSE · UNIT III: PROPAGATION, PRUNING & PLANT STEWARDSHIP
Unit III is complete: seeds started and woken from their sleep, cuttings rooted, plants divided and layered, the geometry of the pruning cut, the garden watch kept, and the gentle mechanics of repotting. This quiz gathers the whole unit into one sitting. Take it from memory first, before you look back at your notes, because it measures what has stayed with you. If you completed the work marked ★ in your lesson packets, you have already practiced most of what it asks.
It stands beside this lesson's own Stewardship Project: the project is one complete piece of work, the quiz is the unit remembered. Two different kinds of proof, both worth having.
The quiz packet is a single download. Part I gathers questions from across the unit, Part II matches the unit's vocabulary, and the answer key waits at the back for self-checking. When you have finished, score it honestly, note the result in your workbook, and revisit any lesson whose questions went wrong before you move on to Unit IV.
CONTINUE IN THE HERBOLOGY GREENHOUSE
← Previous · Lesson 25: Repotting & Root Bound Mechanics Next · Lesson 27: Timing the Harvest →
Unit III — Propagation, Pruning & Plant Stewardship Herbology Greenhouse — All 37 Lessons
The rest of Unit III: Lesson 17 · Seed Starting · Lesson 18 · Seed Scarification · Lesson 19 · Stem Cuttings · Lesson 20 · Root Division · Lesson 21 · Layering & Runners · Lesson 22 · Pruning Geometry · Lesson 23 · Selective Pruning · Lesson 24 · Pests & Disease · Lesson 25 · Repotting & Root Bound
From the Greenhouse Shelf
The printed companions to this lesson, from Professor Fernfoot’s shelf in the shop.

Herbology — Familiar Journal Pages: Unit III Lesson Pages — Lessons 17–26 (27 Pages)
$4.99
View in the Shop